Airbnb Hosting Tips: Your Complete Guide to Listing Your Home on Airbnb in 2025
Ready to dive into the world of Airbnb hosting? This guide is your ultimate companion to listing your home on Airbnb, even if you're starting from scratch. Whether you have a house, flat, cabin, or even a unique space like a treehouse, you can start your journey as a host today. Let’s explore the essential steps to create a successful Airbnb listing and unlock your property's potential!
Table of Contents
- Step 1: Understand What You Can List on Airbnb
- Step 2: Gather Your Essentials
- Step 3: Create Your Listing
- Step 4: Add Photos
- Step 5: Write a Compelling Description
- Step 6: Set Your Pricing
- Step 7: Establish House Rules
- Step 8: Final Review and Publish
- Step 9: Post-Launch Strategies
- FAQ
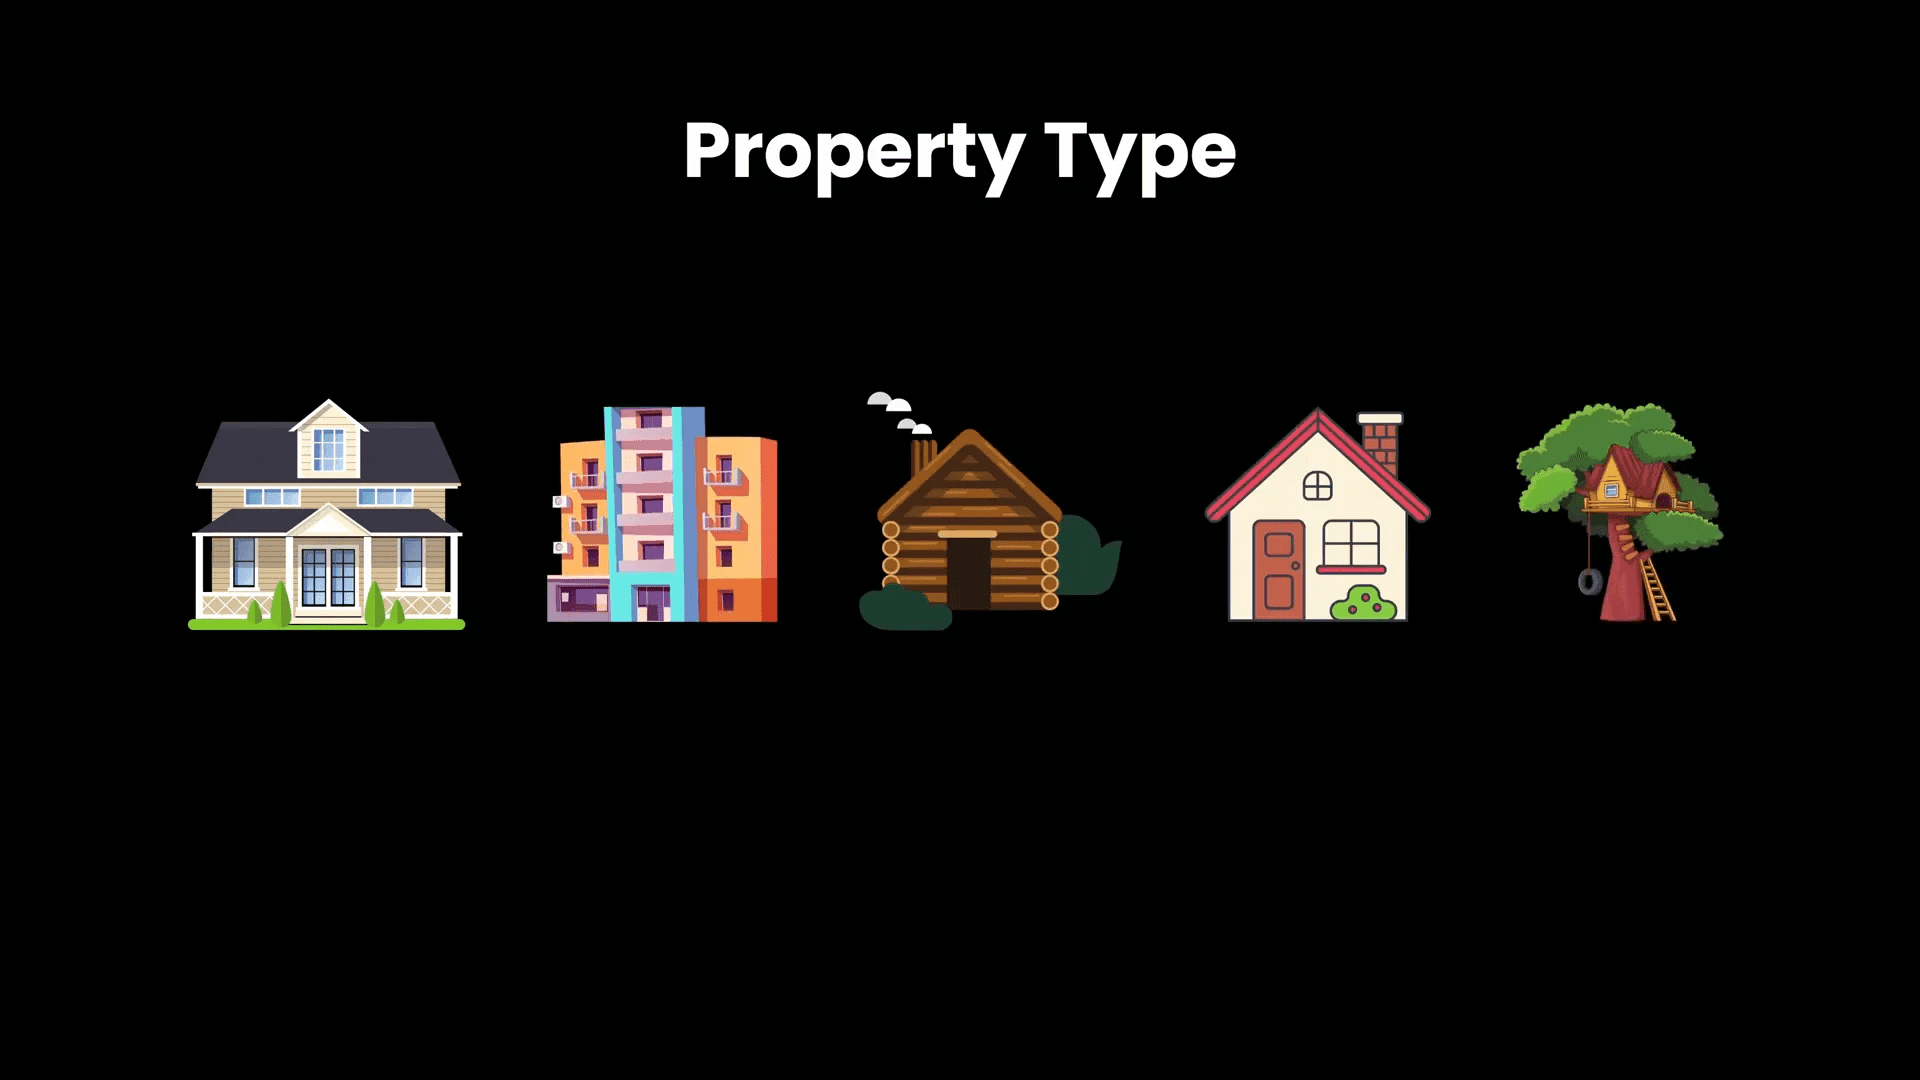
Step 1: Understand What You Can List on Airbnb
First things first, let’s clarify the types of properties you can list. Airbnb is incredibly flexible, allowing you to list:
- Houses
- Flats
- Cabins
- Tiny houses
- Treehouses
- Shared spaces, like a room in your home
As long as you have access to the property and can let guests in, you’re good to go! Just remember, there must be a bathroom accessible to guests, and the property should be furnished with essentials like bed linen and towels.
Step 2: Gather Your Essentials
Now that you know what you can list, let’s talk about what you need to get started:
- Good quality photos of each space your guests can access.
- A computer for the listing process, as it’s easier than using the mobile app.
- ID proof, such as a driving license or passport.
- A working phone number for identity verification.
Keep in mind that listing on Airbnb doesn’t mean guests can book your property right away. You have full control to manage bookings through your calendar settings.

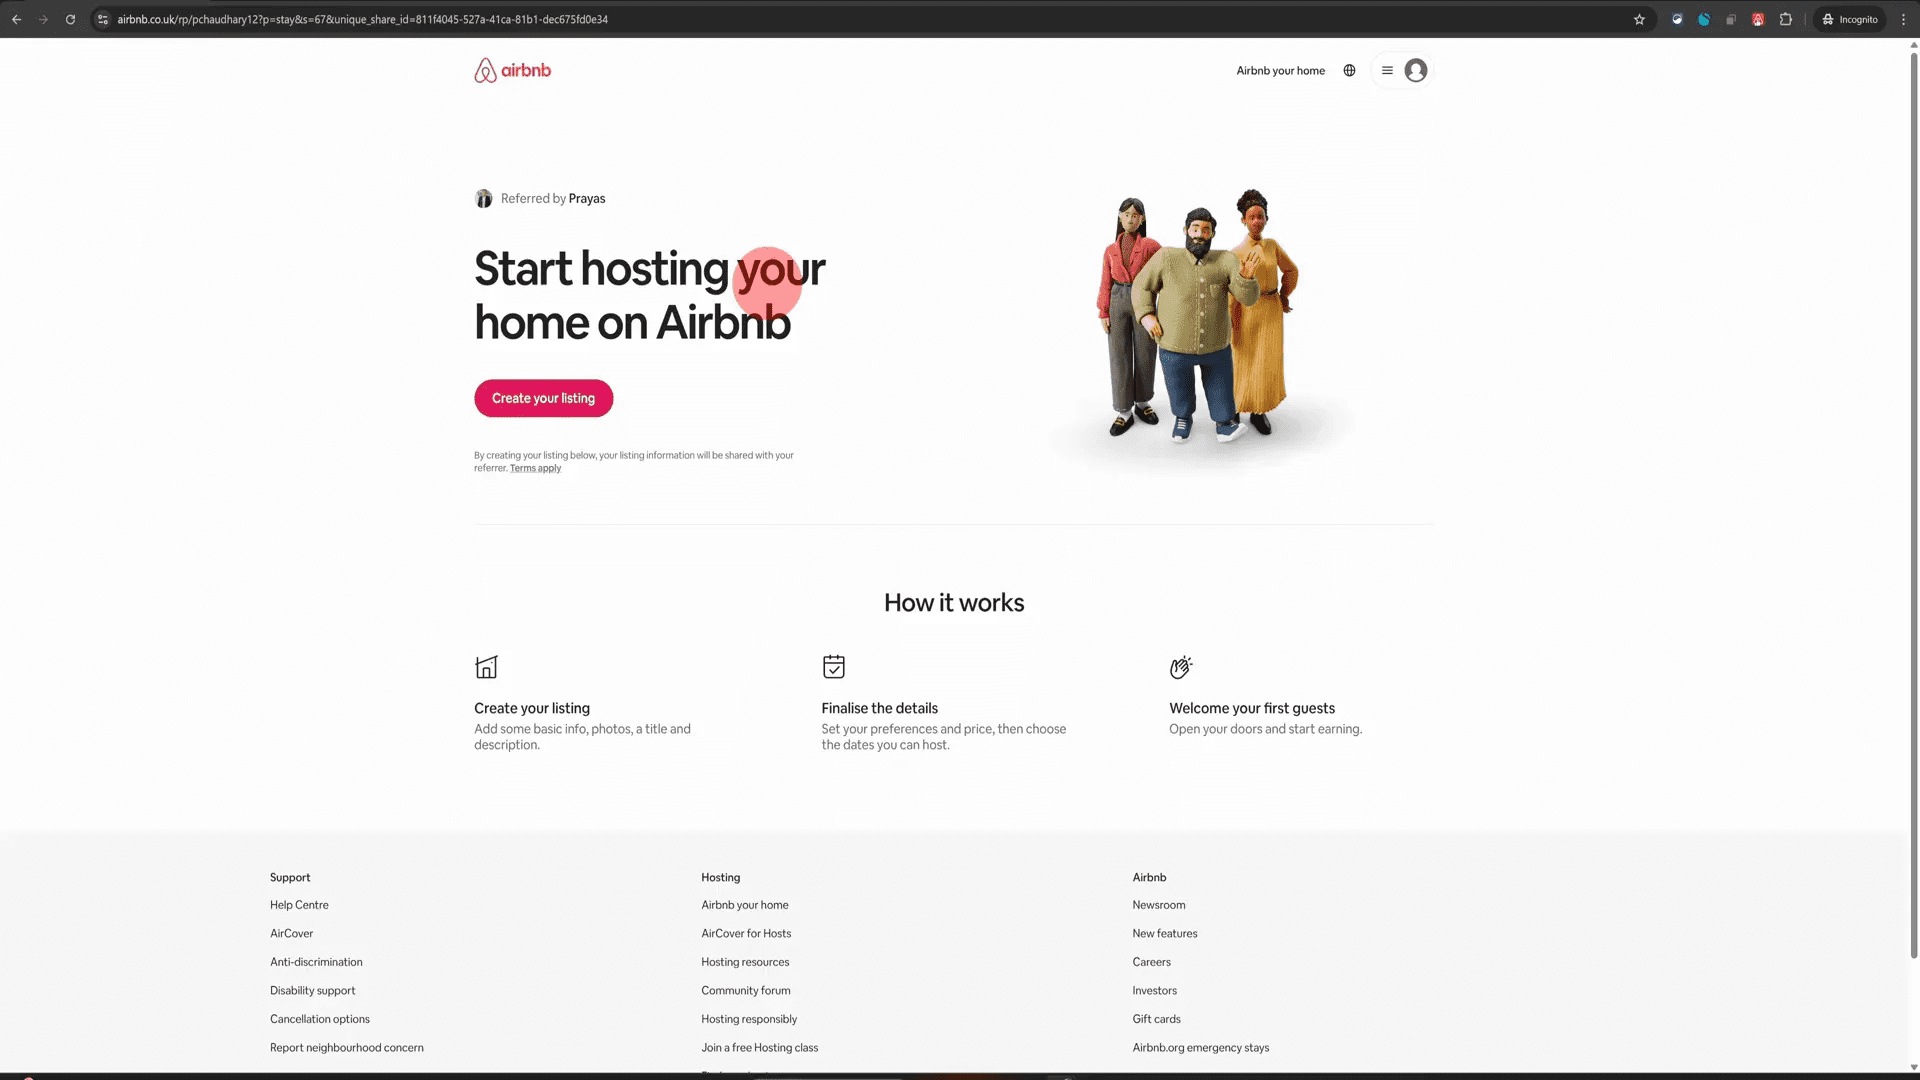
Step 3: Create Your Listing
Let’s get into the nitty-gritty of creating your listing. Click on the referral link in the description to start the process. Here’s how to navigate through it:
- Click on the "Create your listing" button.
- Log in or create an account.
- Agree to the terms and continue.
- Choose your property type and specify whether it’s an entire place or a shared room.
- Enter your property address and confirm the location on the map.
- Specify how many guests can stay, and the number of bedrooms, beds, and bathrooms.
It’s essential to accurately reflect your property details here, as this information sets guest expectations.
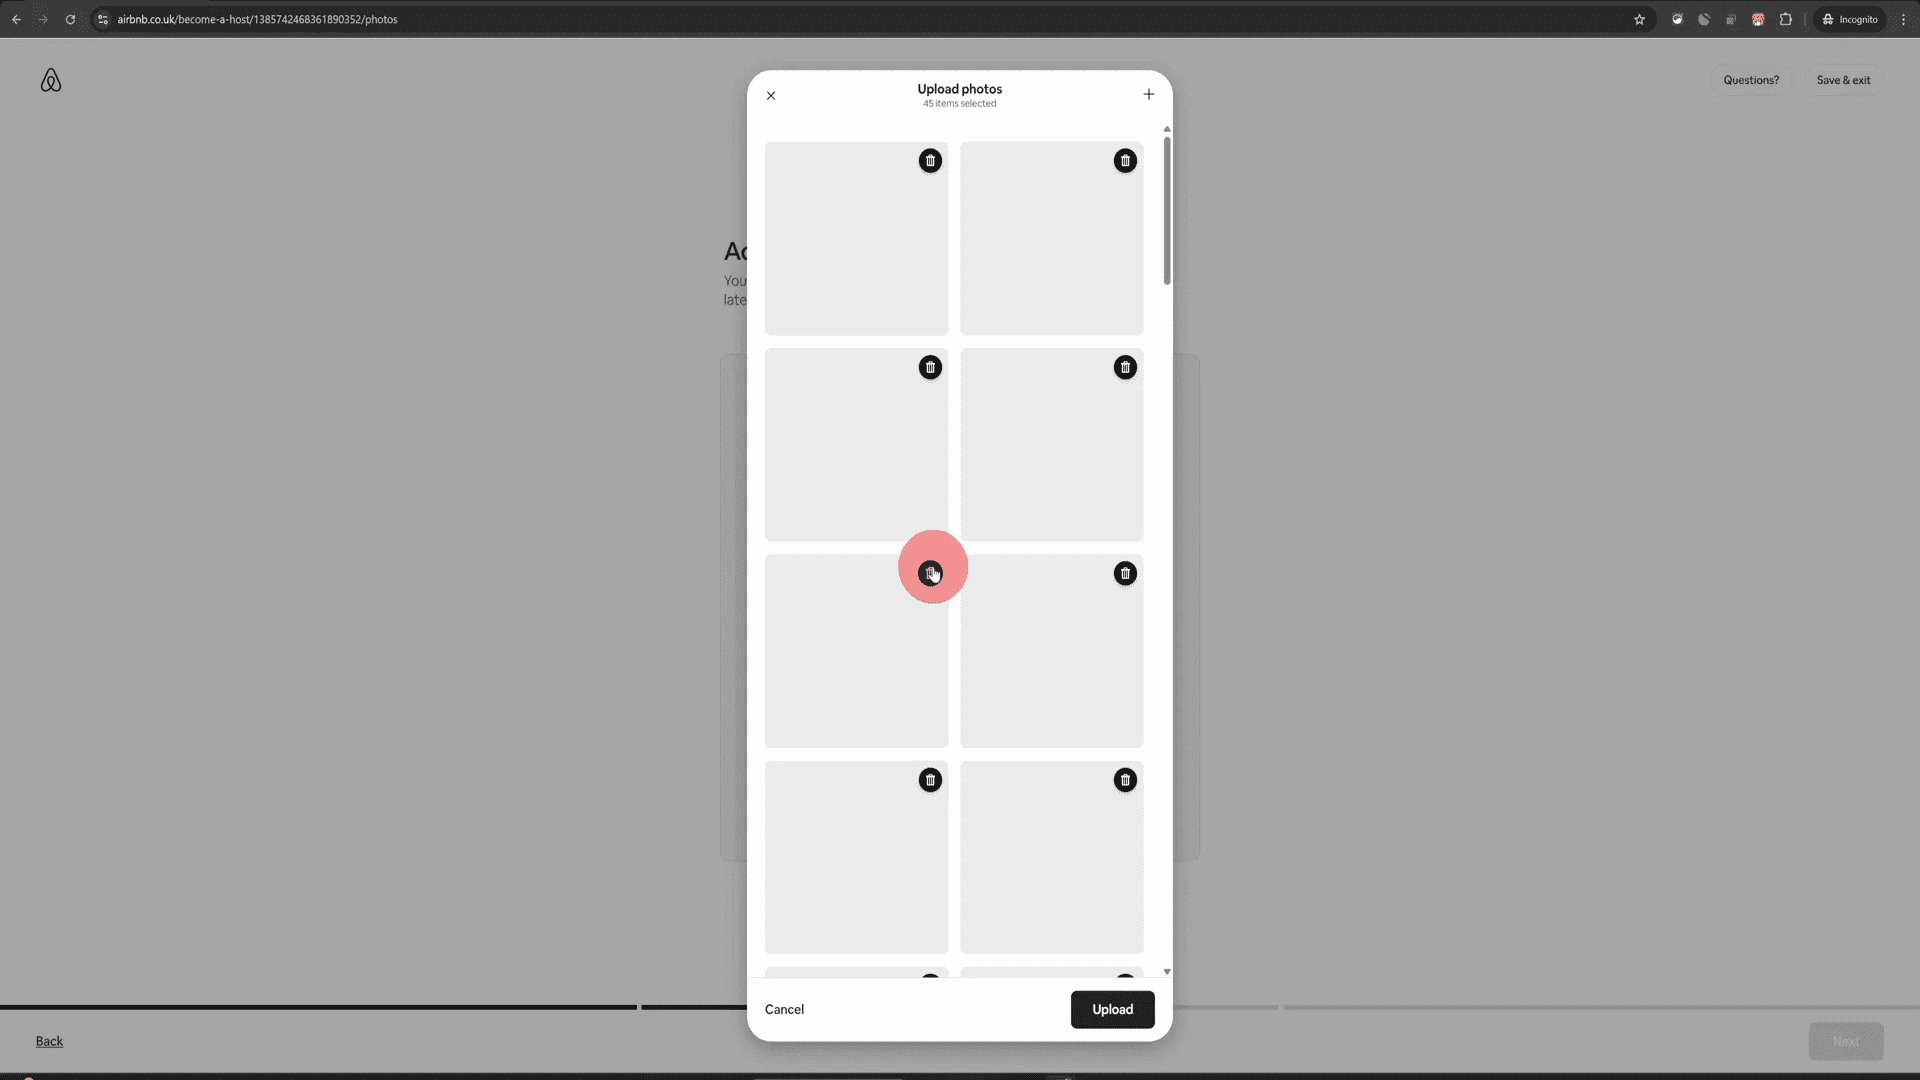
Step 4: Add Photos
Photos are crucial in attracting guests. Here’s what to keep in mind:
- Use your smartphone for high-quality images.
- Include at least two pictures of each space from different angles.
- Capture the exterior of your property and the surrounding area.
Once you upload your images, Airbnb will automatically organize them, but you can rearrange them later if needed.
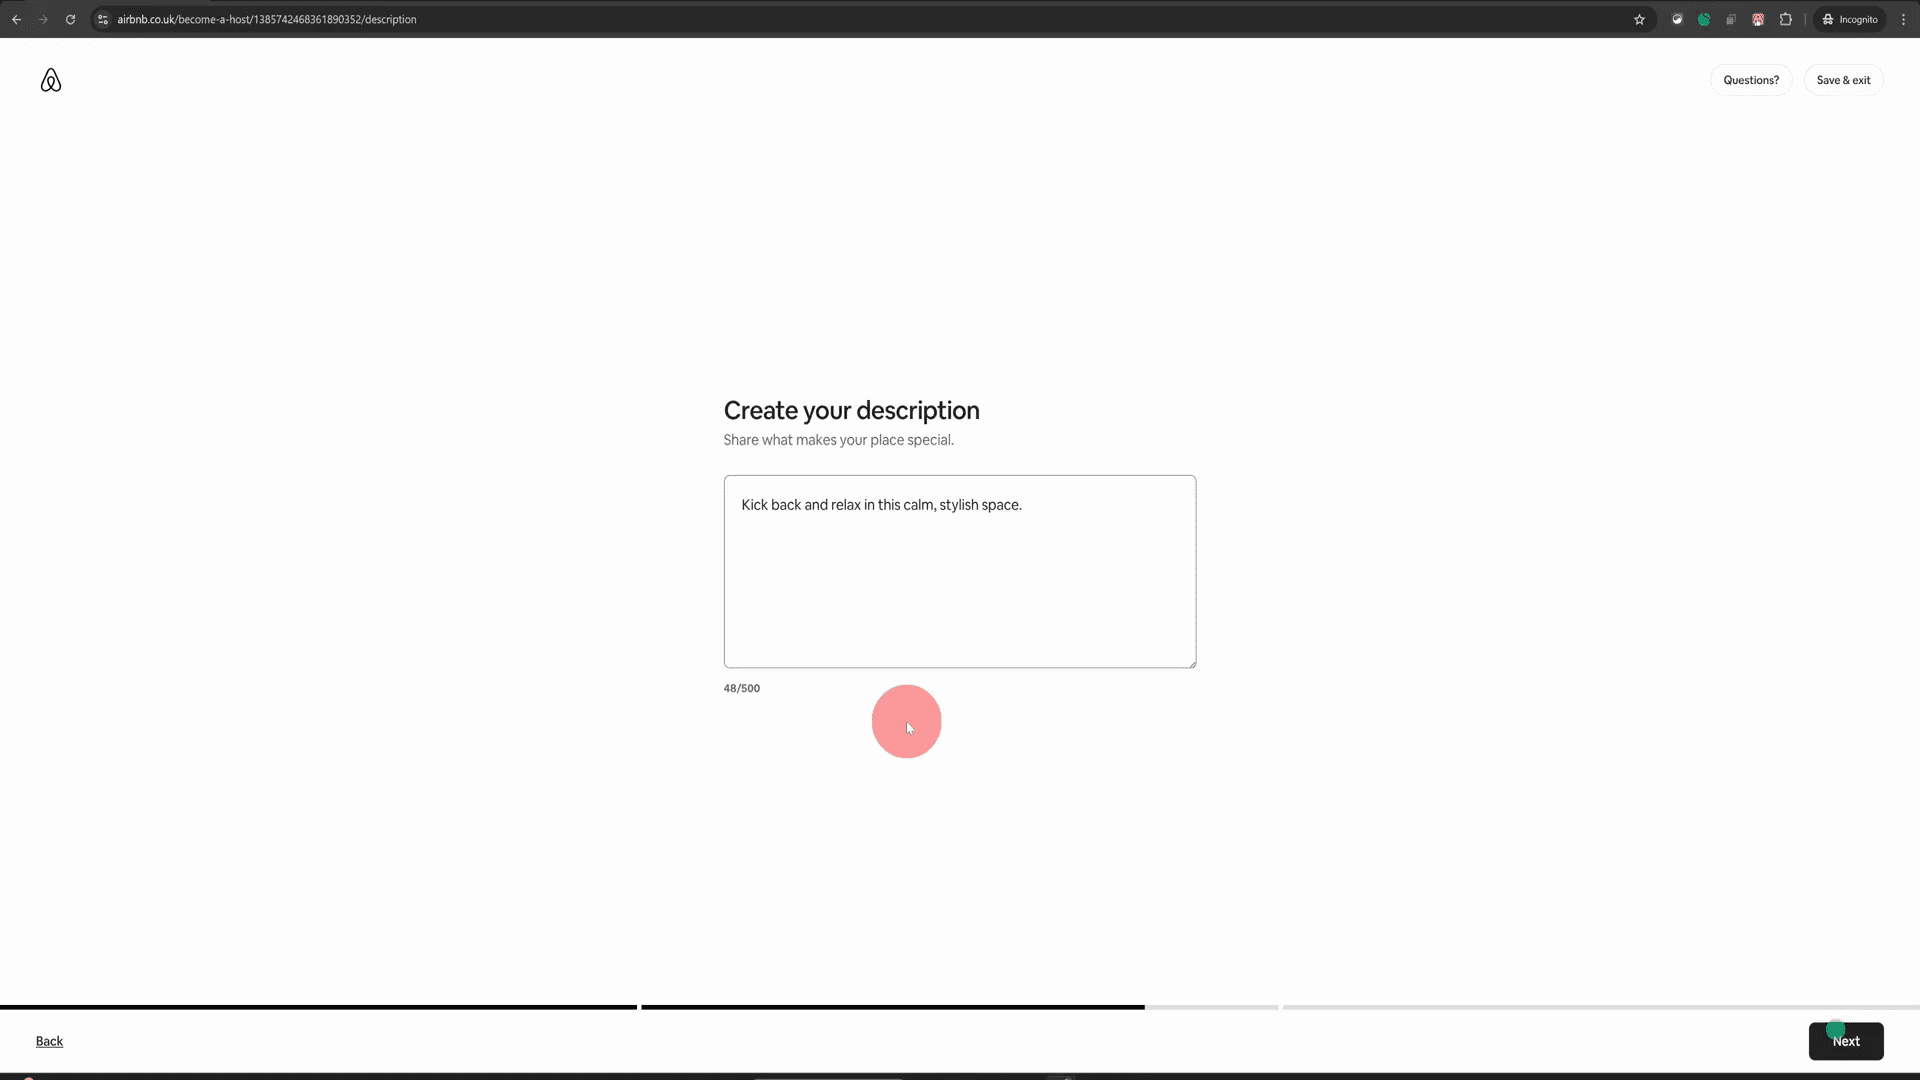
Step 5: Write a Compelling Description
Your listing description is your chance to shine. Here’s how to make it engaging:
- Start with a catchy title that reflects your property.
- Use descriptive language to paint a picture of your space.
- Highlight key amenities and unique features.
Keep it concise and make sure to include any special touches that make your property stand out.
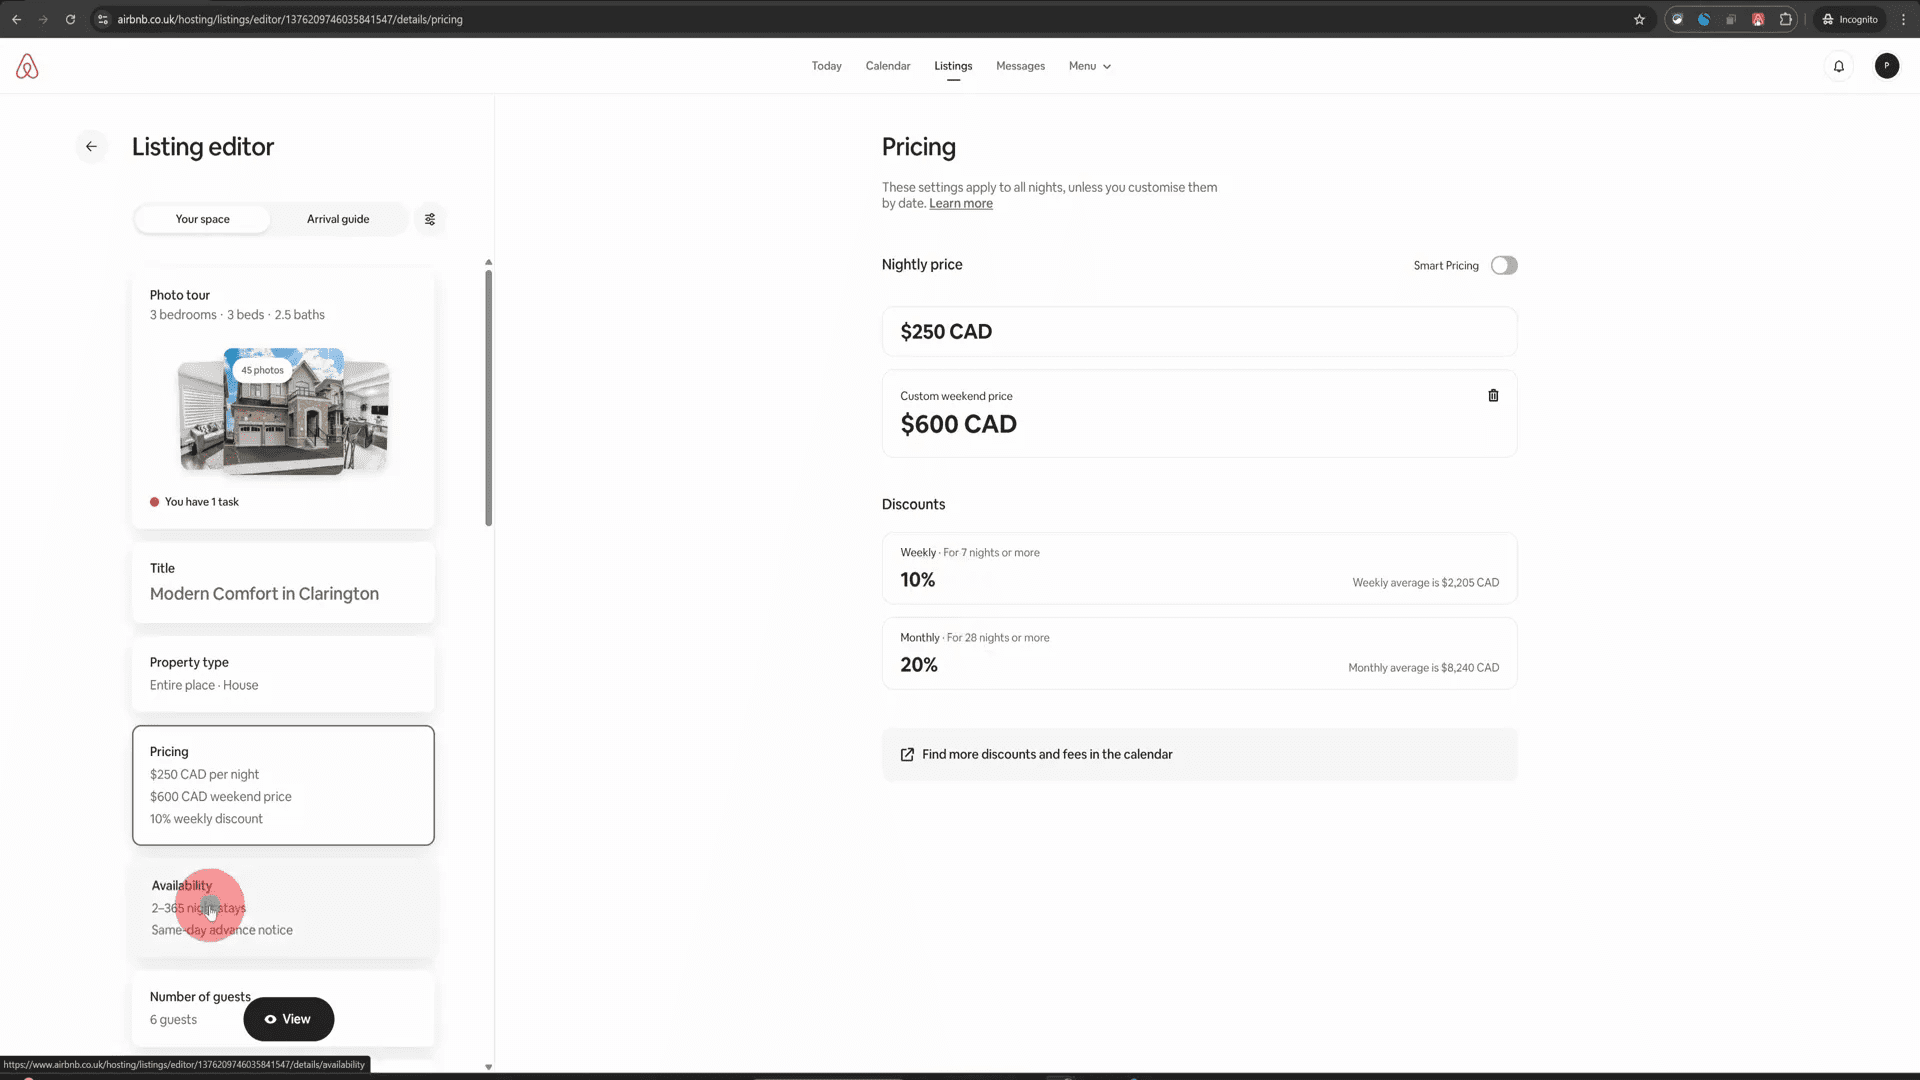
Step 6: Set Your Pricing
Pricing your property correctly is critical for attracting bookings. Here’s how to approach it:
- Consider your location and the amenities you offer.
- Use Airbnb’s pricing tools to find a competitive rate.
- Offer discounts for your first few bookings to gain traction.
Dynamic pricing tools, like the one offered by Beyond, can help you adjust your rates based on demand.
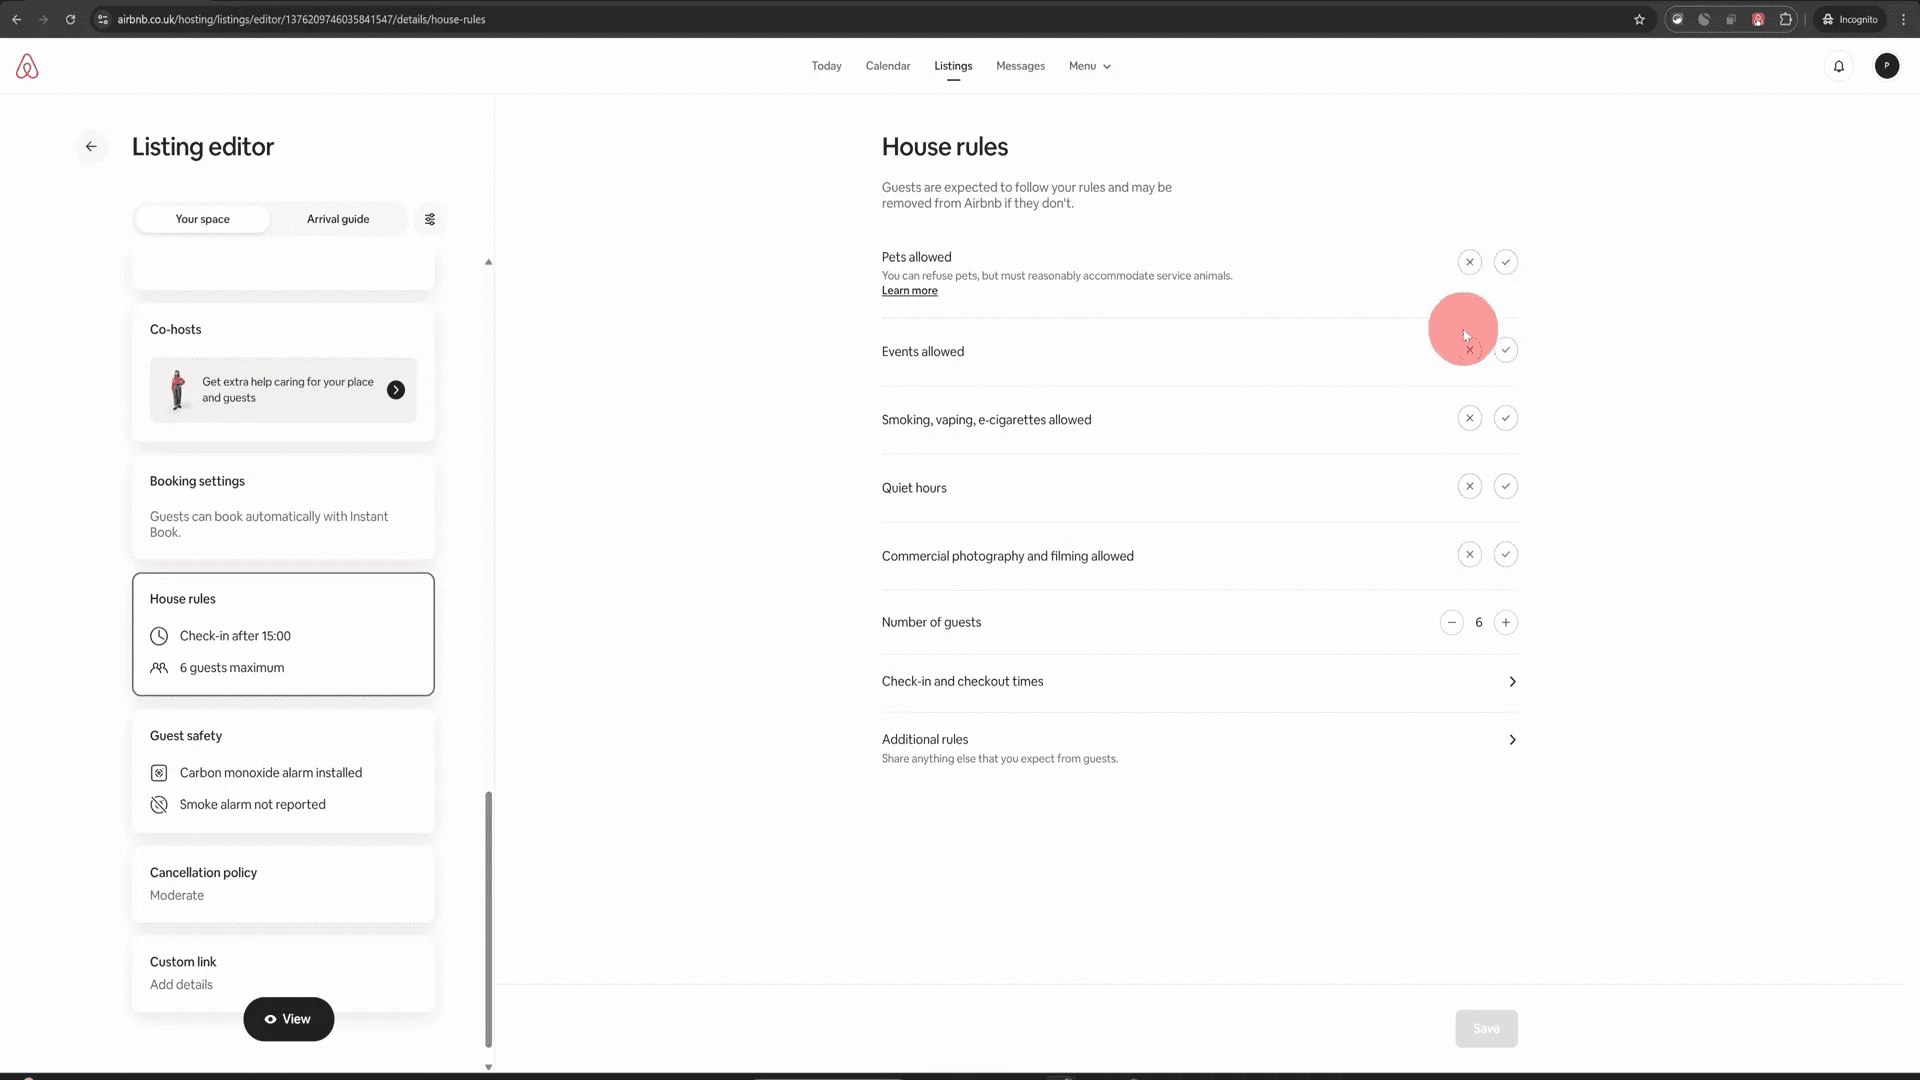
Step 7: Establish House Rules
Clearly outlining your house rules helps manage guest expectations. Consider the following:
- Are pets allowed?
- Is smoking permitted?
- What are your check-in and check-out times?
Being transparent about your rules can prevent misunderstandings and ensure a smooth hosting experience.
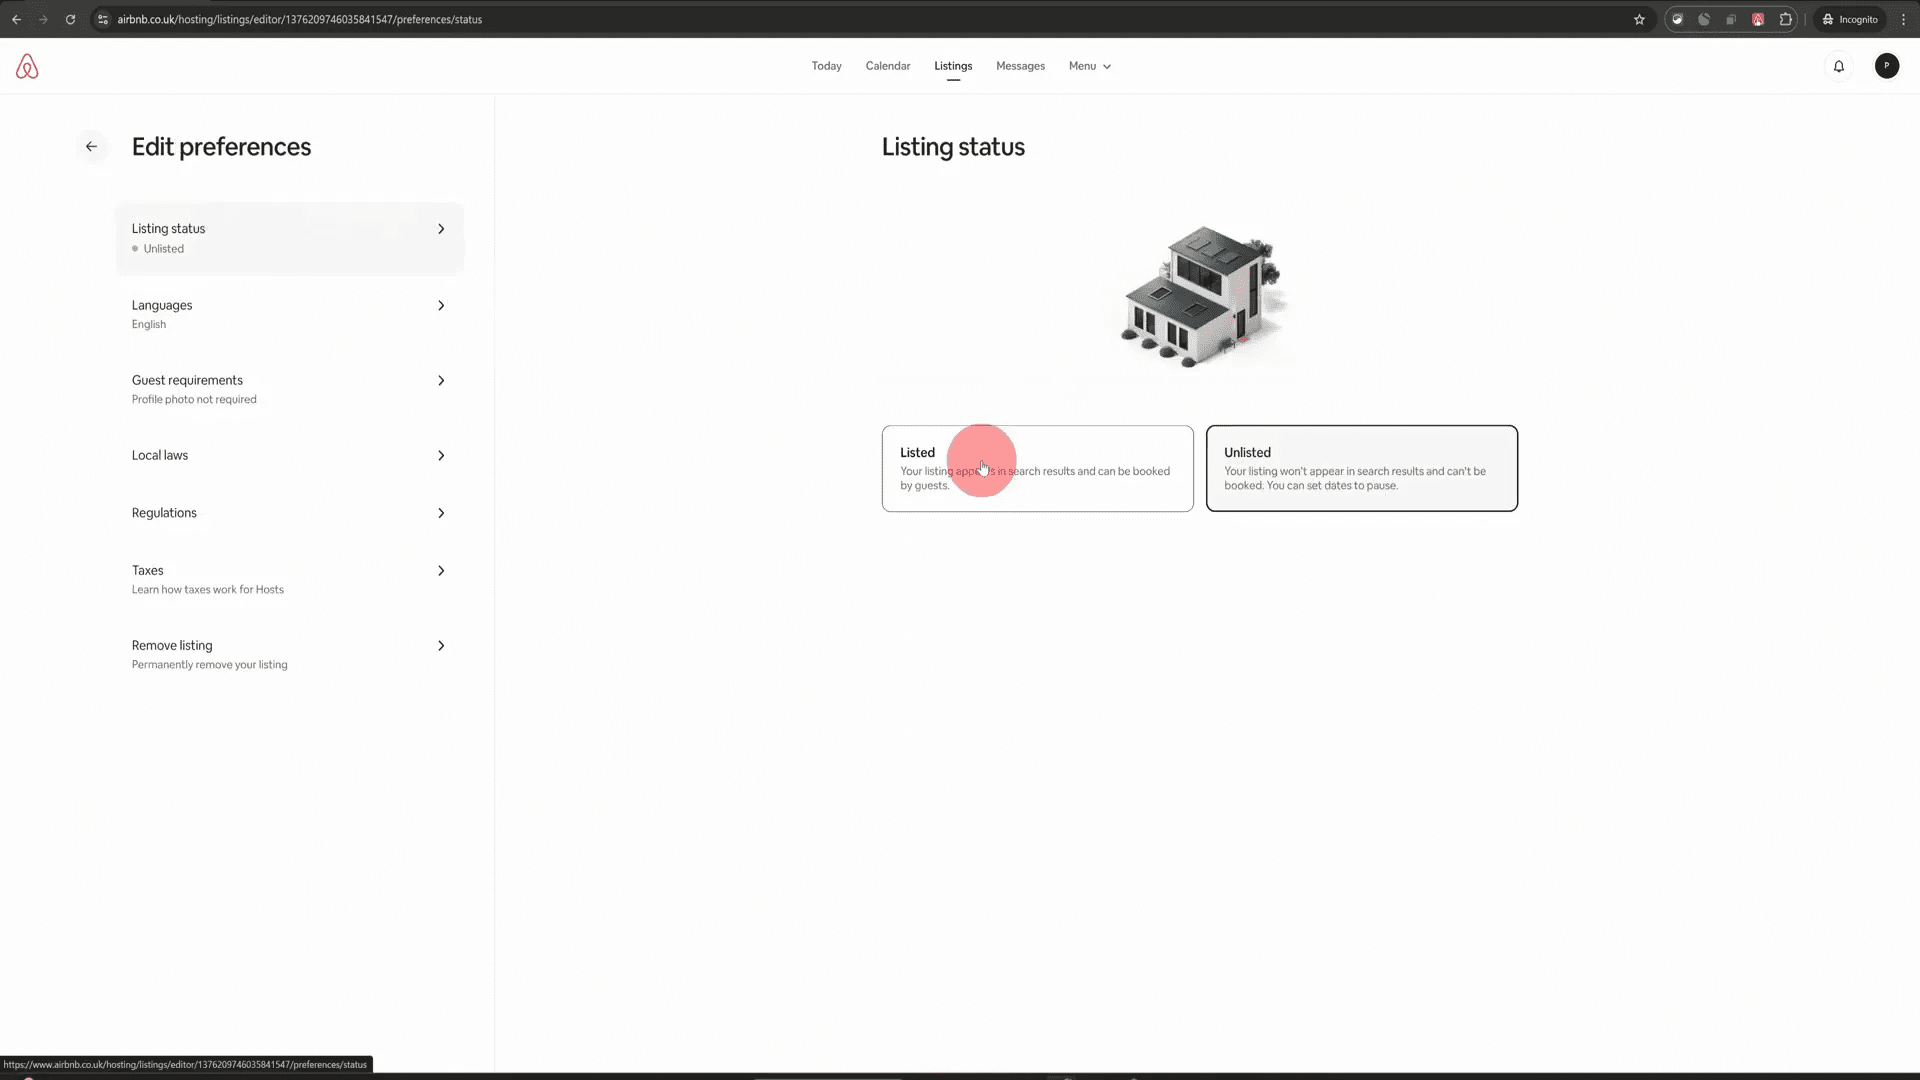
Step 8: Final Review and Publish
Before you hit publish, double-check everything:
- Make sure all details are accurate.
- Review your photos and descriptions.
- Ensure your house rules are clear.
Once you’re satisfied, click “Publish” to make your listing live!
Step 9: Post-Launch Strategies
After publishing your listing, here are a few tips to maximize your success:
- Monitor guest inquiries and respond promptly.
- Check your pricing regularly to stay competitive.
- Consider special offers to attract more bookings.
By implementing these strategies, you'll be well on your way to becoming a successful Airbnb host!
FAQ
Q: How long does it take for my listing to be visible?
A: After publishing, it may take up to 24 hours for your listing to undergo quality checks before it becomes visible to potential guests.
Q: Can I change my listing details later?
A: Yes, you can always edit your listing details, including photos, descriptions, and pricing.
Q: What if I need help managing my Airbnb?
A: You can consider using property management services or tools like this masterclass for guidance.
Q: How do I handle guest communication?
A: Use the Airbnb messaging system to communicate with guests before, during, and after their stay. This keeps everything organized and secure.
Q: What are some common pitfalls for new hosts?
A: Some common mistakes include underpricing, neglecting to set house rules, and failing to respond to guest inquiries promptly.
With these Airbnb hosting tips, you're now equipped to list your home successfully. Happy hosting!