No-Nonsense Tips: How to Add Bank Details to Your Booking.com Host Account
If you’re a host on Booking.com or just starting out managing short-term rentals, one of the crucial steps you’ll need to complete is adding your bank details to your Booking.com extranet account. This is essential to ensure you receive your payouts smoothly and on time. I’m here to walk you through the entire process with No-Nonsense Tips that make this task straightforward and hassle-free.
Whether you’re new to hosting or a seasoned property manager, this comprehensive guide will help you confidently add your bank information, verify it securely, and even customise your payout frequency if that option is available for your account. Let’s dive in step by step.
Step 1: Access the Booking.com Extranet from a Computer
The first No-Nonsense Tip is to perform this entire process from a desktop or laptop computer rather than the Booking.com mobile app. While the app is handy for managing reservations and responding to guests, it’s not designed for adding or editing sensitive financial information.
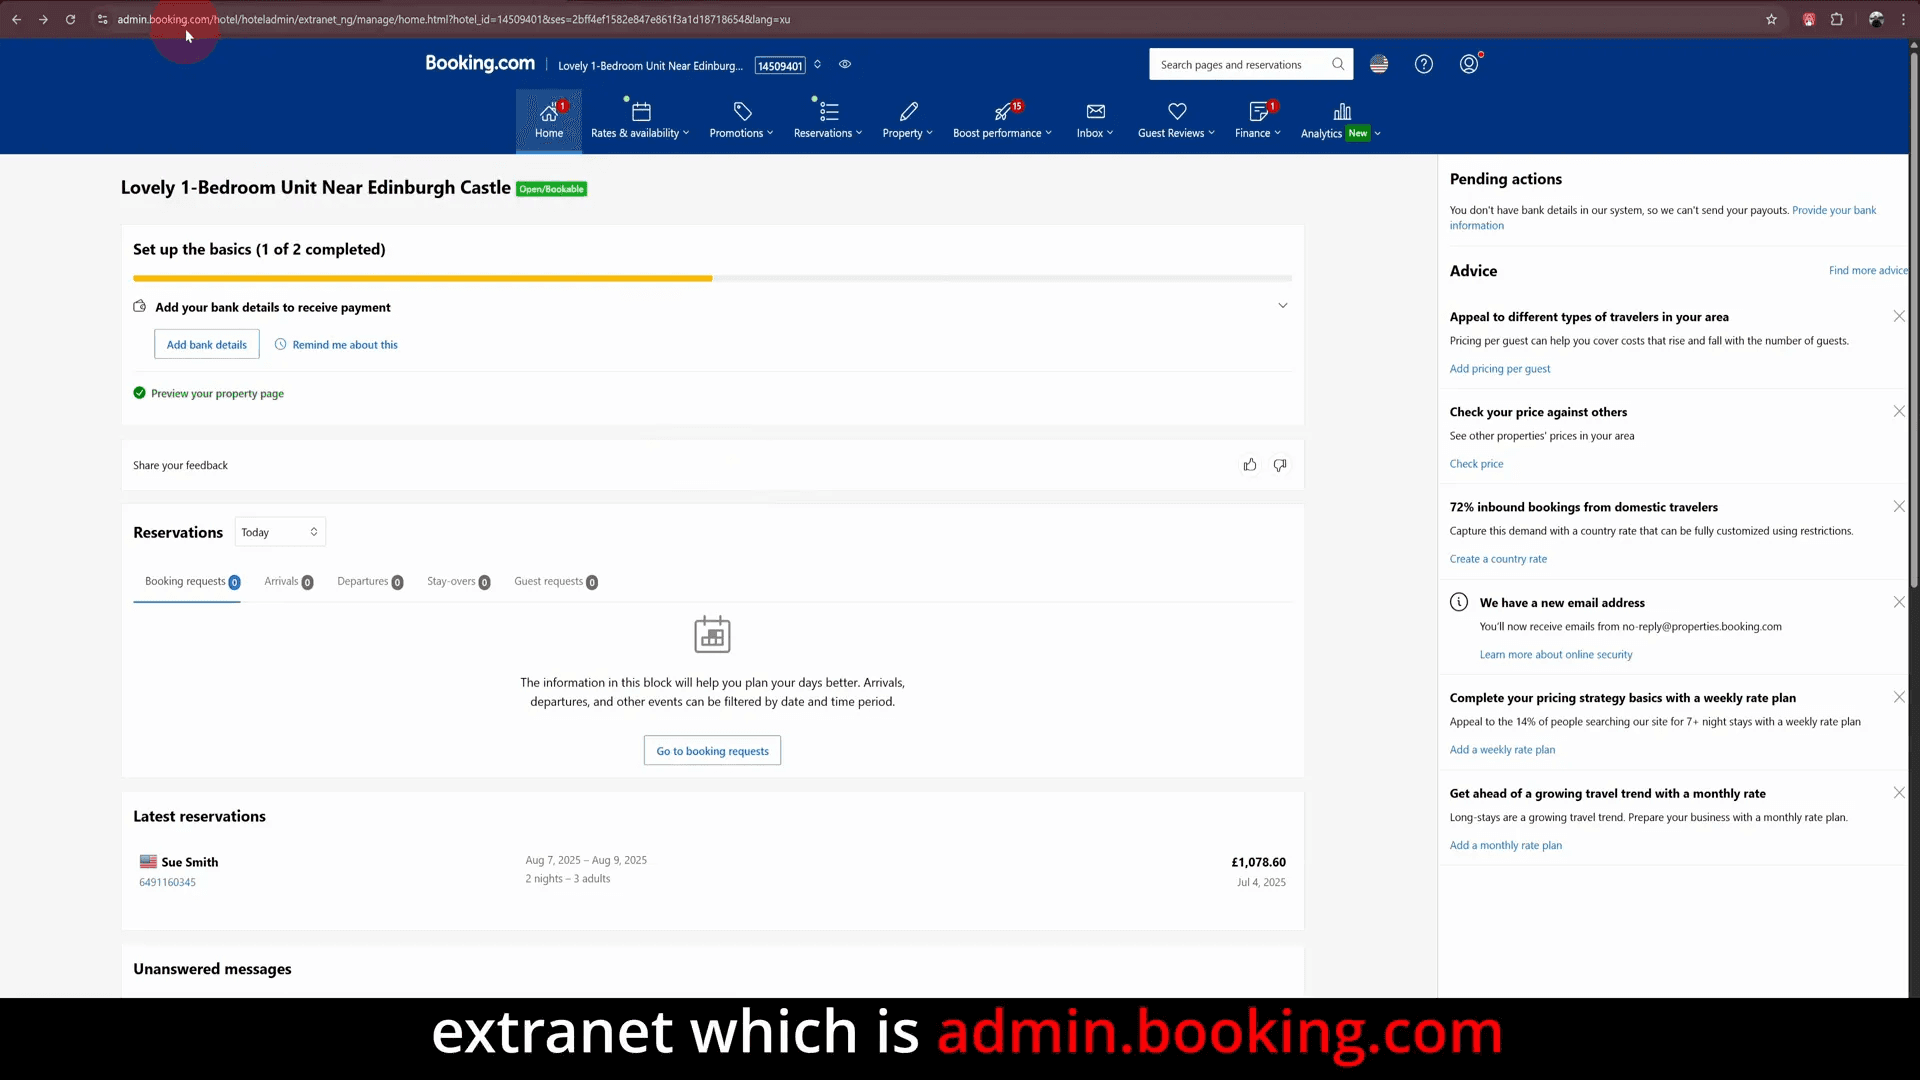
Log in to your Booking.com extranet by visiting admin.booking.com. This is the administrative dashboard where you manage your property details, reservations, and financial settings.
Once logged in, you will see the dashboard interface, which is your command centre for all hosting activities.
Step 2: Navigate to Your Finance Settings
From the Booking.com extranet homepage, look for the Finance tab in the main menu. Click on it, then select Finance Settings from the dropdown or sidebar menu.
This section is dedicated to managing all your payment-related information, including bank details, payout schedules, and invoices.
Step 3: Add Your Bank Details
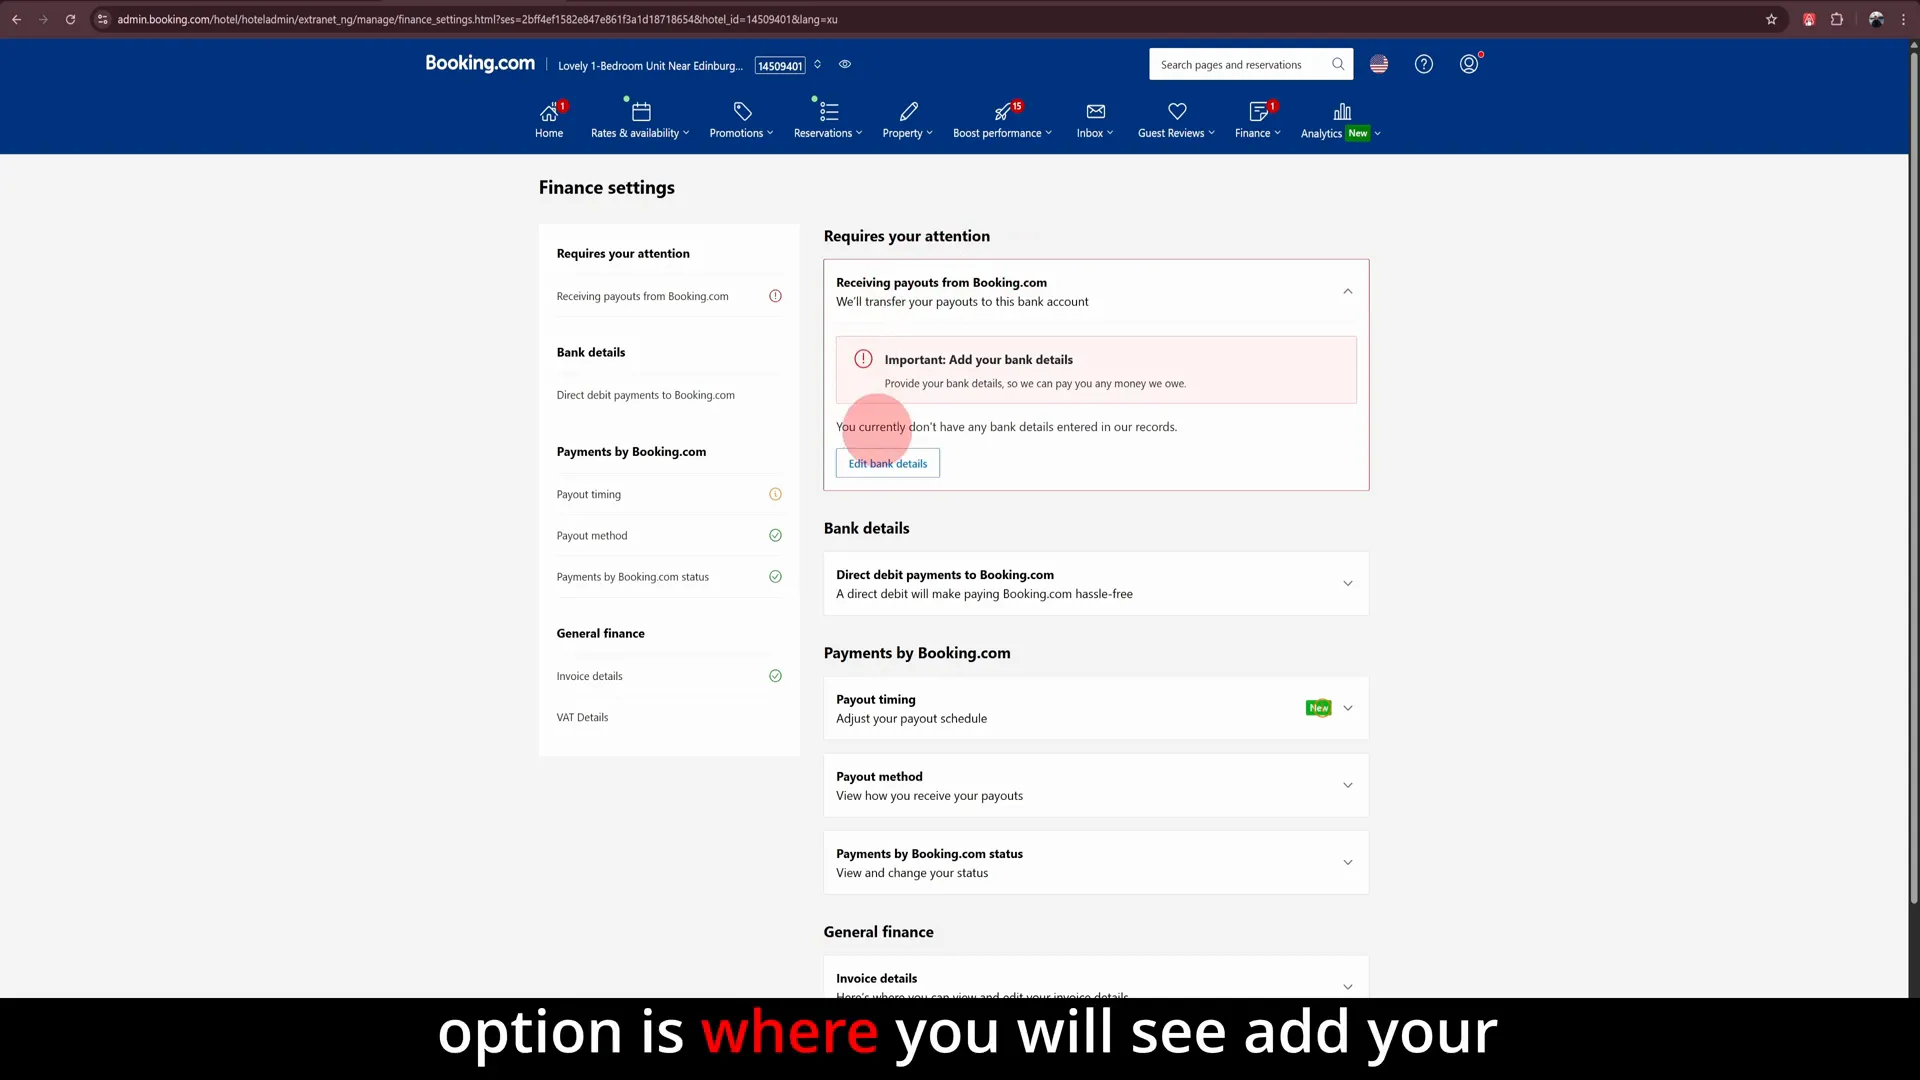
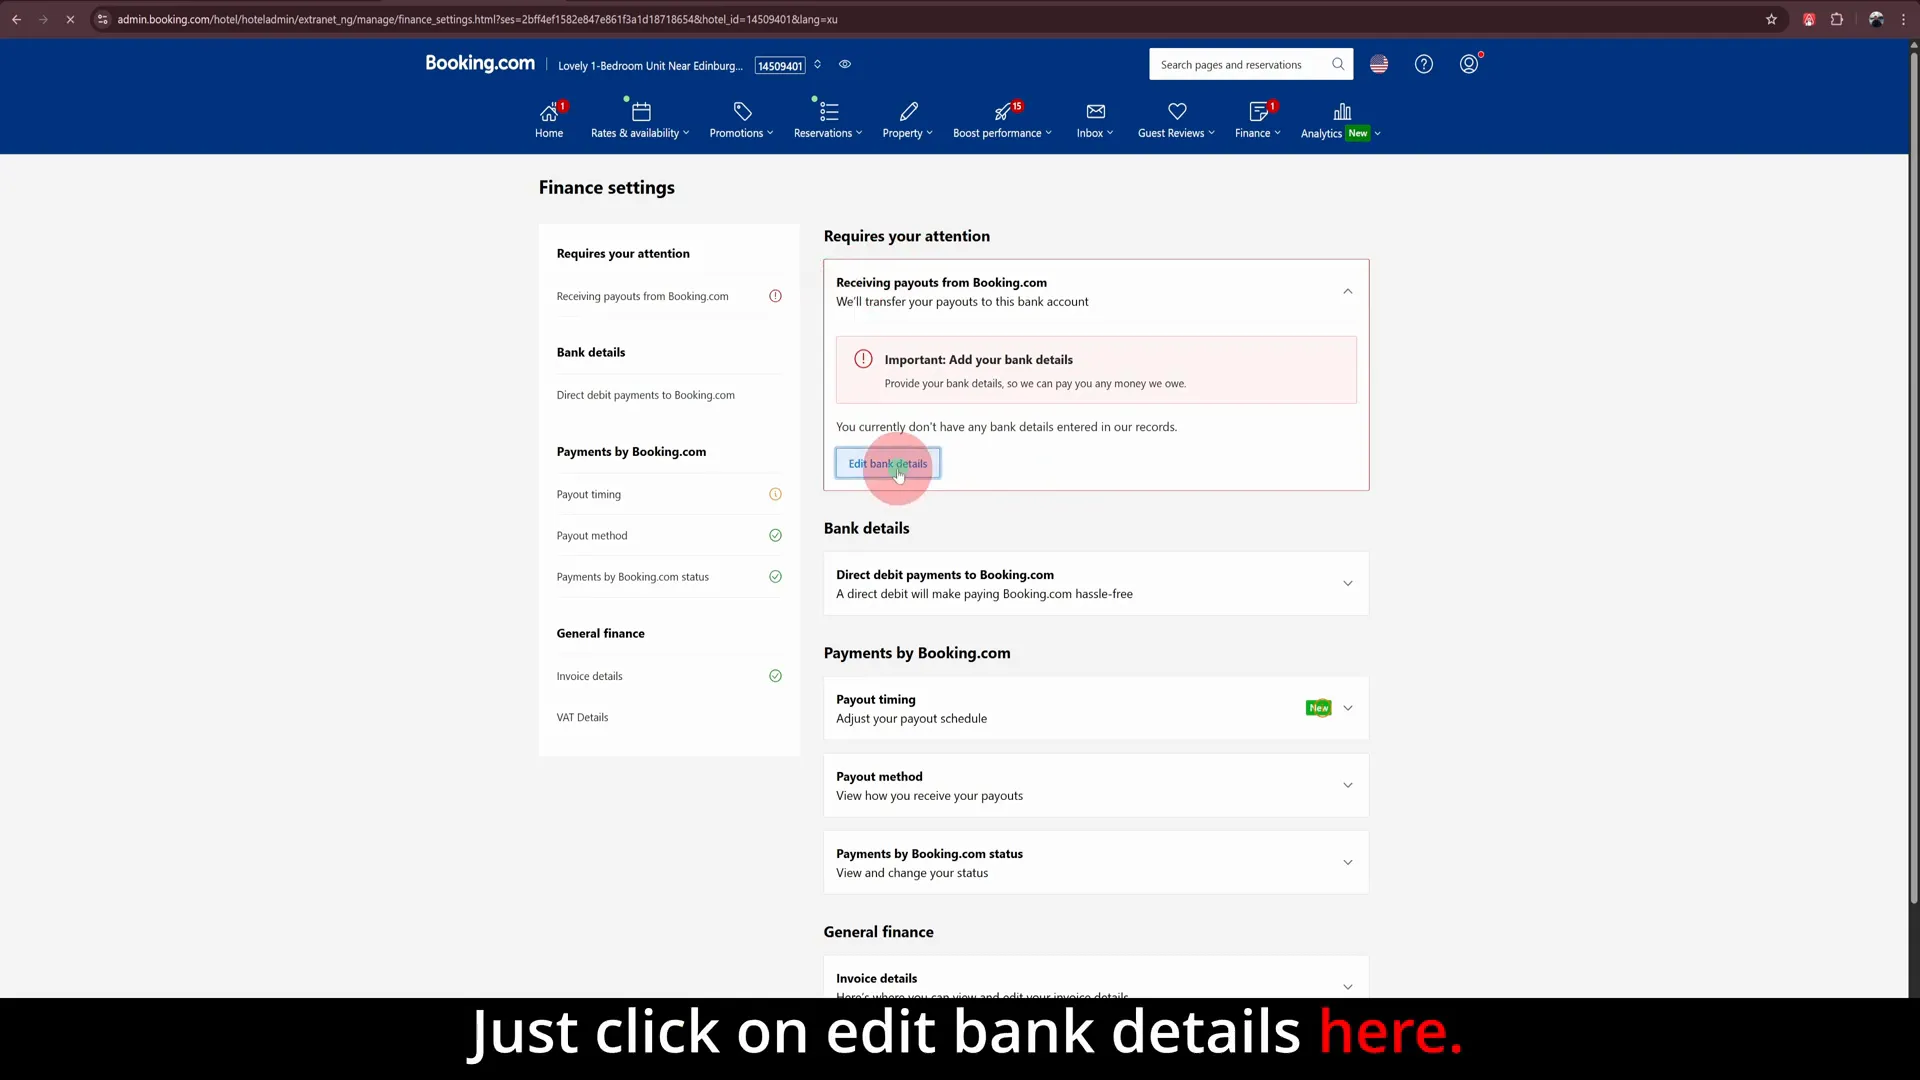
If you haven’t already added your bank details, you’ll be greeted with a prompt to do so right at the top of the Finance Settings page. You’ll see an option labelled Add your bank details or Edit bank details if you are updating existing information.
Click on Edit bank details to begin the process.
Step 4: Verify Your Email Address
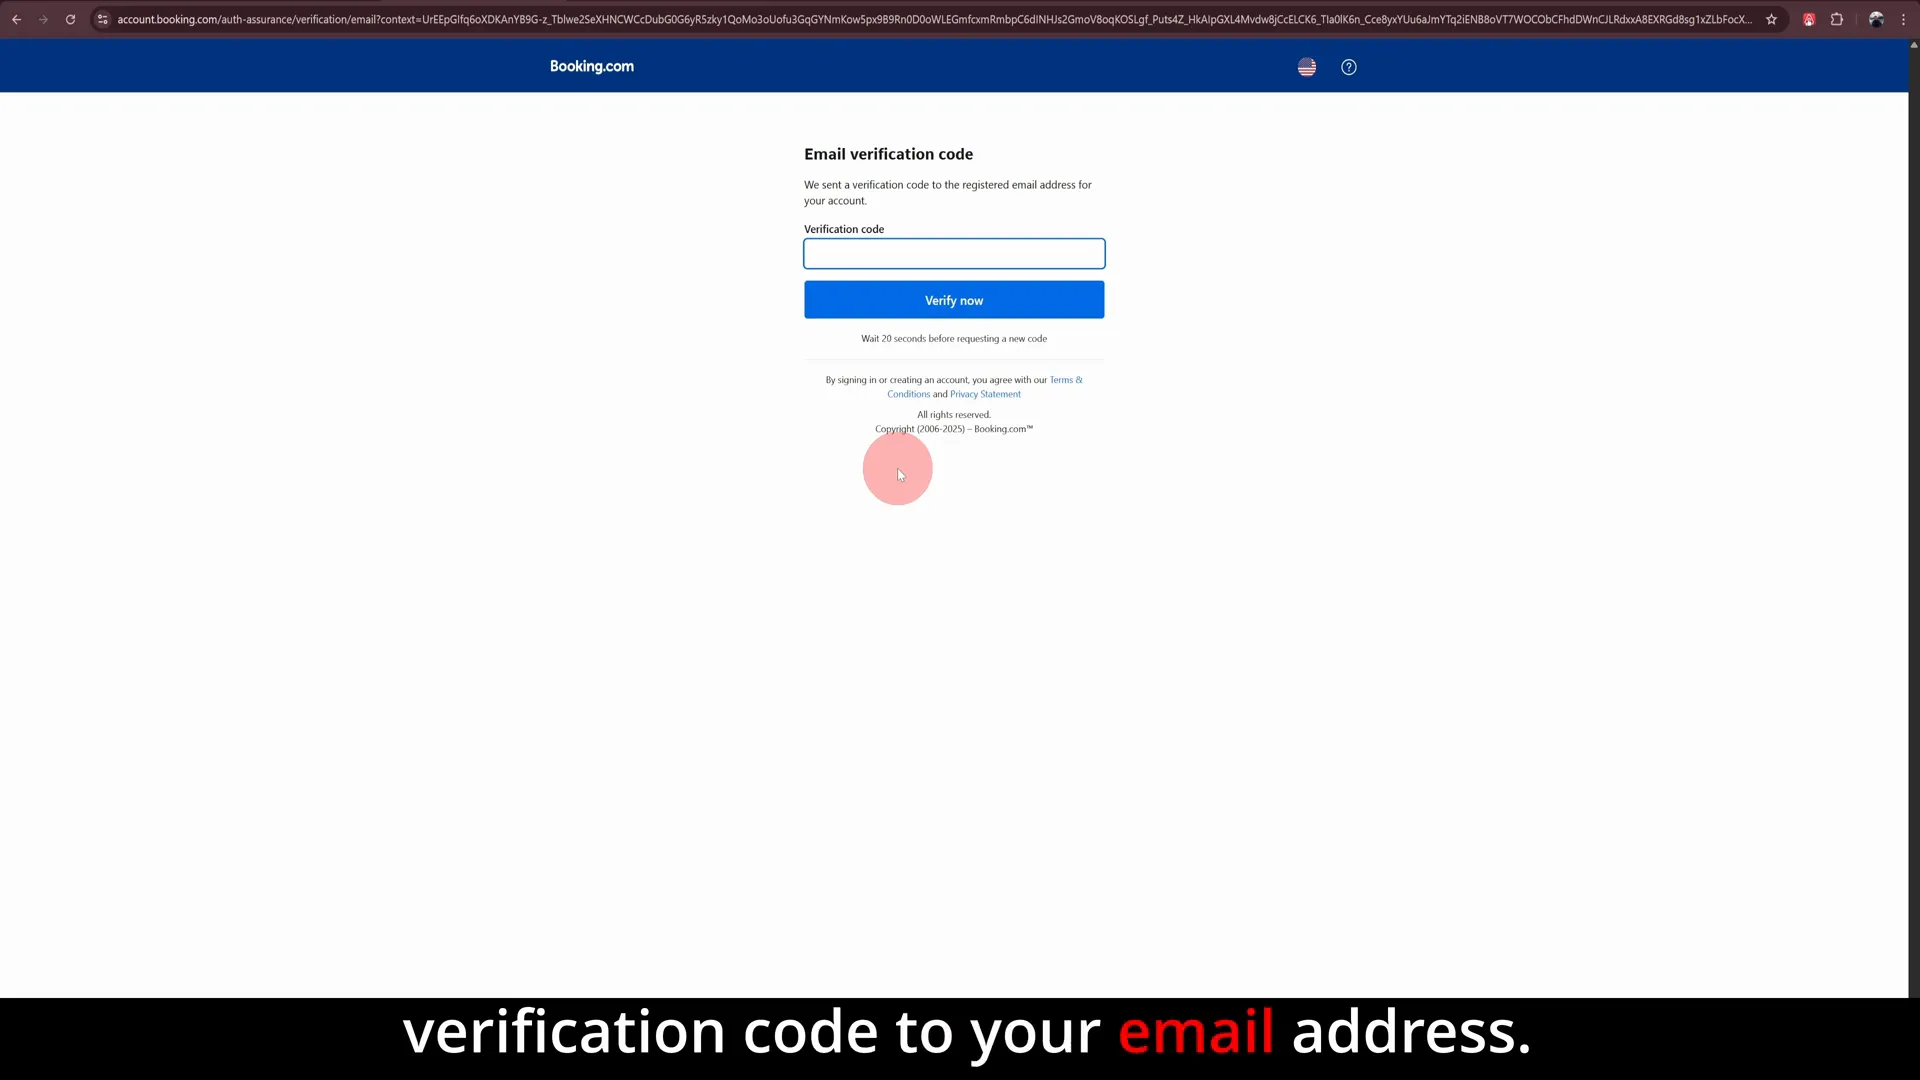
For security purposes, Booking.com will send a verification code to the email address associated with your host account. This step ensures that only authorised hosts can add or modify sensitive bank information.
Check your email inbox and enter the verification code you receive into the prompt on the extranet.
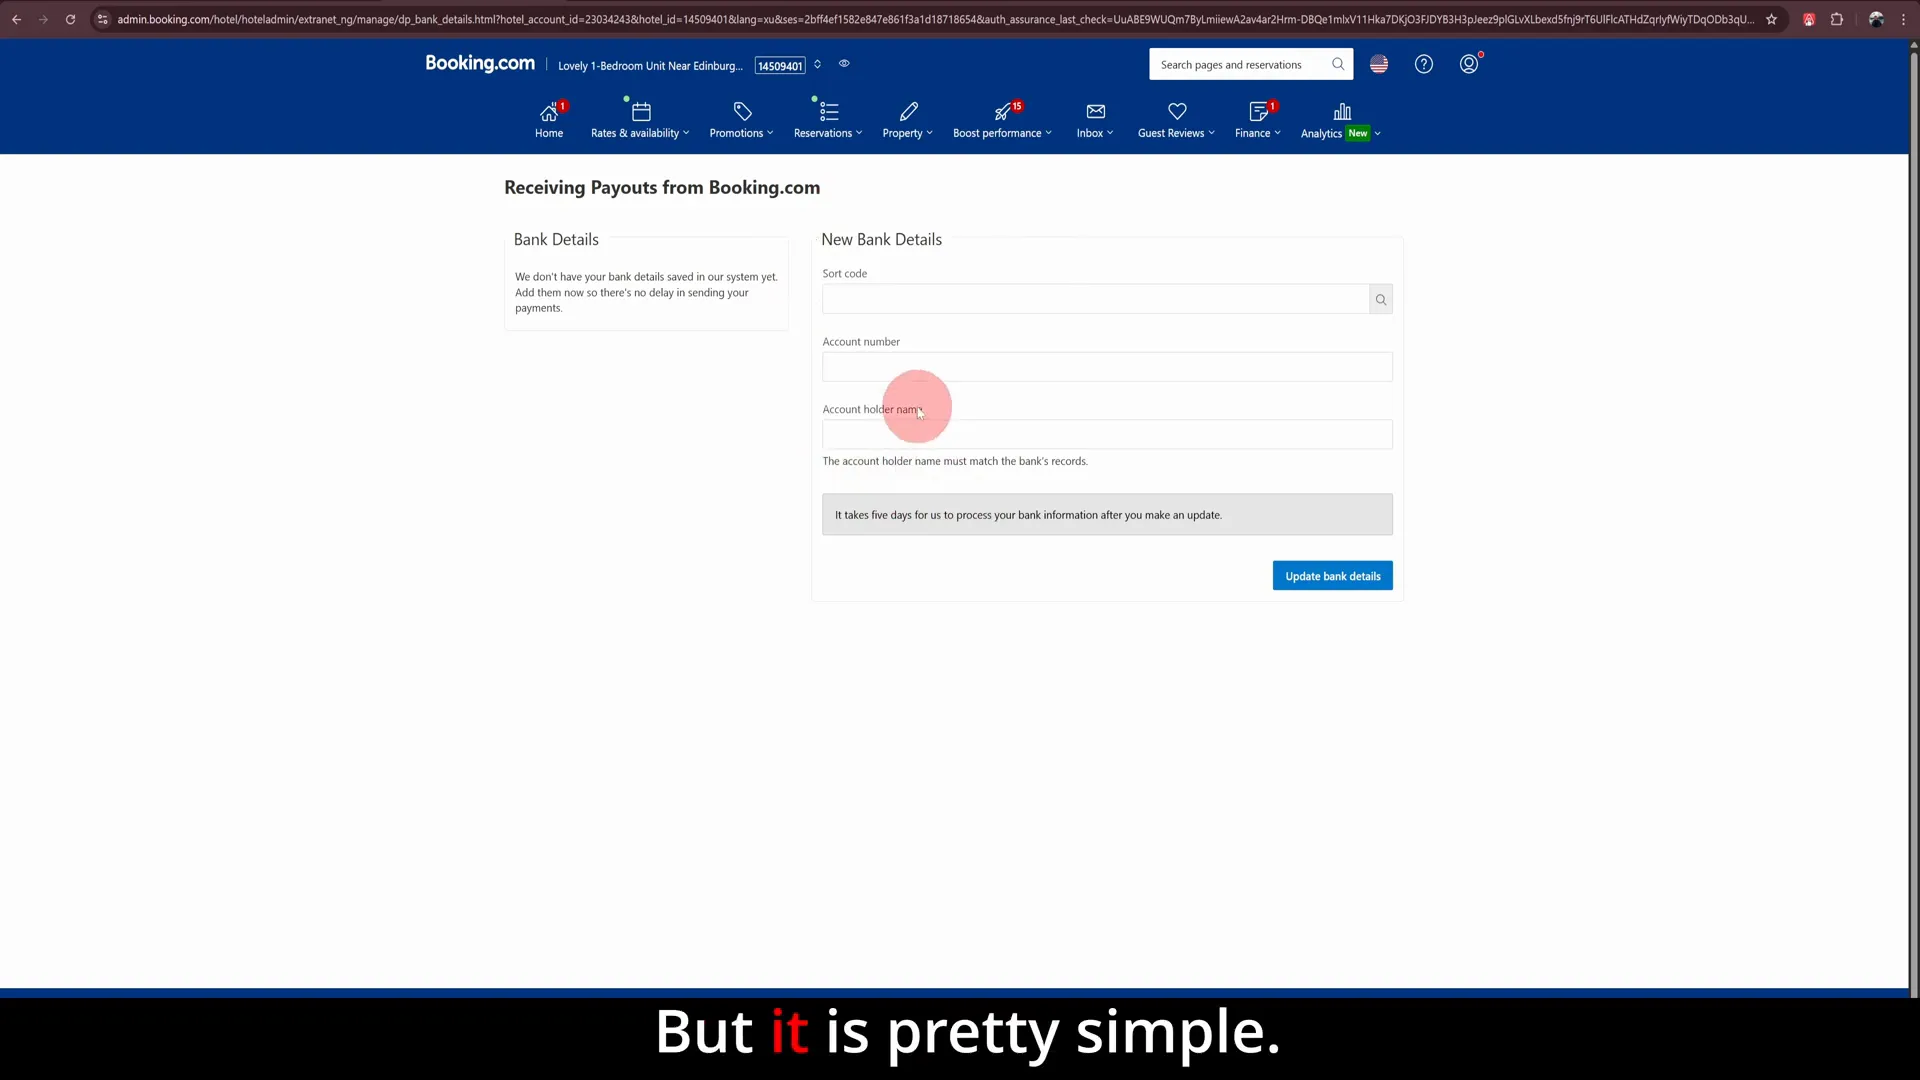
Step 5: Enter Your Bank Information Based on Your Country
Once verified, you’ll be taken to a screen where you can enter your bank details. The exact fields you see will depend on your country of residence because banking systems vary globally.
For example, as a UK host, the system will ask for your sort code and account number. In other countries, you may need to provide different details such as an IBAN, SWIFT/BIC code, or routing number.
Make sure to double-check your bank details for accuracy to avoid payment delays.
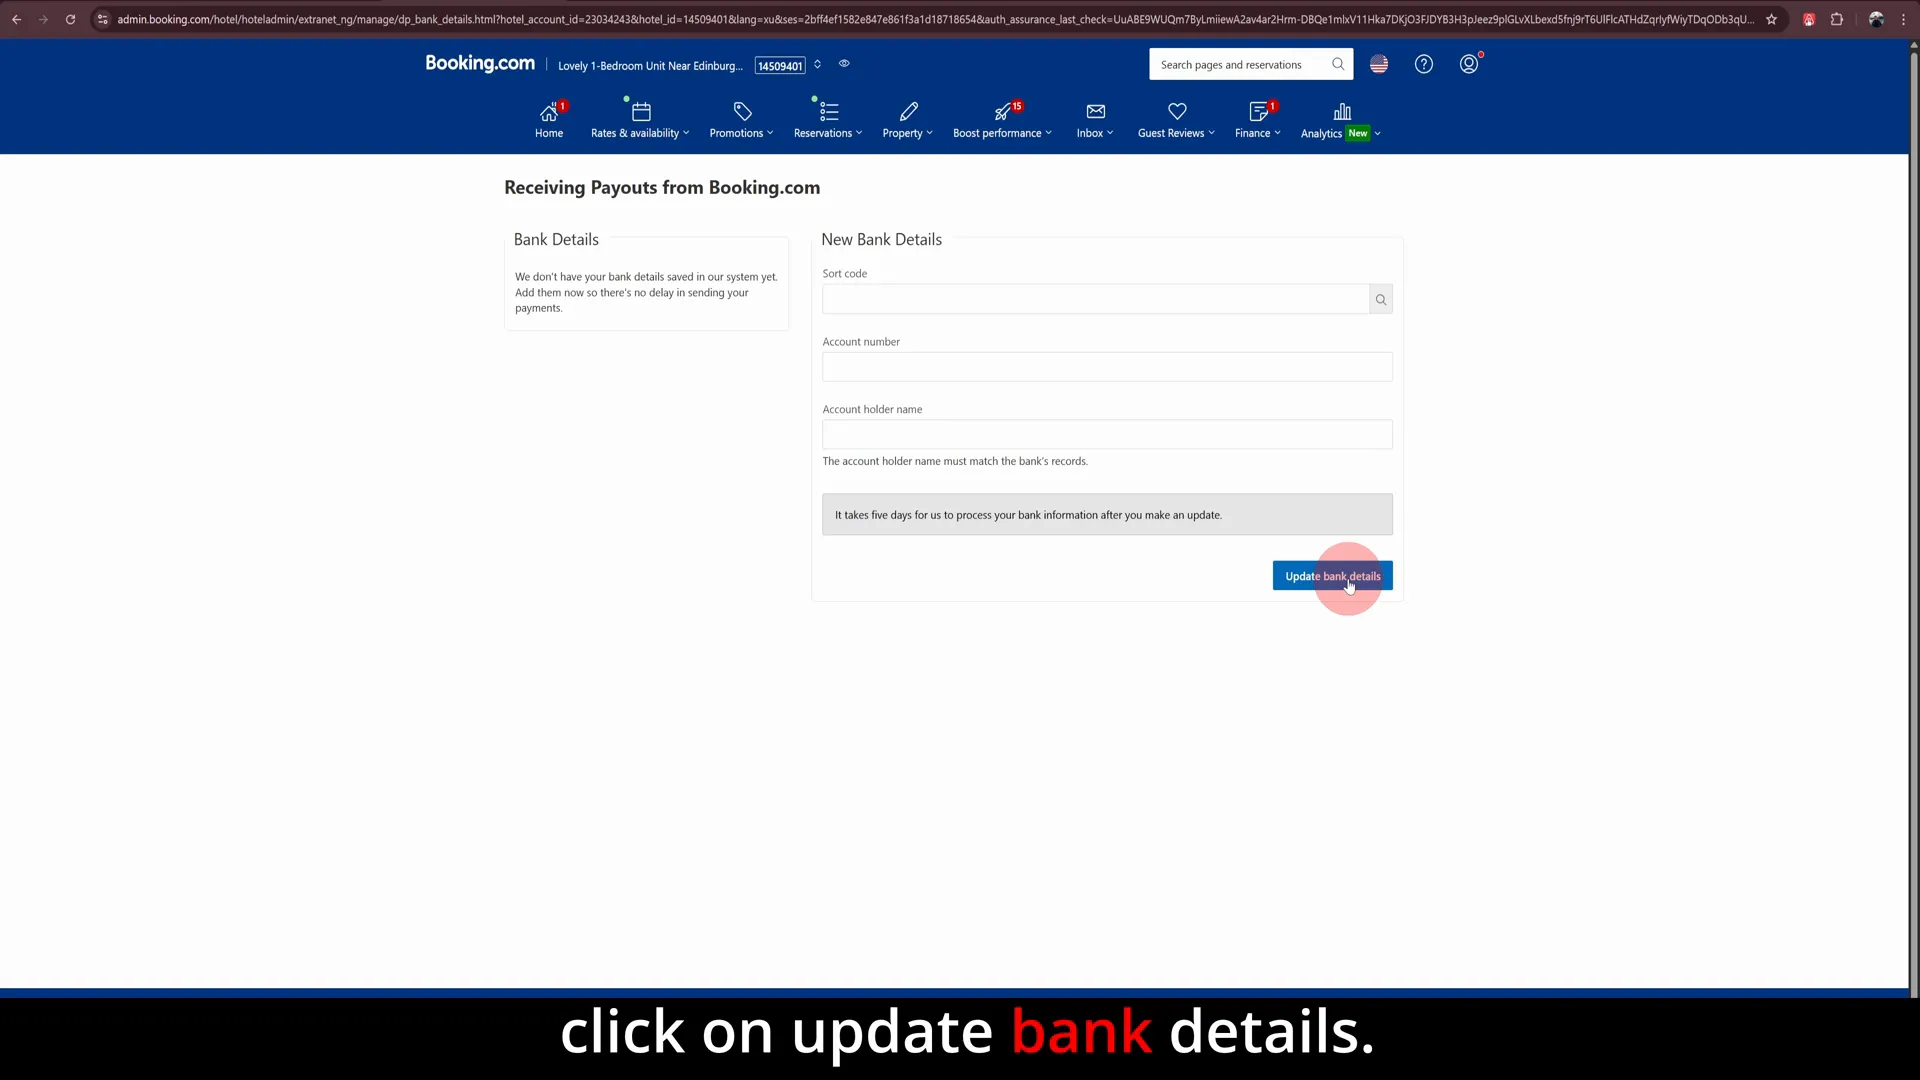
Step 6: Submit and Wait for Confirmation
After entering your bank details, click on Update bank details to submit the information. Booking.com typically takes around five working days to verify and properly add your bank account to your host profile.
During this period, keep an eye on your email or extranet notifications for confirmation or any requests for additional information.
Step 7: Set Your Payout Frequency (If Available)
Once your bank details are successfully added, you can manage how often you want to receive your payouts. Not all hosts or countries have this option yet, so if you see the payout frequency settings, consider yourself lucky!
To adjust this, return to the Finance Settings page under the Finance tab. Scroll down until you find the Payout Timings section.
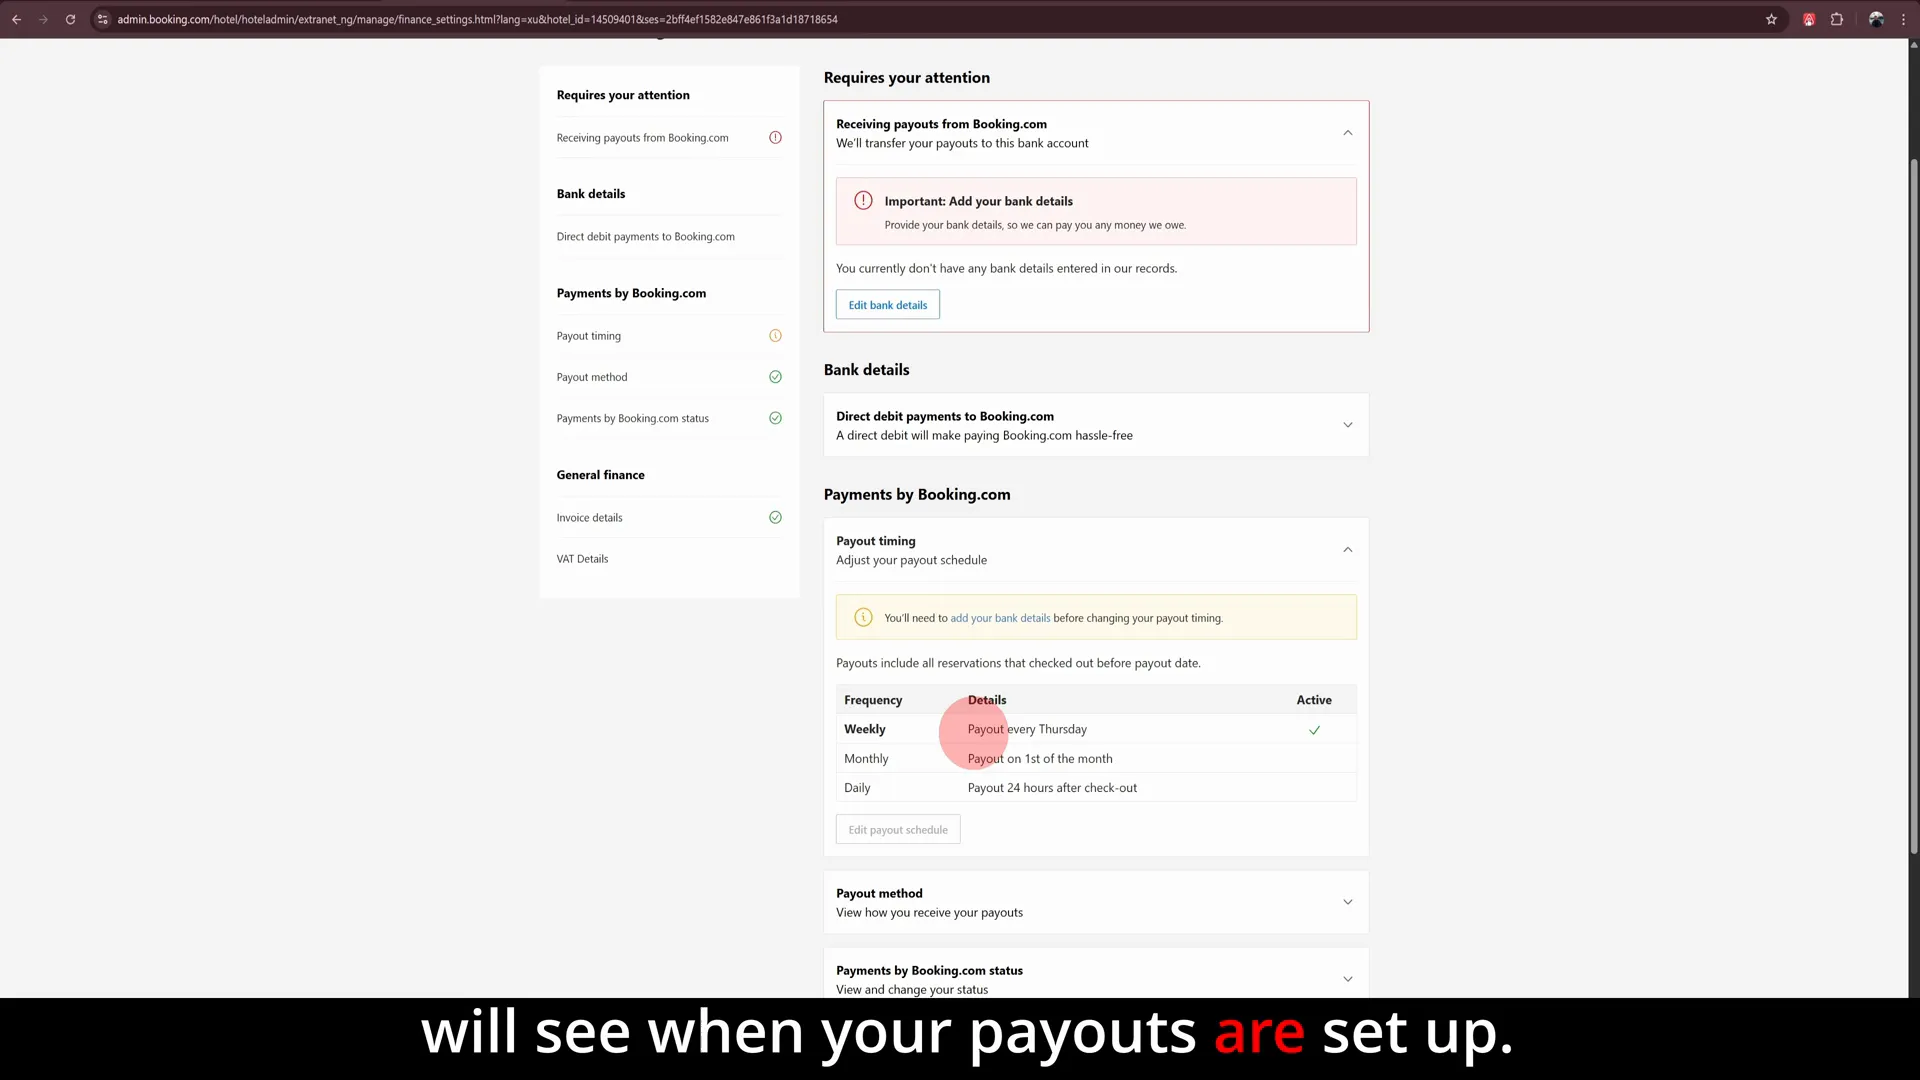
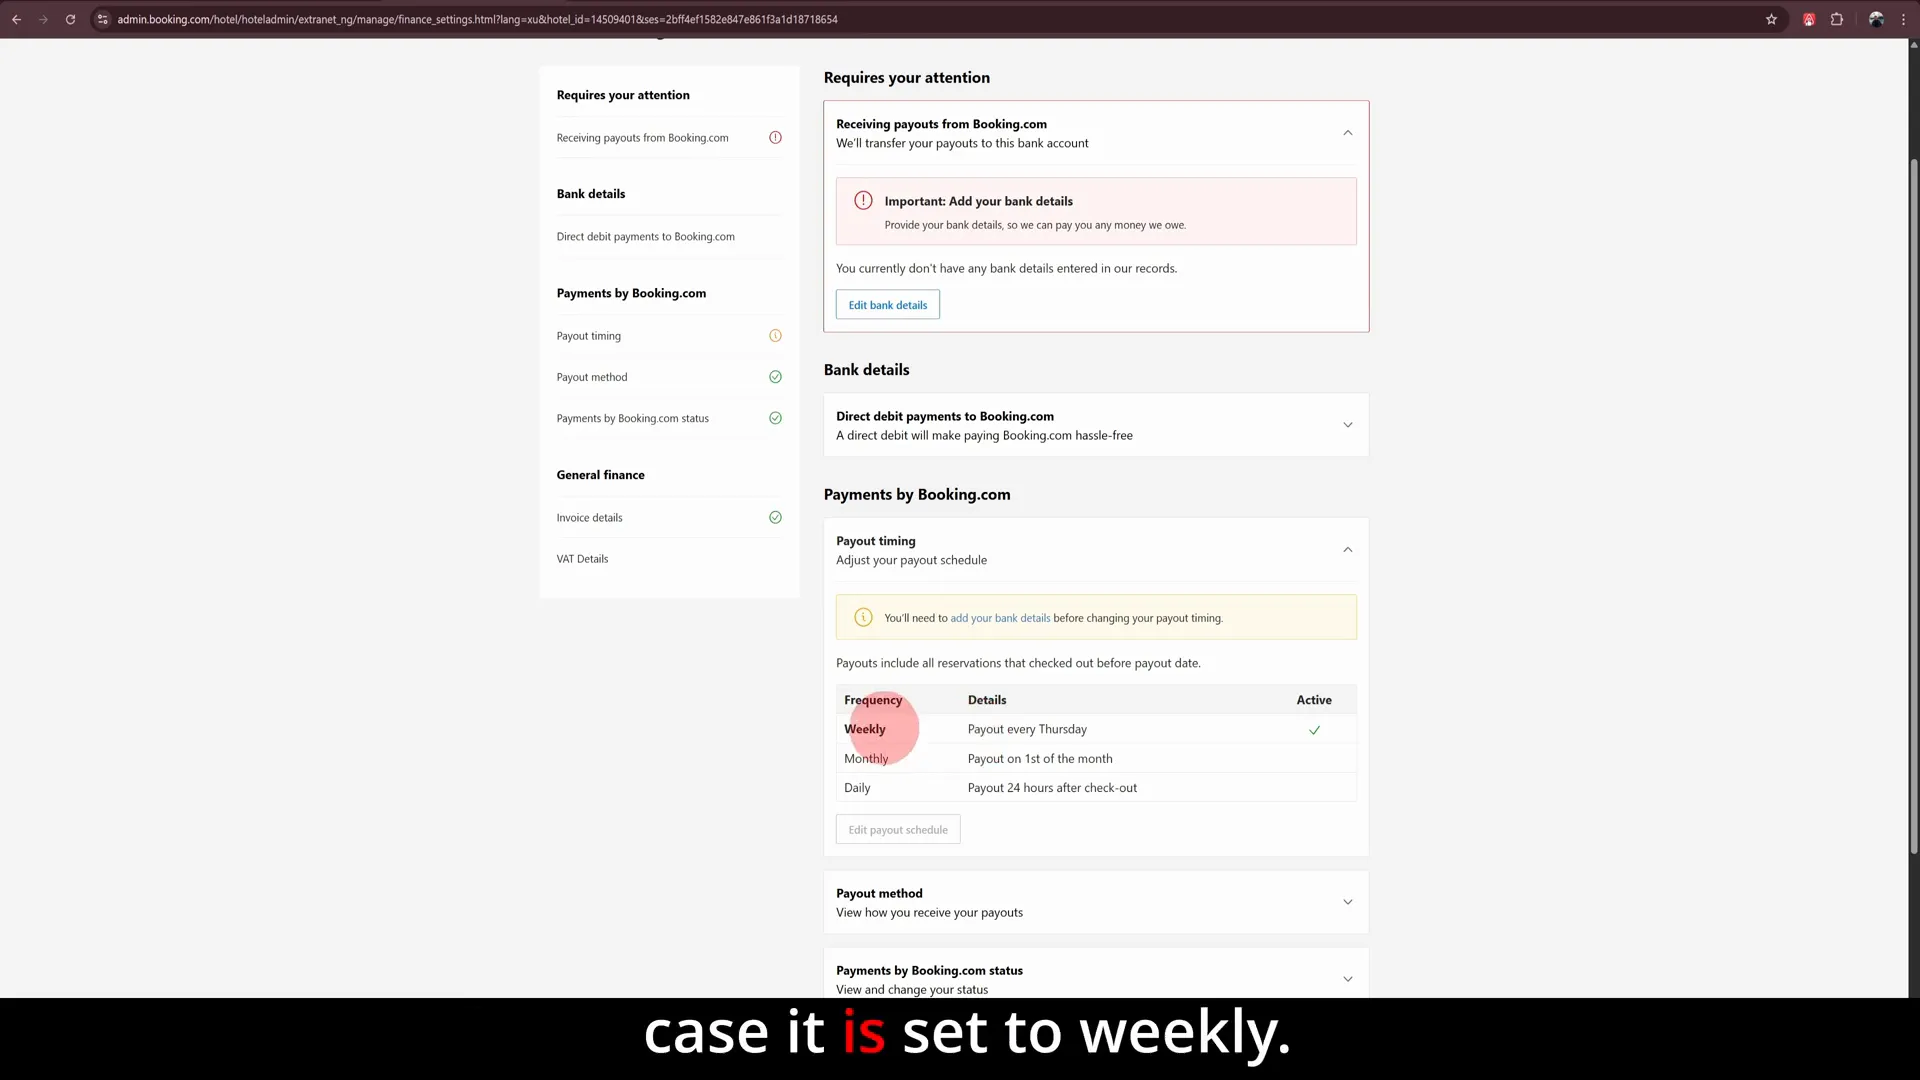
Here, you’ll see your current payout schedule, which might be weekly by default. You can choose to change it to daily or monthly payouts depending on your preference and what’s supported in your region.
Adjusting your payout frequency can help you better manage your cash flow and align payouts with your business needs.
Additional No-Nonsense Tips for Managing Your Booking.com Host Account
Beyond adding your bank details, here are some extra tips to keep your Booking.com host account running smoothly:
- Always use a desktop or laptop for sensitive updates: The extranet is designed for desktop use, especially for financial and property details.
- Keep your email address up to date: You’ll receive important verification codes and payment notifications via email.
- Double-check your bank details: Typos or incorrect information can delay payouts.
- Monitor your payout schedule: If the payout frequency option is available, adjust it according to your business needs.
- Verify your identity promptly: Booking.com may require additional verification to comply with local regulations.
Why Adding Bank Details Correctly Matters
One of the most common issues new hosts face on Booking.com is delayed or missed payouts. Ensuring your bank details are entered correctly and verified can prevent these headaches. If your payouts don’t arrive as expected, the first thing to check is your bank information in the extranet.
By following these No-Nonsense Tips, you’ll minimise errors and get paid on time, helping you maintain a healthy cash flow to keep your short-term rental business thriving.
Troubleshooting Common Issues
If you encounter any problems during this process, here are some troubleshooting tips:
- Verification code not received: Check your spam/junk folder and ensure your email address in the extranet is correct.
- Bank details not accepted: Confirm you’re entering the correct format for your country. Contact your bank if unsure.
- Payouts not arriving: Verify that your bank details have been approved and check your payout schedule settings.
- Cannot find payout frequency option: This feature is not available in all countries or for all hosts yet.
Wrapping Up
Adding and managing your bank details in your Booking.com host account doesn’t have to be complicated. By following this step-by-step guide packed with No-Nonsense Tips, you’ll be set up to receive your payouts securely and on time.
Remember to always use your computer to access the extranet for financial updates, verify your email promptly, and double-check your banking information. If the payout frequency option is available to you, take advantage of it to customise how often you get paid.
With your bank details properly configured, you can focus on delivering great guest experiences and growing your short-term rental business with confidence.
Wishing you smooth payouts and happy hosting!