Airbnb Hosting Tips: How to Add an Ensuite Bathroom to Your Airbnb Listing
Welcome to the world of Airbnb hosting! If you have an ensuite or private bathroom in your property, it's essential to showcase this feature effectively in your listing. Not only does it enhance the guest experience, but it can also significantly increase your booking rates. In this guide, we'll walk you through the steps to add an ensuite bathroom to your Airbnb listing using simple and straightforward methods. So, let's dive in!
Table of Contents
- Step 1: Log into Your Airbnb Account
- Step 2: Navigate to Your Listings
- Step 3: Access the Listing Editor
- Step 4: Select the Bedroom with the Ensuite
- Step 5: Update Sleeping Arrangements
- Step 6: Configure Privacy Info
- Step 7: Enable the Ensuite Feature
- Step 8: Benefits of Highlighting an Ensuite Bathroom
- Step 9: Review Your Listing
- Step 10: Monitor Your Bookings
- Frequently Asked Questions
- Conclusion
Step 1: Log into Your Airbnb Account
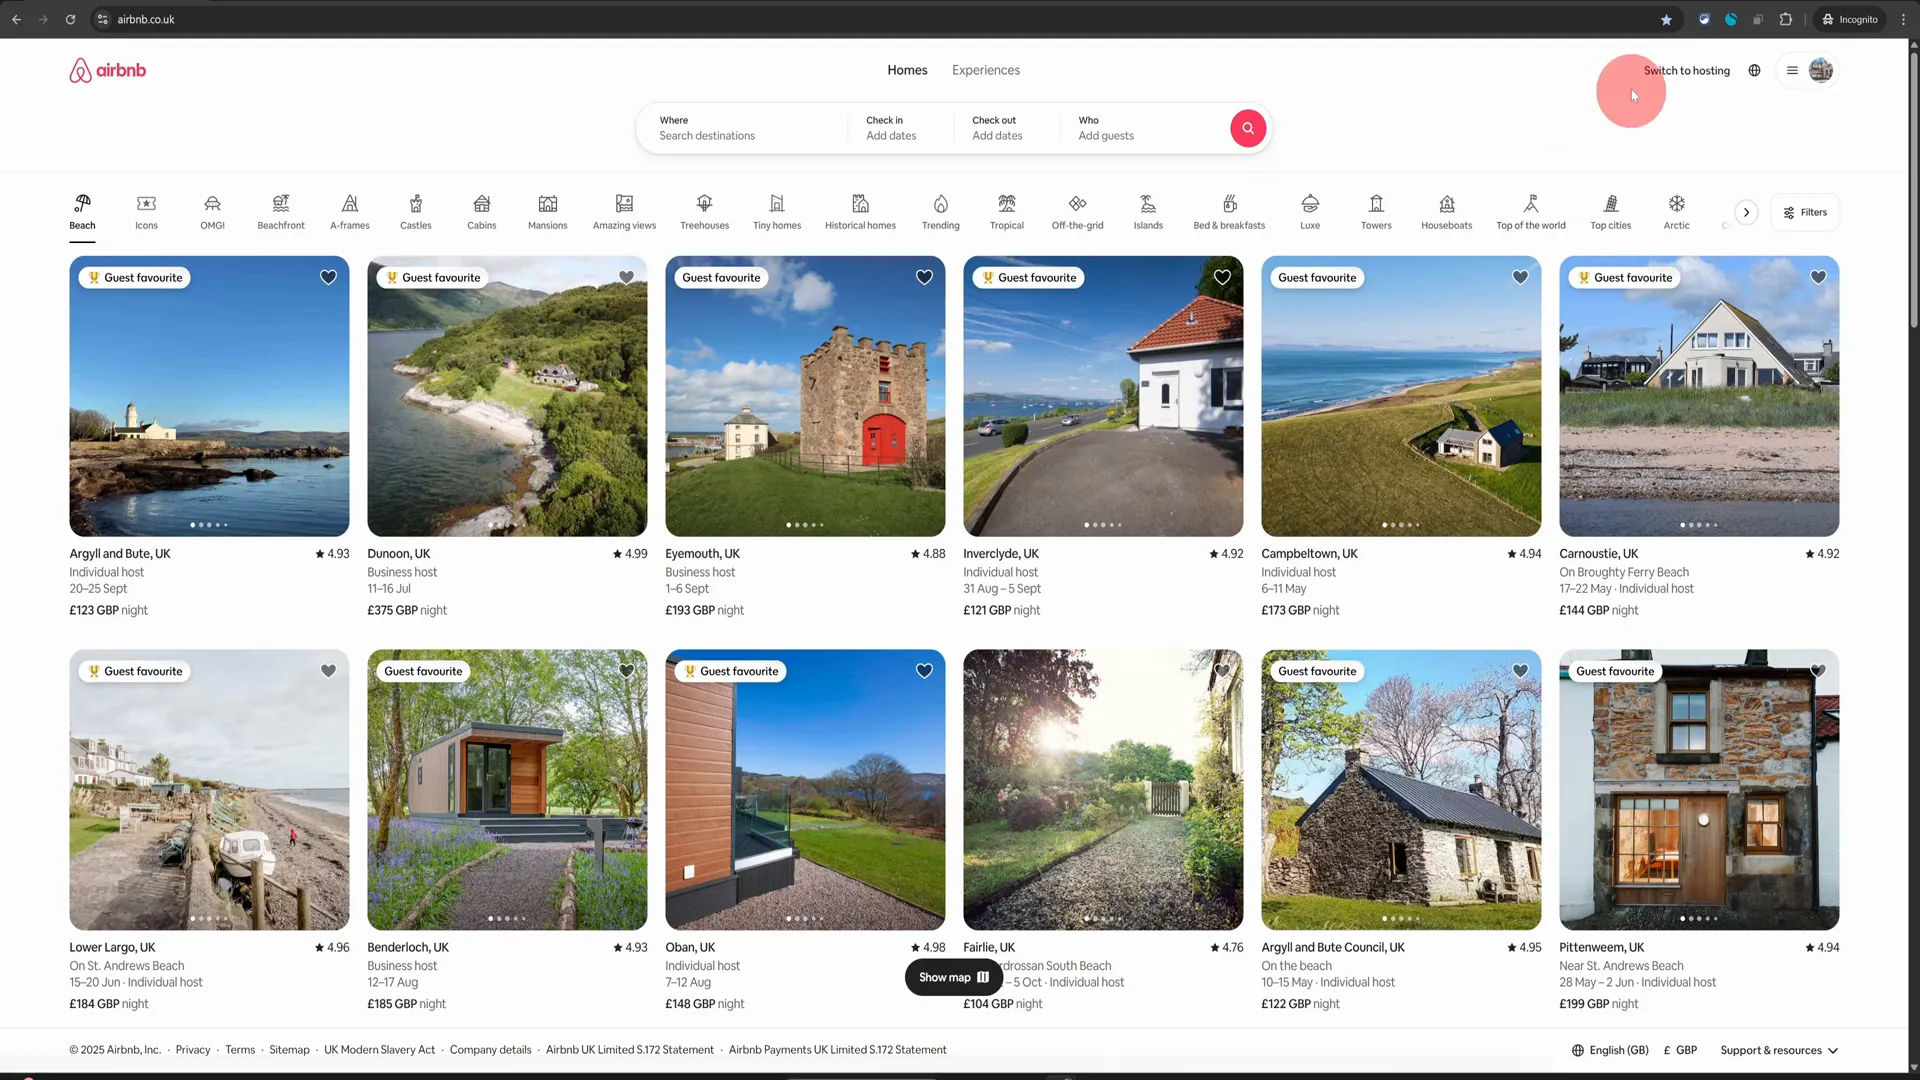
First things first, you'll want to access your Airbnb account from a computer. While the mobile app is handy for on-the-go management, certain features–like configuring your listing–are much easier to navigate on a desktop. Once you're logged in, look for the Switch to Hosting button located at the top right of the screen. This will bring you to your hosting dashboard.
Step 2: Navigate to Your Listings
In your hosting dashboard, you'll see several options. Click on Listings located in the top menu. This section is where all your property listings are displayed. Here, you can manage and edit each listing individually.
Step 3: Access the Listing Editor
Once you click on Listings, you'll be taken to a page displaying all your properties. Choose the property that has the ensuite bathroom you want to configure. Click on that listing, and it will open up the listing editor. By default, it will land you on a screen that provides an overview of your property’s details.
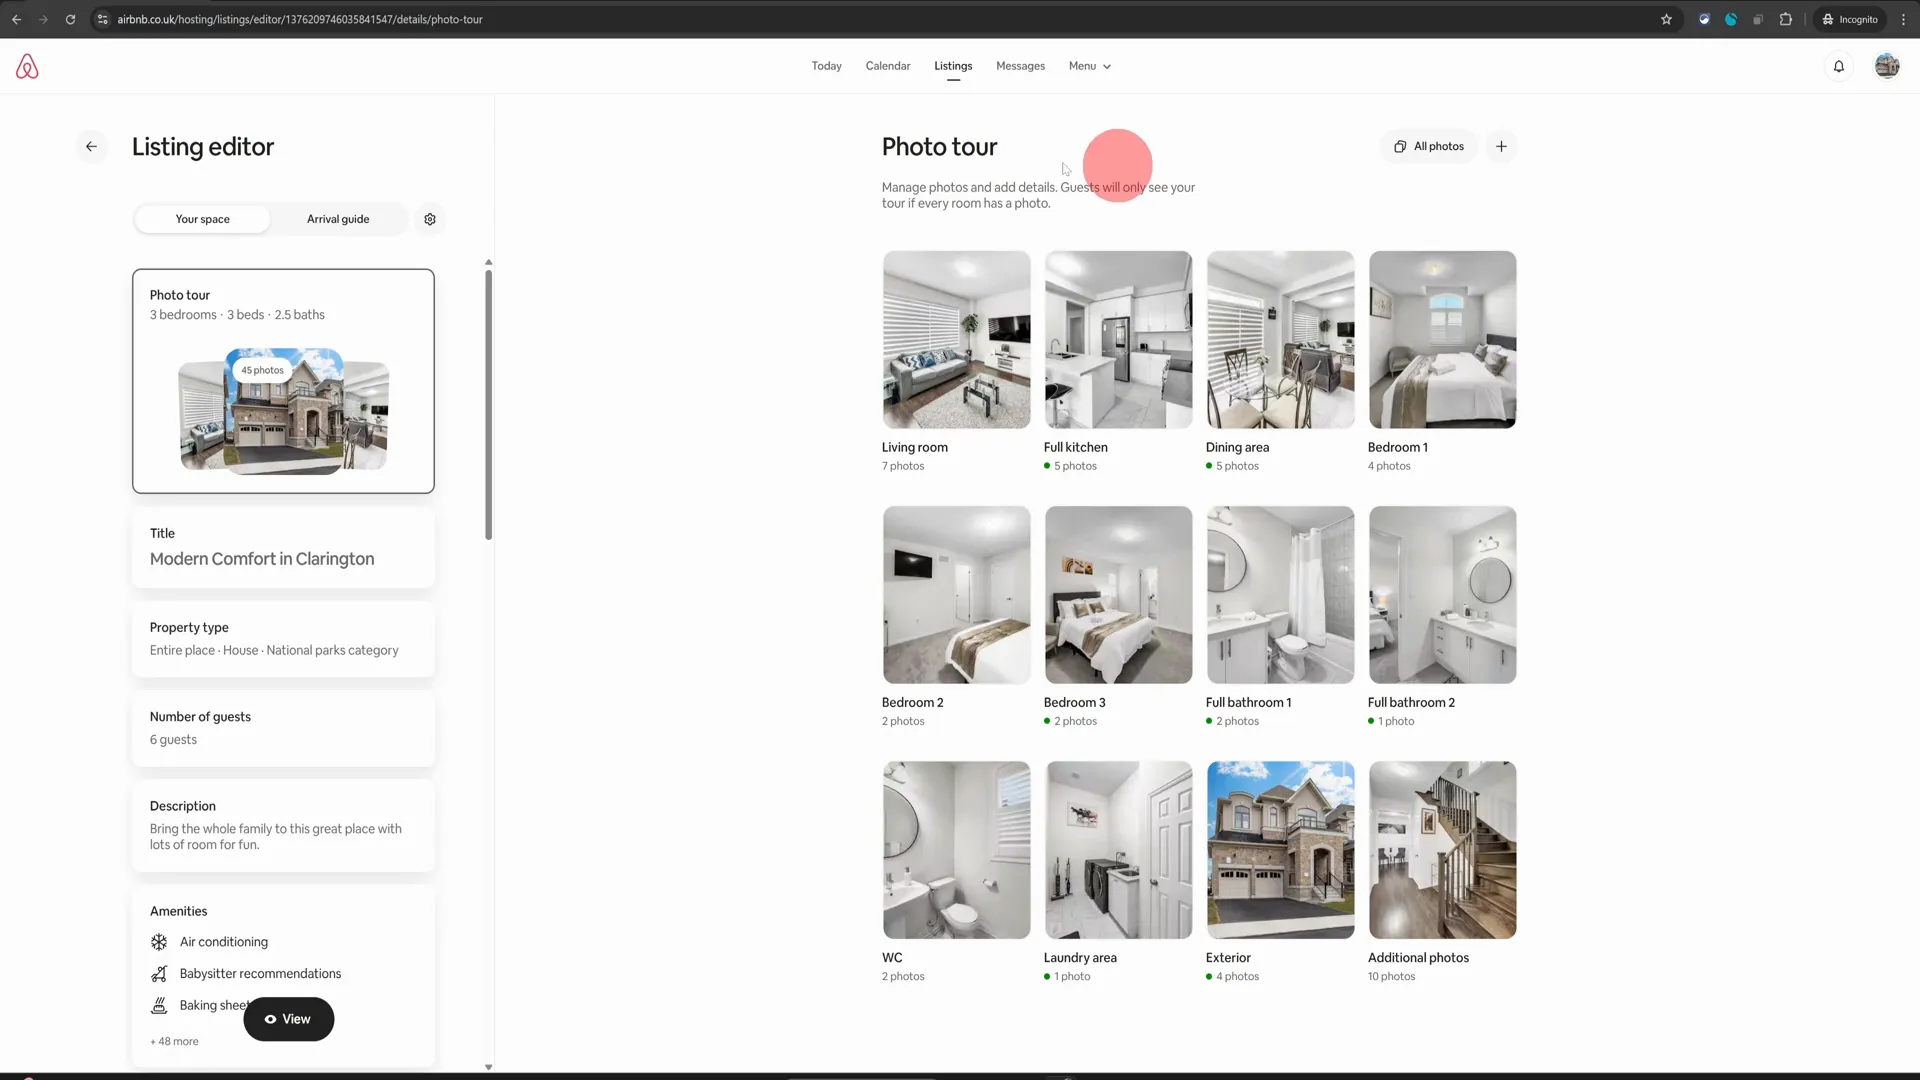
Step 4: Select the Bedroom with the Ensuite
Now, let’s assume you have an ensuite bathroom in Bedroom Number Two. Click on that bedroom to access its specific settings. On the next page, you'll notice several options related to the room's features.
Step 5: Update Sleeping Arrangements
The first option you’ll encounter is Sleeping Arrangements. This section allows you to specify the types of beds available in that room. It’s crucial to provide accurate information here to ensure guests know exactly what to expect during their stay.
Step 6: Configure Privacy Info
After you’ve updated the sleeping arrangements, look for the Privacy Info section. This is where you can highlight the unique features of the room, including the ensuite bathroom. Click on this section, and you will see an option for Private Attached Bathroom.
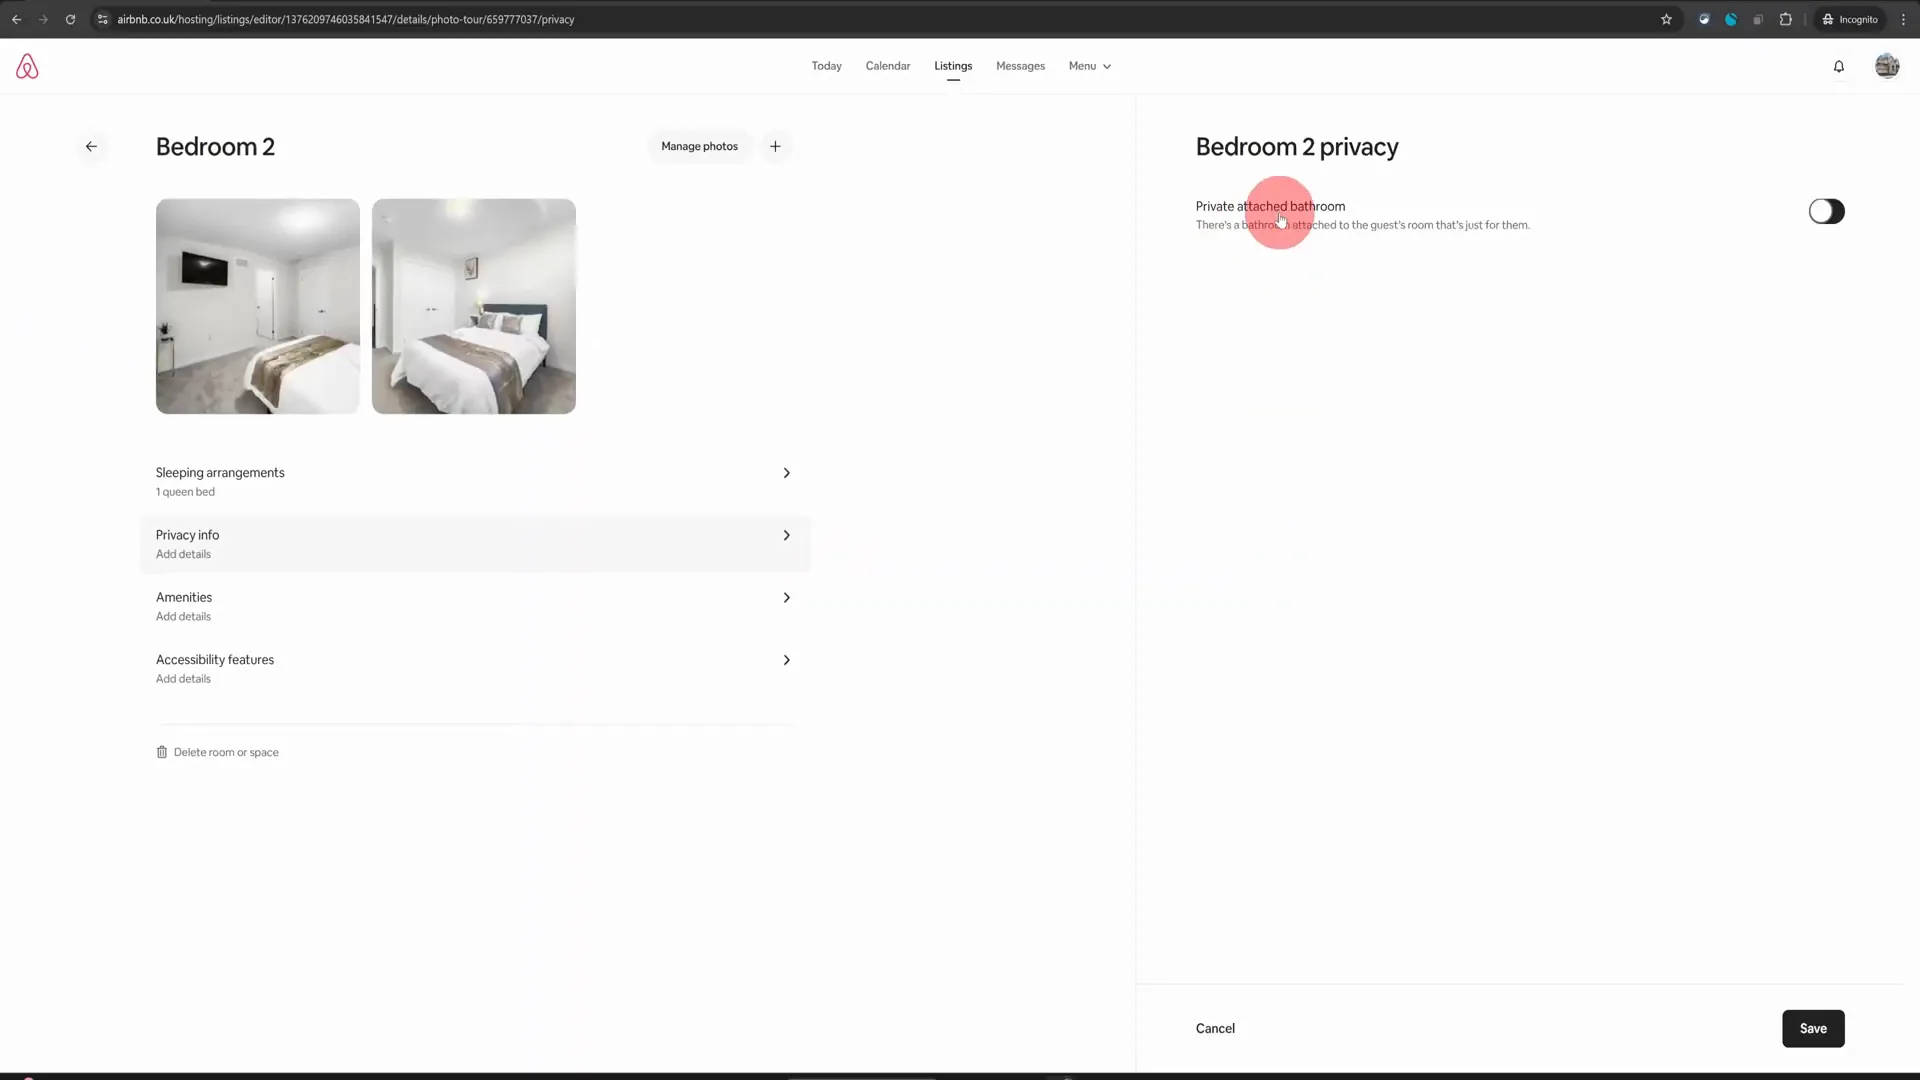
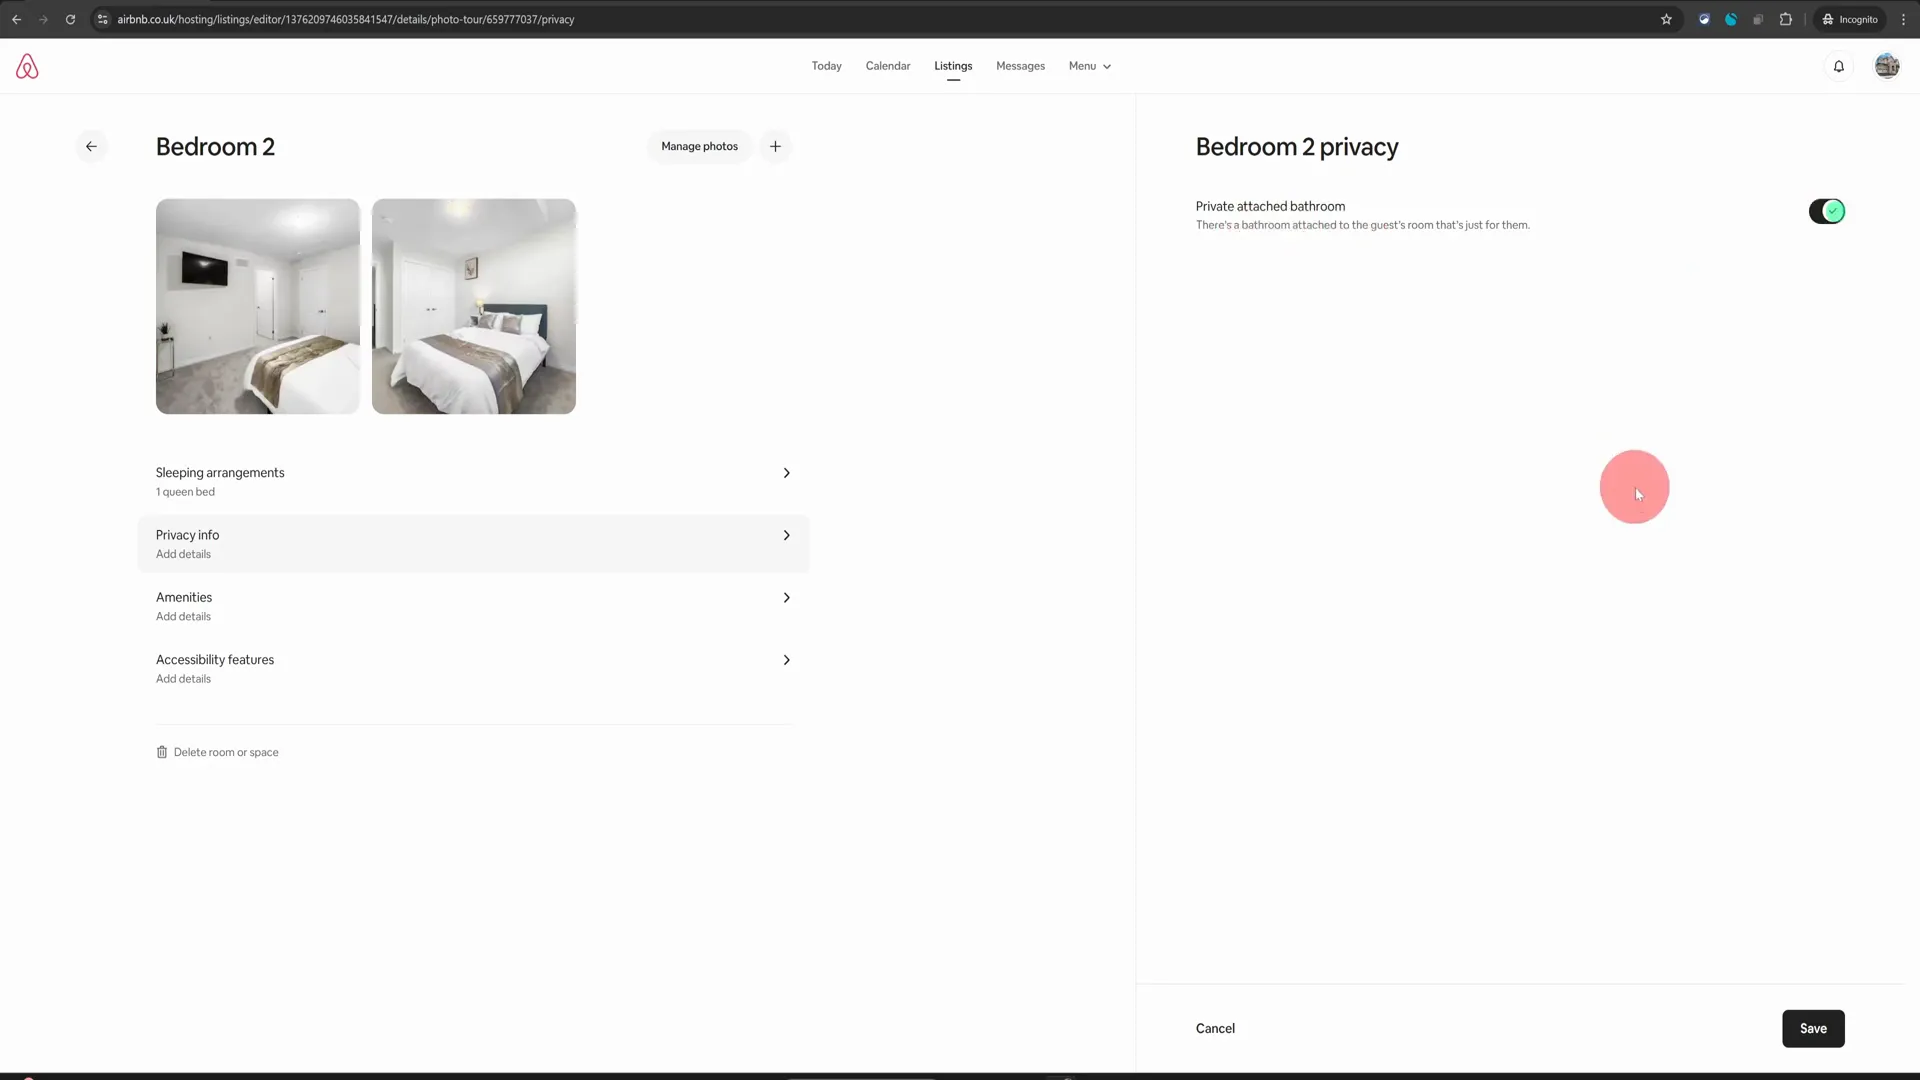
Step 7: Enable the Ensuite Feature
To add the ensuite bathroom feature, simply toggle the button to the On position. Once you do this, make sure to click on Save to ensure your changes are recorded. This small step can make a significant difference in how your listing appears to potential guests.
Step 8: Benefits of Highlighting an Ensuite Bathroom
Once you’ve added the ensuite bathroom feature, Airbnb will start highlighting this amenity on your listing. Why is this important? Guests often search for properties that offer comfort and privacy, and an ensuite bathroom can be a key selling point. By showcasing this feature, you’re likely to attract more bookings, especially from guests who value their personal space.
Step 9: Review Your Listing
After saving your changes, take a moment to review your listing. Make sure that all the information is accurate and that the ensuite feature is displayed prominently. This is also a good time to check other aspects of your listing, such as photos and descriptions, to ensure everything aligns with your offering.
Step 10: Monitor Your Bookings
Once your listing is updated, keep an eye on your bookings. You may notice an increase in inquiries and reservations, thanks to the added visibility of your ensuite bathroom. Don’t forget to respond promptly to any messages from potential guests to maintain a good relationship and encourage bookings.
Frequently Asked Questions
1. Why should I highlight an ensuite bathroom in my listing?
Highlighting an ensuite bathroom can significantly enhance your property's appeal, as many guests prioritize privacy and comfort. It can lead to more bookings and higher guest satisfaction.
2. Can I add multiple ensuite bathrooms to my listing?
Yes, you can configure multiple ensuite bathrooms by following the same steps for each bedroom that has this feature. Just ensure you toggle the appropriate options for each room.
3. Will adding an ensuite bathroom increase my nightly rate?
Yes, properties with ensuite bathrooms can often command higher nightly rates due to the added comfort and privacy they offer guests. However, it's essential to assess your local market to determine a competitive price.
4. How can I make my listing stand out even more?
In addition to highlighting the ensuite bathroom, consider improving your listing’s overall appeal by adding high-quality photos, writing a compelling description, and gathering positive guest reviews.
Conclusion
In summary, adding an ensuite bathroom to your Airbnb listing is a straightforward process that can significantly enhance your property's attractiveness. By following these steps, you can ensure that potential guests are aware of this valuable feature, leading to increased bookings and more satisfied guests. Remember, every small detail counts in the competitive world of Airbnb hosting. So go ahead, make those updates, and watch your bookings soar!
Thank you for joining me on this journey to improve your Airbnb hosting experience. For more tips and tricks, feel free to explore additional resources or connect with me directly for a FREE listing review. Happy hosting!