No-Nonsense Tips: What is Booking.com Extranet and How to Access It?
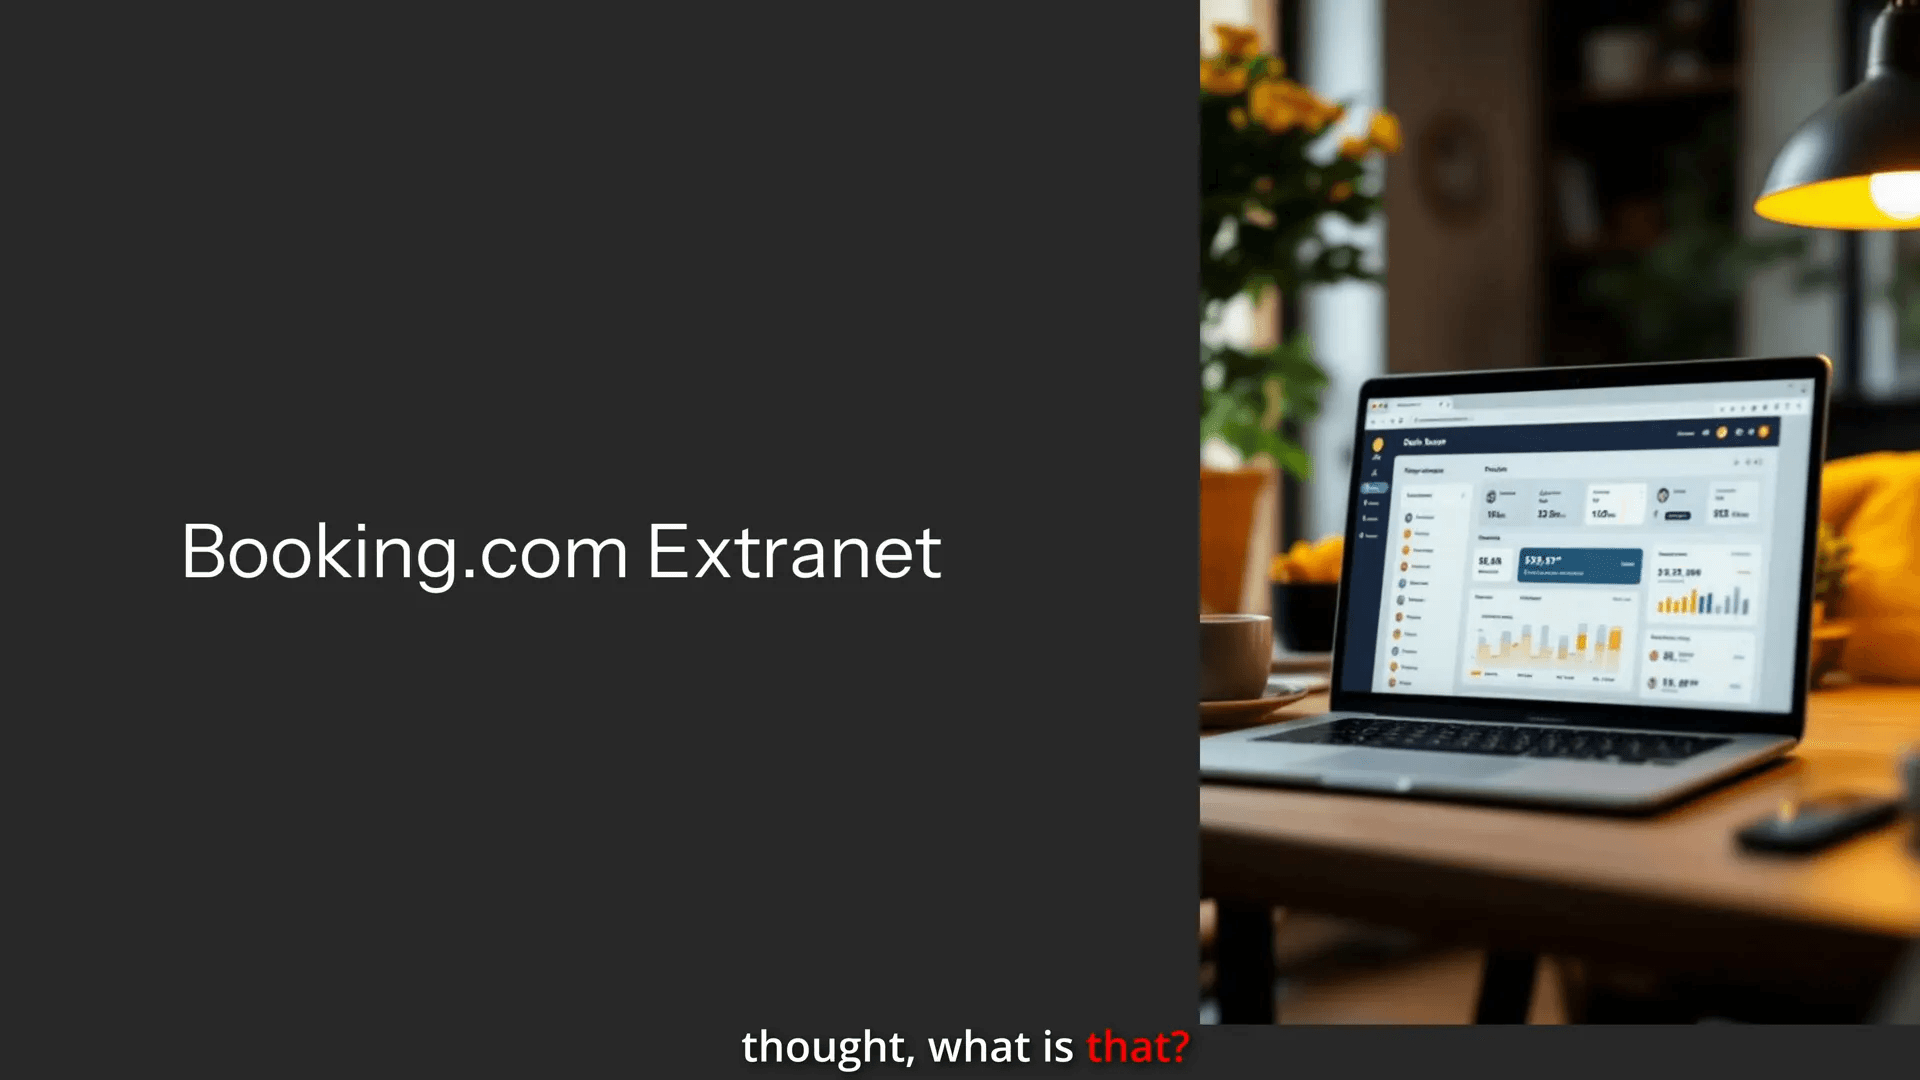
Welcome to your comprehensive guide on mastering the Booking.com Extranet – an essential tool for anyone hosting on Booking.com. If you’ve recently listed your property or are just starting your hosting journey, you might have come across the term Extranet and wondered what it actually means and why it’s so important.
This article will walk you through everything you need to know about the Extranet: what it is, how to log in, why you must check it daily, and how it differs from the regular Booking.com site that travellers use. These No-Nonsense Tips will empower you to take full control of your property management on Booking.com, ensuring you never miss a booking or a check-in again.
Let’s dive in step-by-step and make sure you’re confident using the Extranet like a pro.
Step 1: Understanding What the Booking.com Extranet Is
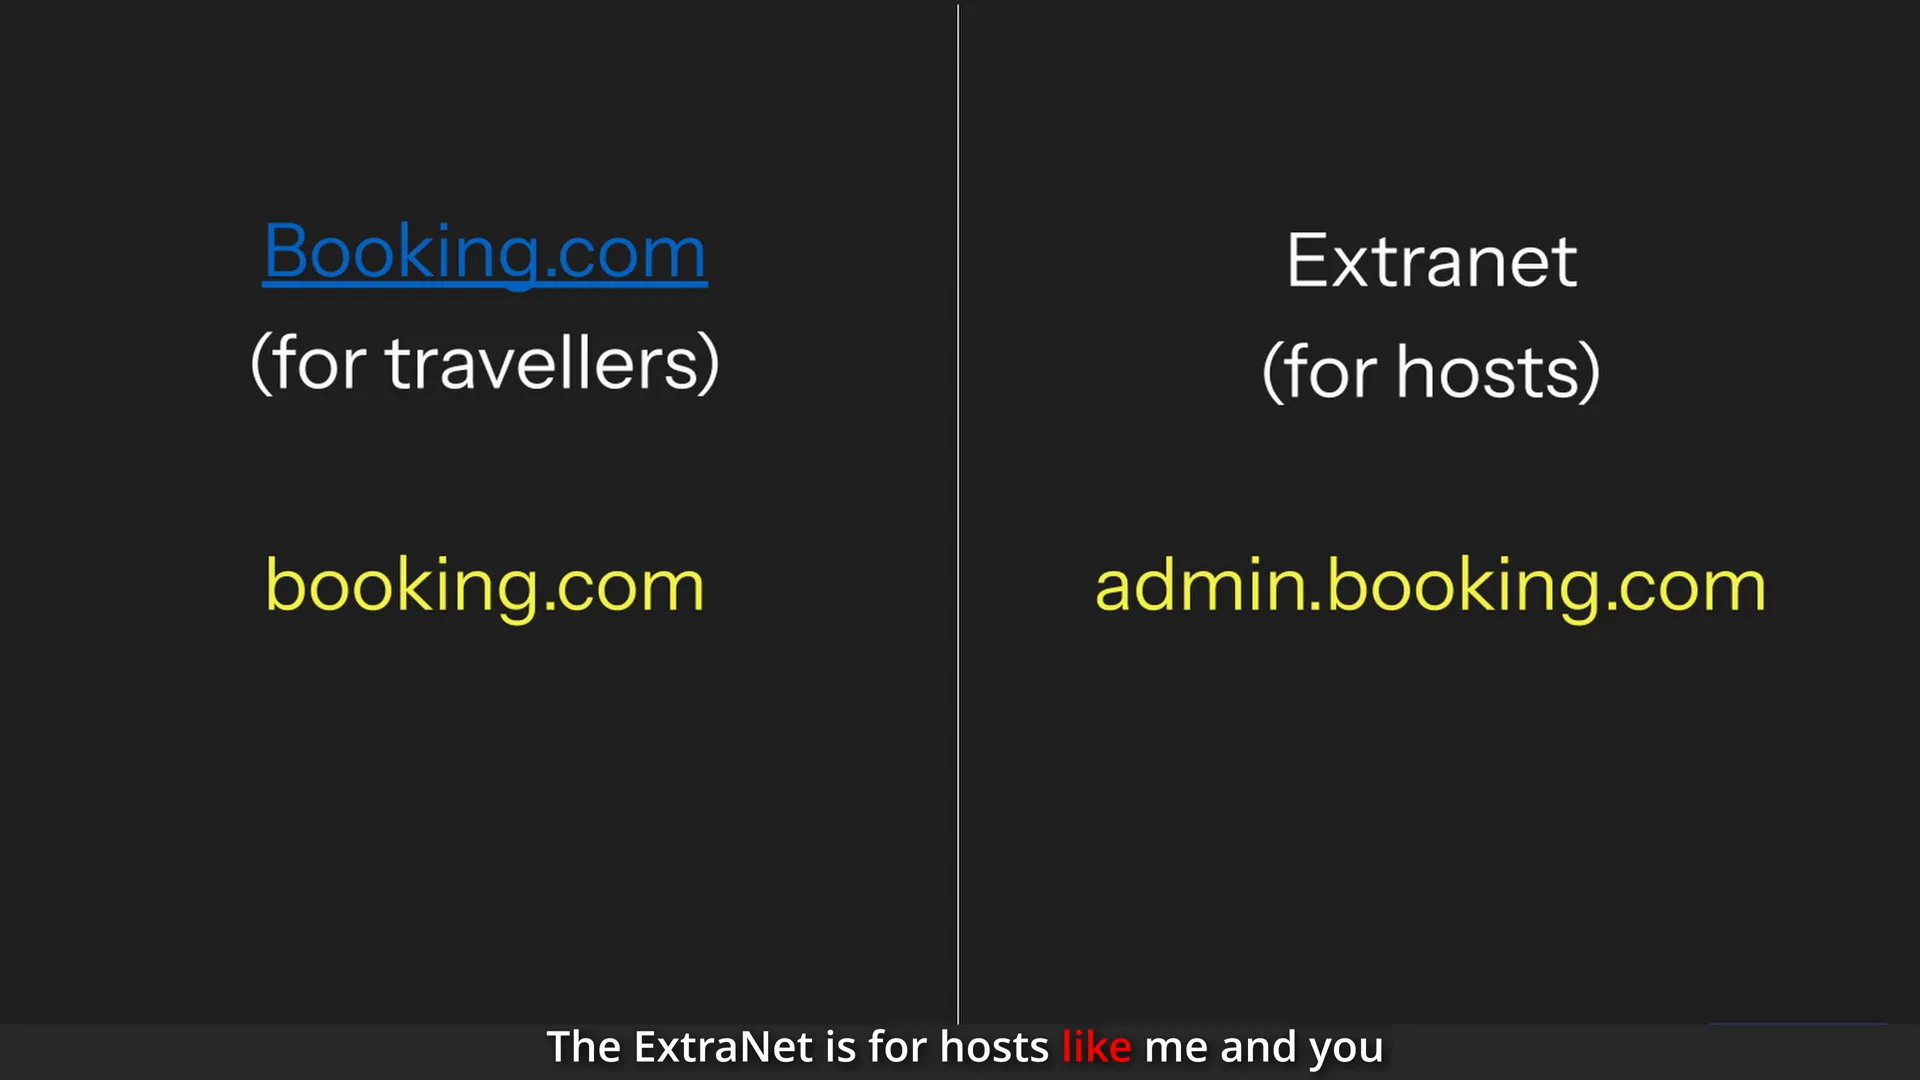
First things first: what exactly is the Booking.com Extranet? Simply put, the Extranet is the dedicated platform where you, as a host, manage your property on Booking.com. It’s different from the standard Booking.com website, which is designed for travellers to browse and book accommodations.
The Extranet serves as your personal command centre. This is where you handle everything related to your listing such as:
- Managing bookings
- Setting and adjusting prices
- Updating your calendar availability
- Responding to guest messages
- Uploading and editing photos of your property
- Viewing reservation details and guest information
Think of the Extranet as the control panel that keeps your property running smoothly on Booking.com. Without it, you’d be relying solely on emails or third-party notifications, which can be unreliable and easy to miss.
Many new hosts confuse the Extranet login with the regular Booking.com site. But they serve two very different purposes. Booking.com’s main site is for guests to book stays. The Extranet is strictly for hosts to manage their listings.
Step 2: How to Log In to the Extranet
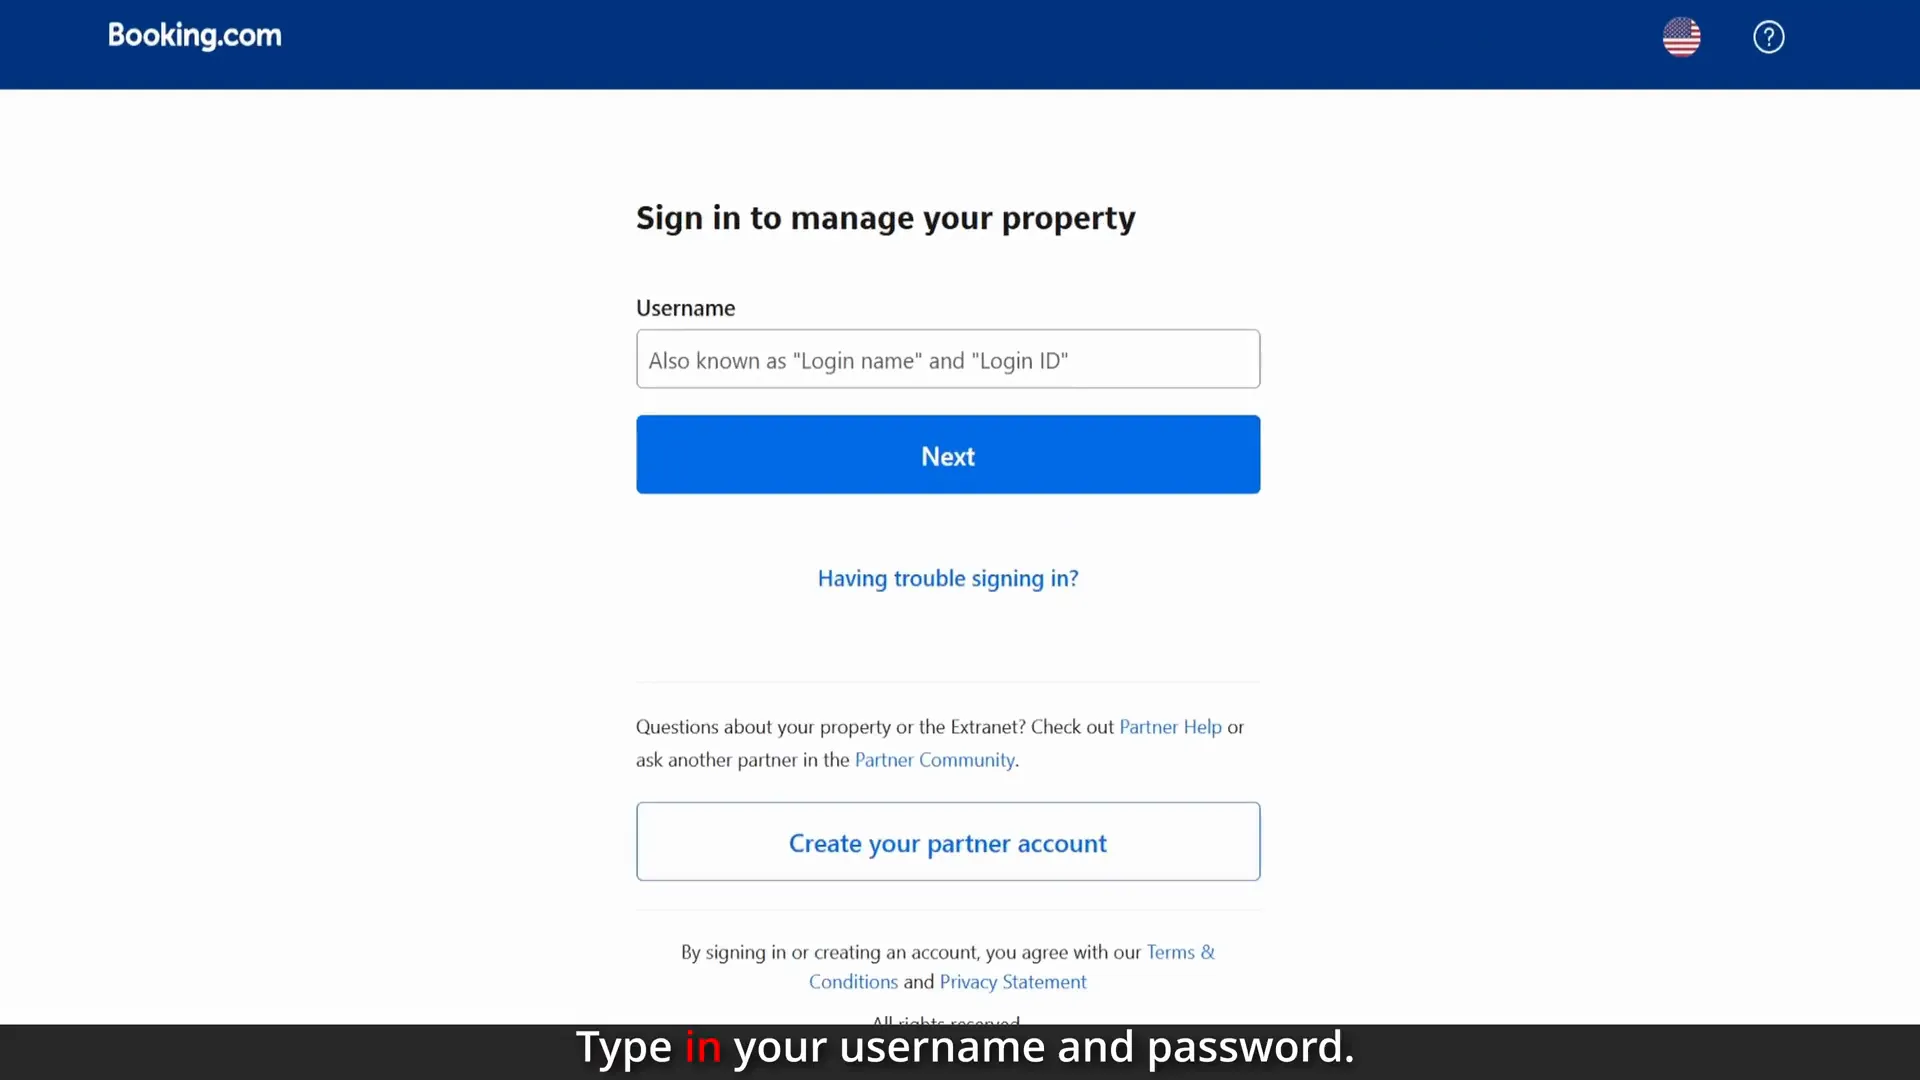
Accessing the Extranet is straightforward once you know where to go. The key is to use the correct URL: admin.booking.com. This is the dedicated login page for hosts.
Here’s your simple login process:
- Open your browser and go to admin.booking.com. This is NOT the same as booking.com, so be careful not to mix it up.
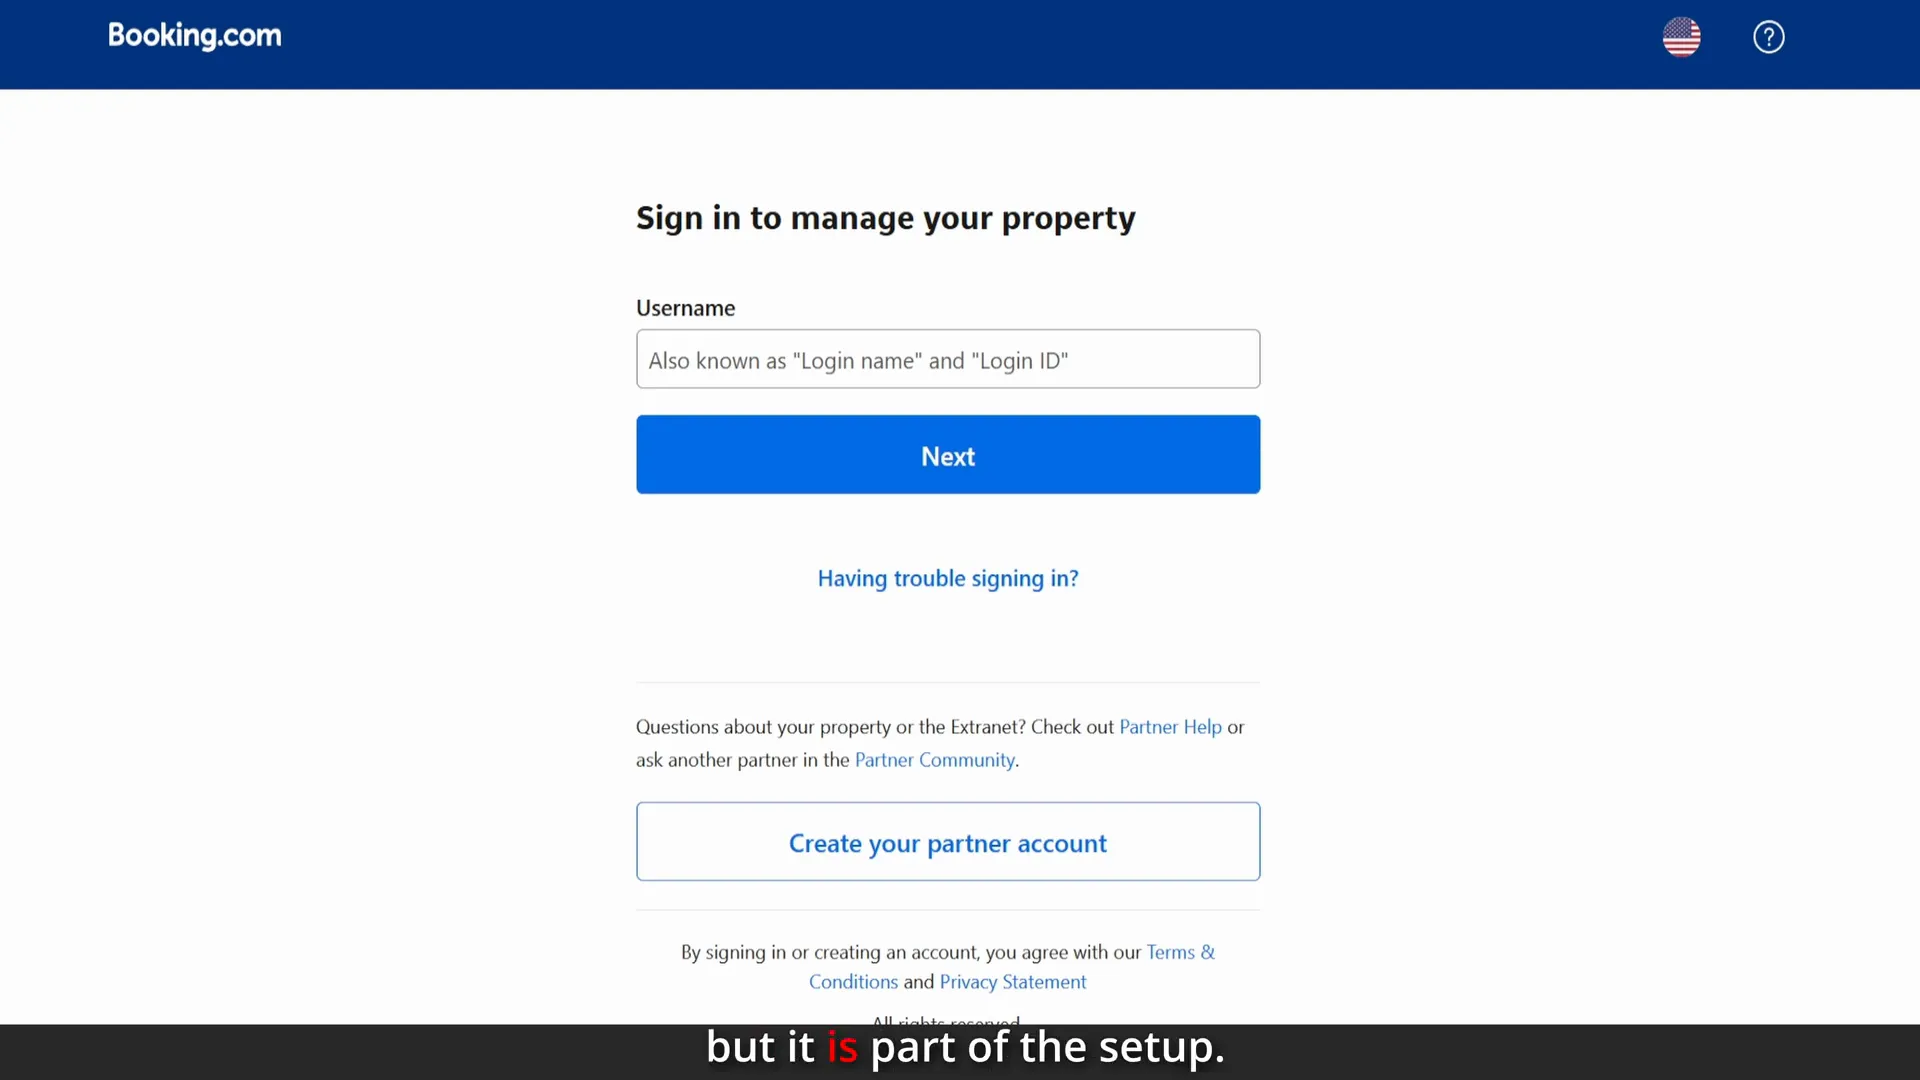
- Enter your username and password associated with your Booking.com host account.
- If this is your first time logging in, you might be asked to verify your property. Booking.com will send a verification code to your email that you need to enter to confirm your listing.
- Once verified, you will have full access to your property’s Extranet dashboard.
It sounds simple, but this step is crucial. Many hosts accidentally try logging in on the wrong site, which leads to frustration and confusion. Always bookmark admin.booking.com so you can access the Extranet quickly and reliably.
If you haven’t listed your property on Booking.com yet, you can register it at account.booking.com. This is the registration portal where you create your host account and add your property details. Once your property is listed, you’ll be able to log into the Extranet using the steps above.
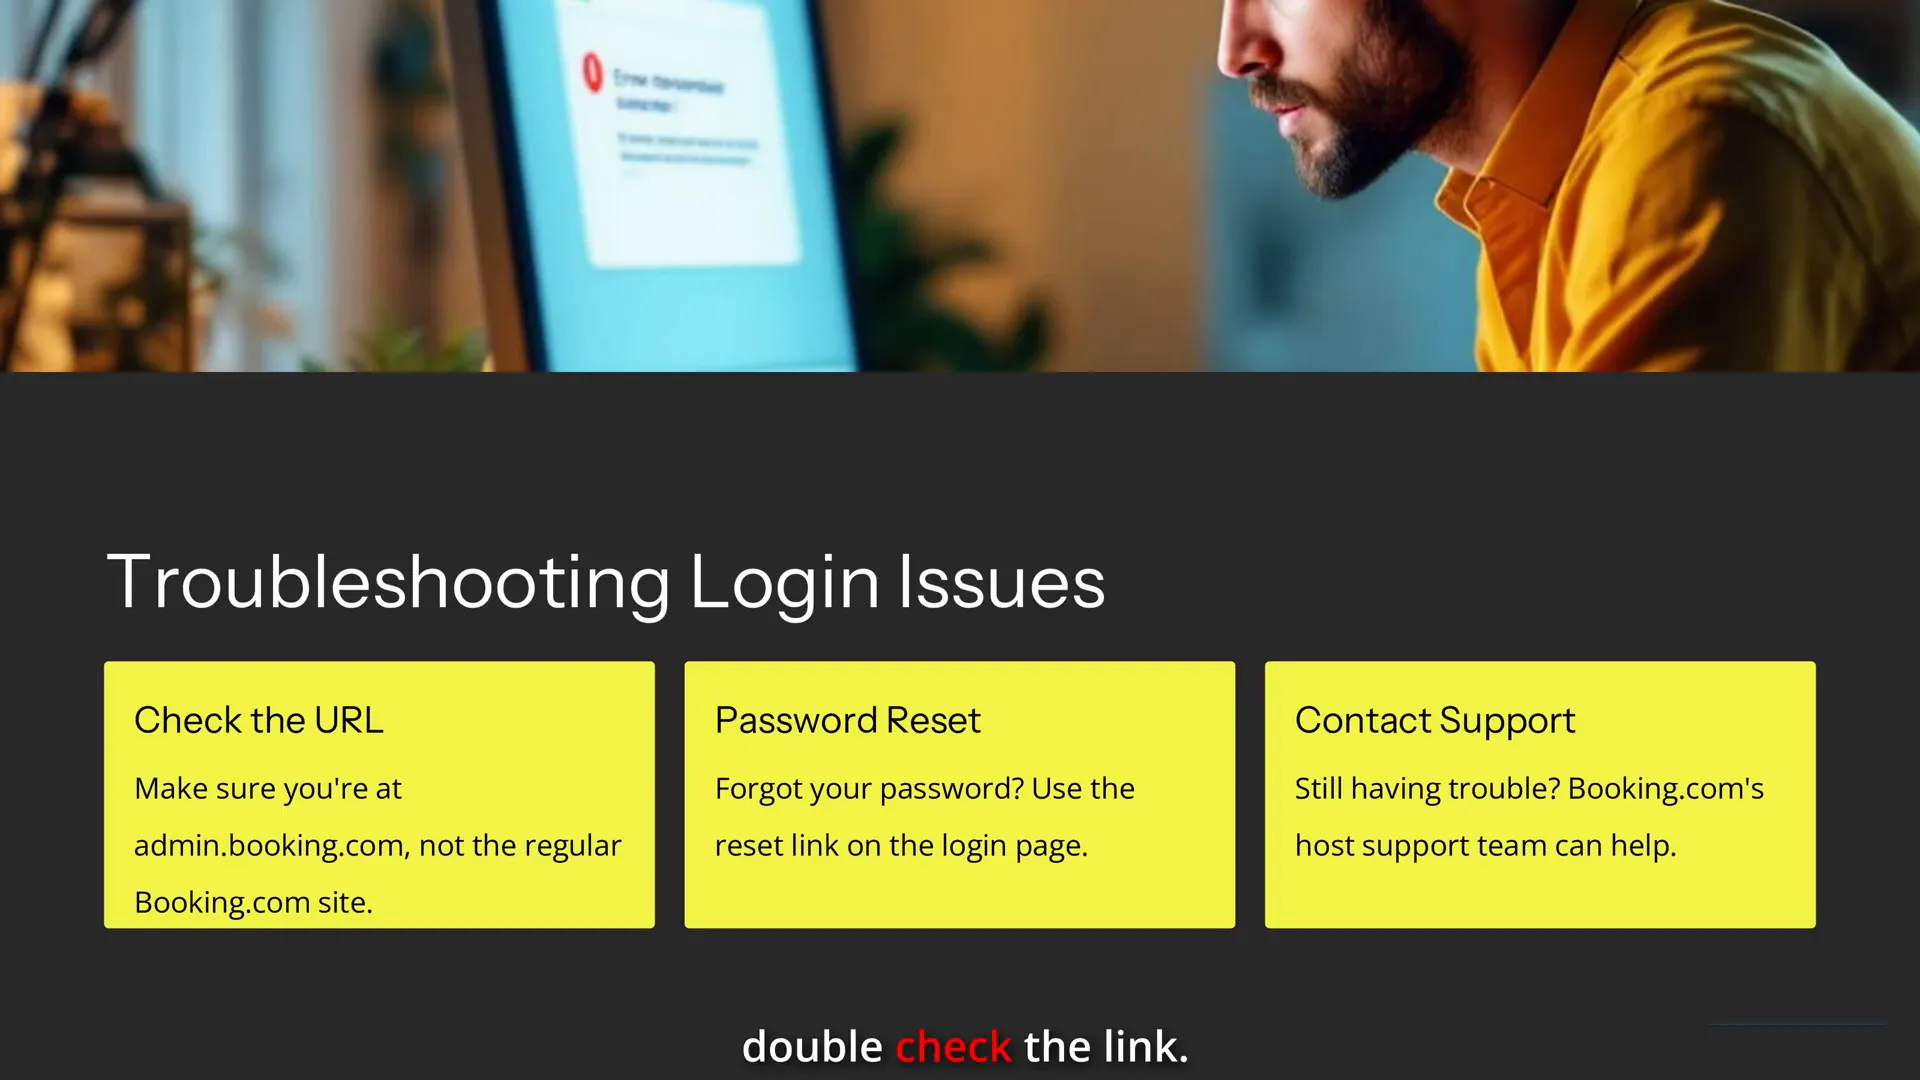
Step 3: Troubleshooting Common Login Issues
Sometimes you might find yourself locked out or unable to log in. Here are a few common issues and how to fix them:
- Wrong URL: Double-check that you’re on admin.booking.com. Logging in at booking.com or any other page won’t work for hosts.
- Forgot Password: Use the “Forgot Password” link on the Extranet login page to reset your password via your registered email.
- Verification Code Missing: Check your spam or junk folder for the verification email. If you still don’t see it, request a new code from the Extranet login screen.
- Account Not Yet Registered: If you haven’t completed the registration process for your property, you won’t be able to log in. Make sure your listing is active first.
These simple checks usually resolve the majority of login problems. Remember, the Extranet is your hub for managing bookings, so gaining access quickly is important to avoid any missed opportunities.
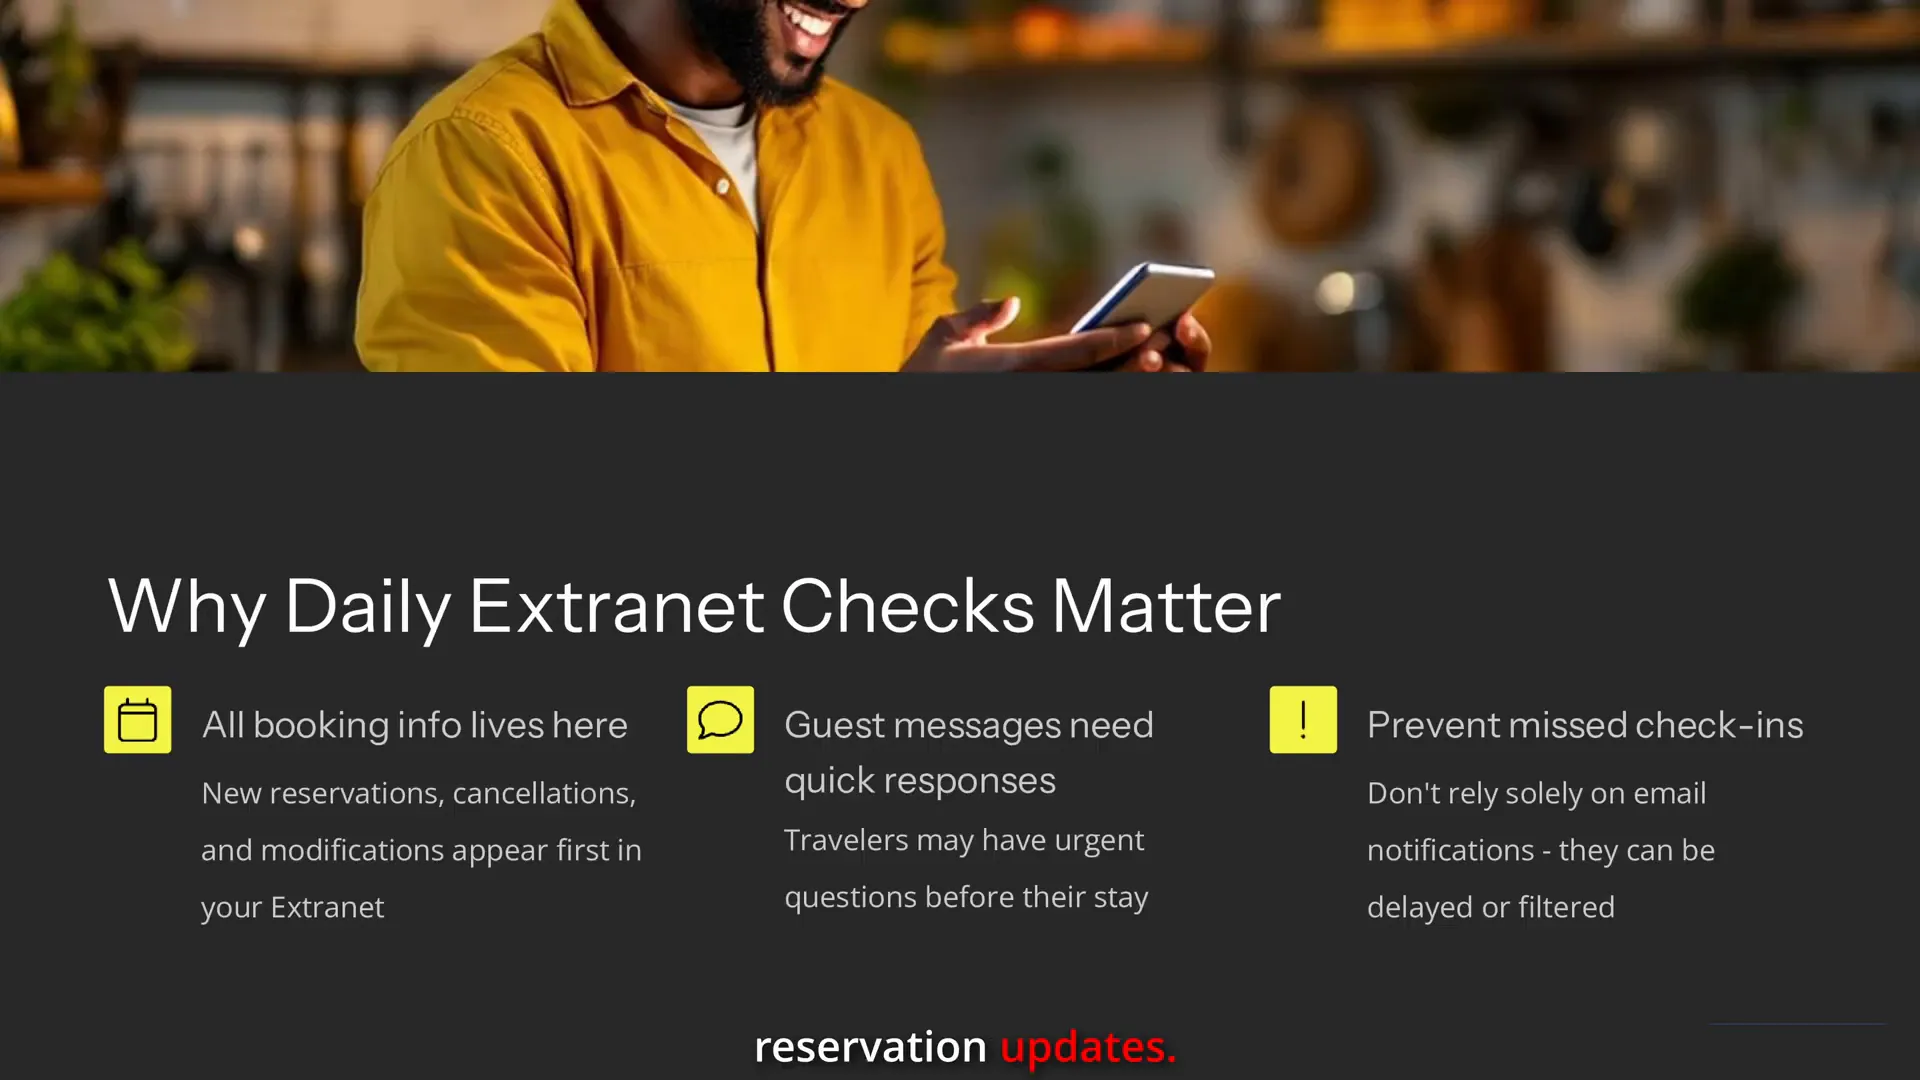
Step 4: Why You MUST Check the Extranet Daily
One of the most critical No-Nonsense Tips I can share is this: don’t rely solely on email notifications from Booking.com.
It’s tempting to think that reservation updates, guest messages, and booking confirmations will always land in your inbox. But in reality, emails can get filtered, delayed, or even lost. Missing a check-in or reservation because you didn’t check the Extranet can lead to unhappy guests and lost revenue.
Here’s why checking the Extranet daily is a game-changer:
- Real-time Booking Updates: All new bookings, cancellations, and modifications appear immediately in your Extranet dashboard.
- Guest Communication: You can respond directly to guest inquiries and special requests without delay.
- Calendar Management: Keep your availability up to date to avoid double bookings.
- Pricing Adjustments: Quickly update prices based on demand or special events.
- Documentation: Access invoices, payout info, and booking history all in one place.
Personally, I’ve missed a check-in before because I didn’t check the Extranet regularly. It’s frustrating and easily avoidable. By making it a habit to log in every day, you stay ahead of your bookings and keep your hosting business running smoothly.
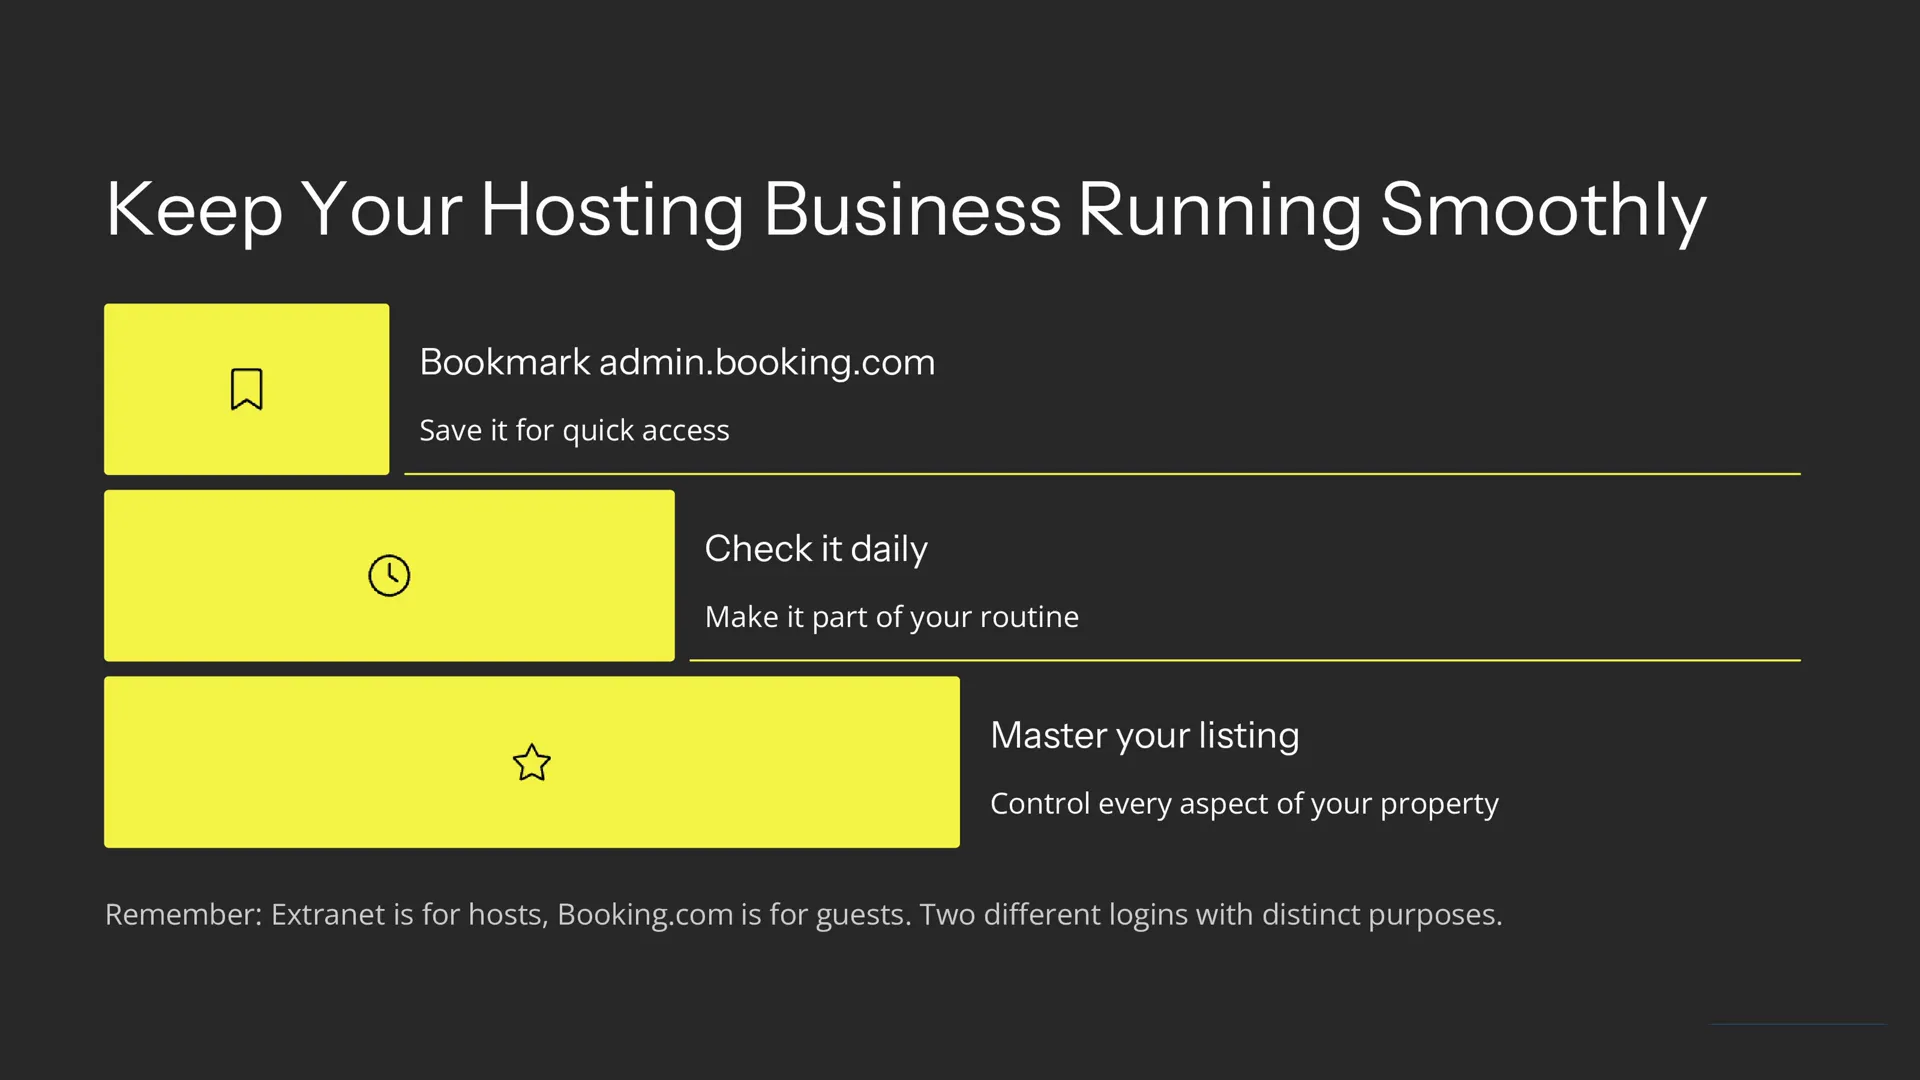
Step 5: Bookmark and Make the Extranet Your Hosting Command Centre
Since the Extranet is your essential tool for managing your property on Booking.com, it’s worth making it as easy to access as possible.
Bookmark admin.booking.com in your browser so you can jump straight to your dashboard without searching or typing the URL every time.
Set a daily reminder or routine to check your Extranet first thing in the morning. This small habit can prevent missed bookings and keep your hosting experience stress-free.
Remember, the Extranet is not just a login page – it’s your entire property control panel where you have the power to:
- Manage and update your listing details
- Communicate with guests quickly
- Adjust pricing and availability on the fly
- Track your earnings and payouts
By treating the Extranet as the heart of your hosting operations, you’ll be more organised, responsive, and successful.
Final Thoughts: Master the Booking.com Extranet with These No-Nonsense Tips
To sum up, the Booking.com Extranet is an indispensable platform for any host using Booking.com. It’s where you control every aspect of your property listing – from bookings to pricing, messaging, and more.
Here’s a quick recap of the key points covered:
- The Extranet is NOT the same as booking.com: It’s exclusively for hosts to manage their properties.
- Access it via admin.booking.com: Always use this URL to log in.
- Verify your property on first login: Expect a verification code sent by email.
- Don’t rely on emails alone: Check the Extranet daily to avoid missed bookings or check-ins.
- Bookmark the Extranet: Make it your go-to hub for managing your hosting business.
By following these No-Nonsense Tips and making the Extranet part of your daily routine, you’ll stay in full control of your Booking.com property and provide a seamless experience for your guests.
Happy hosting, and remember – your Extranet is your best friend in managing your property on Booking.com!