Managing your Airbnb calendar effectively is crucial for any host looking to maximise bookings and ensure a smooth operation. Whether you’re taking a break or accommodating personal plans, knowing how to block or reserve specific dates can save you from potential headaches. In this guide, we’ll walk through the steps to manage your Airbnb calendar like a pro.
Why Manage Your Airbnb Calendar?
Your Airbnb calendar is more than just a schedule; it’s the backbone of your hosting strategy. By effectively managing your availability, you can avoid double bookings, ensure your property is ready for guests, and maintain a healthy booking rate. Proper calendar management allows you to plan personal time while ensuring your guests always have access to your property when they need it.
Accessing the Airbnb Hosting Dashboard
First things first, you’ll need to navigate to your hosting dashboard. It’s important to do this on a computer, as the mobile app lacks some of the features necessary for calendar management.
- Log into your Airbnb account.
- Click on the “Switch to hosting” option located at the top right corner.
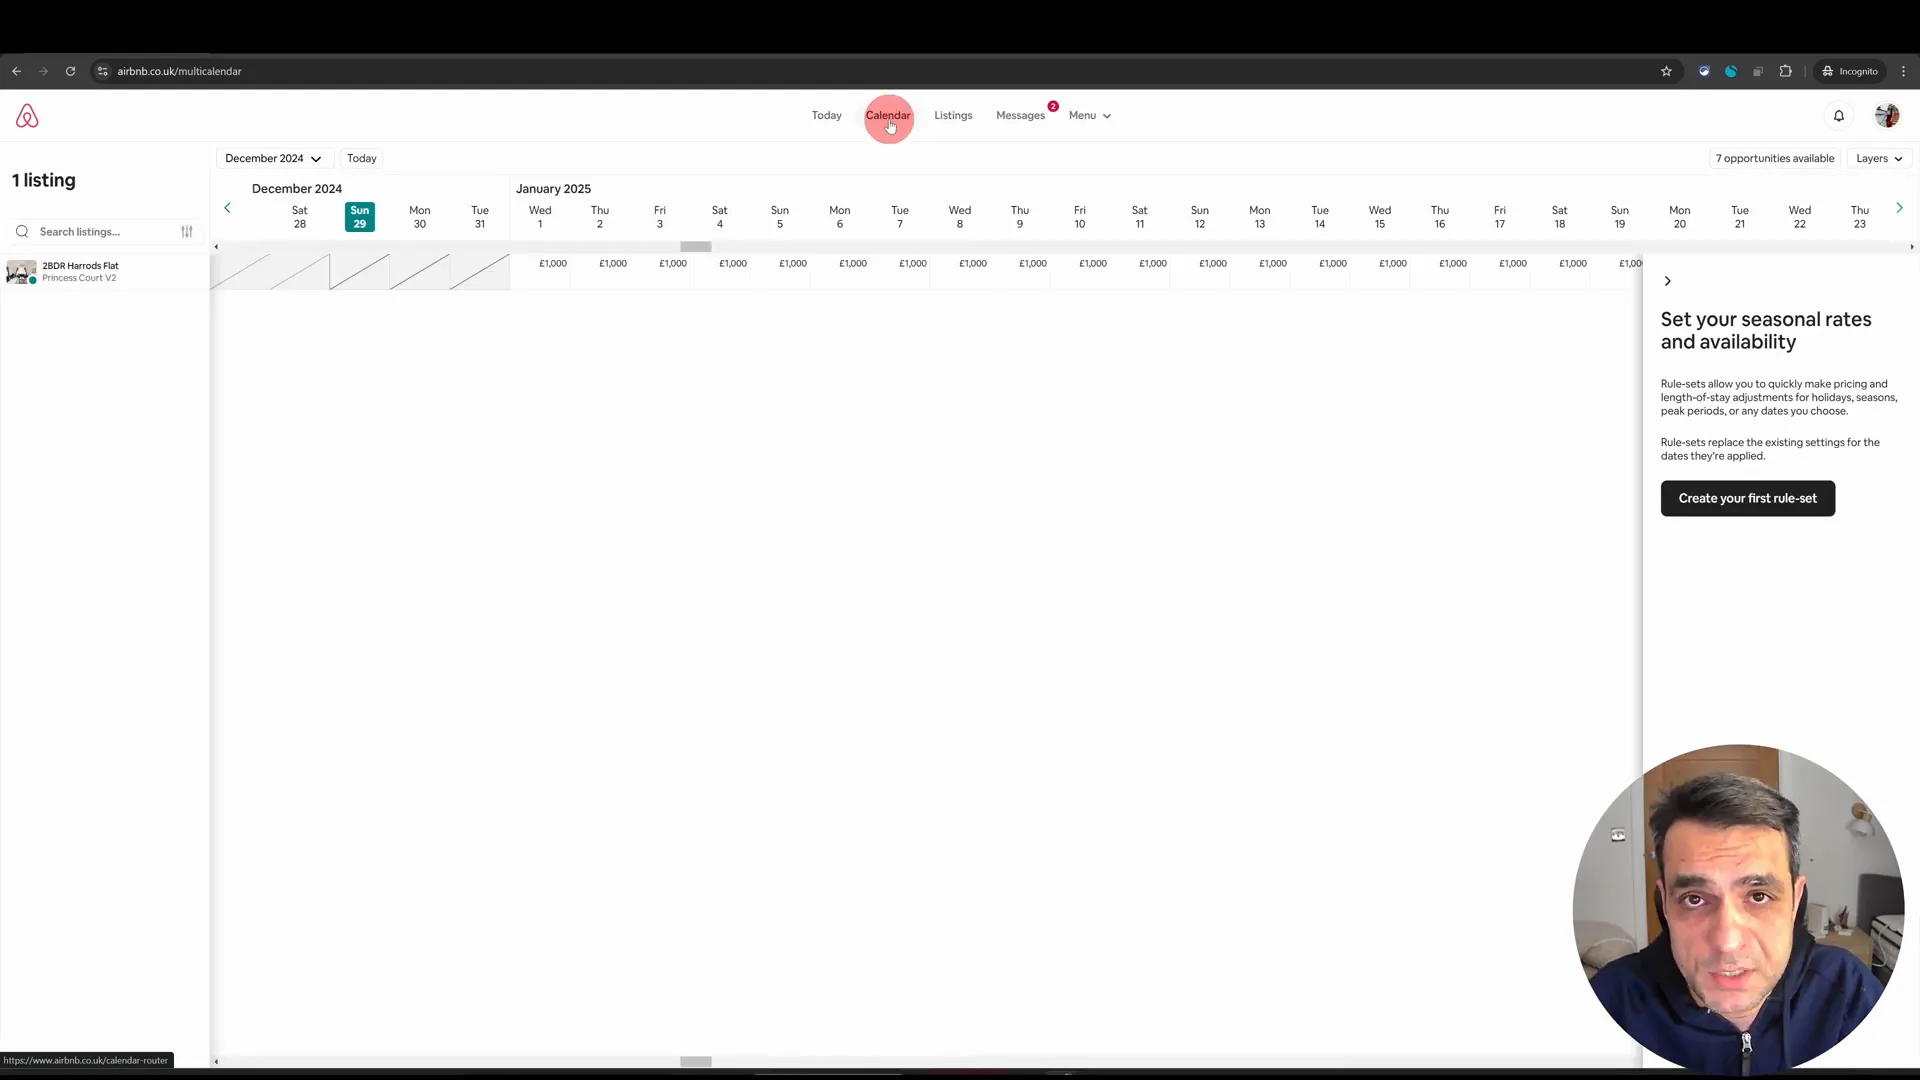
- Select the “Calendar” option from the top menu.
Opening the Full Calendar View
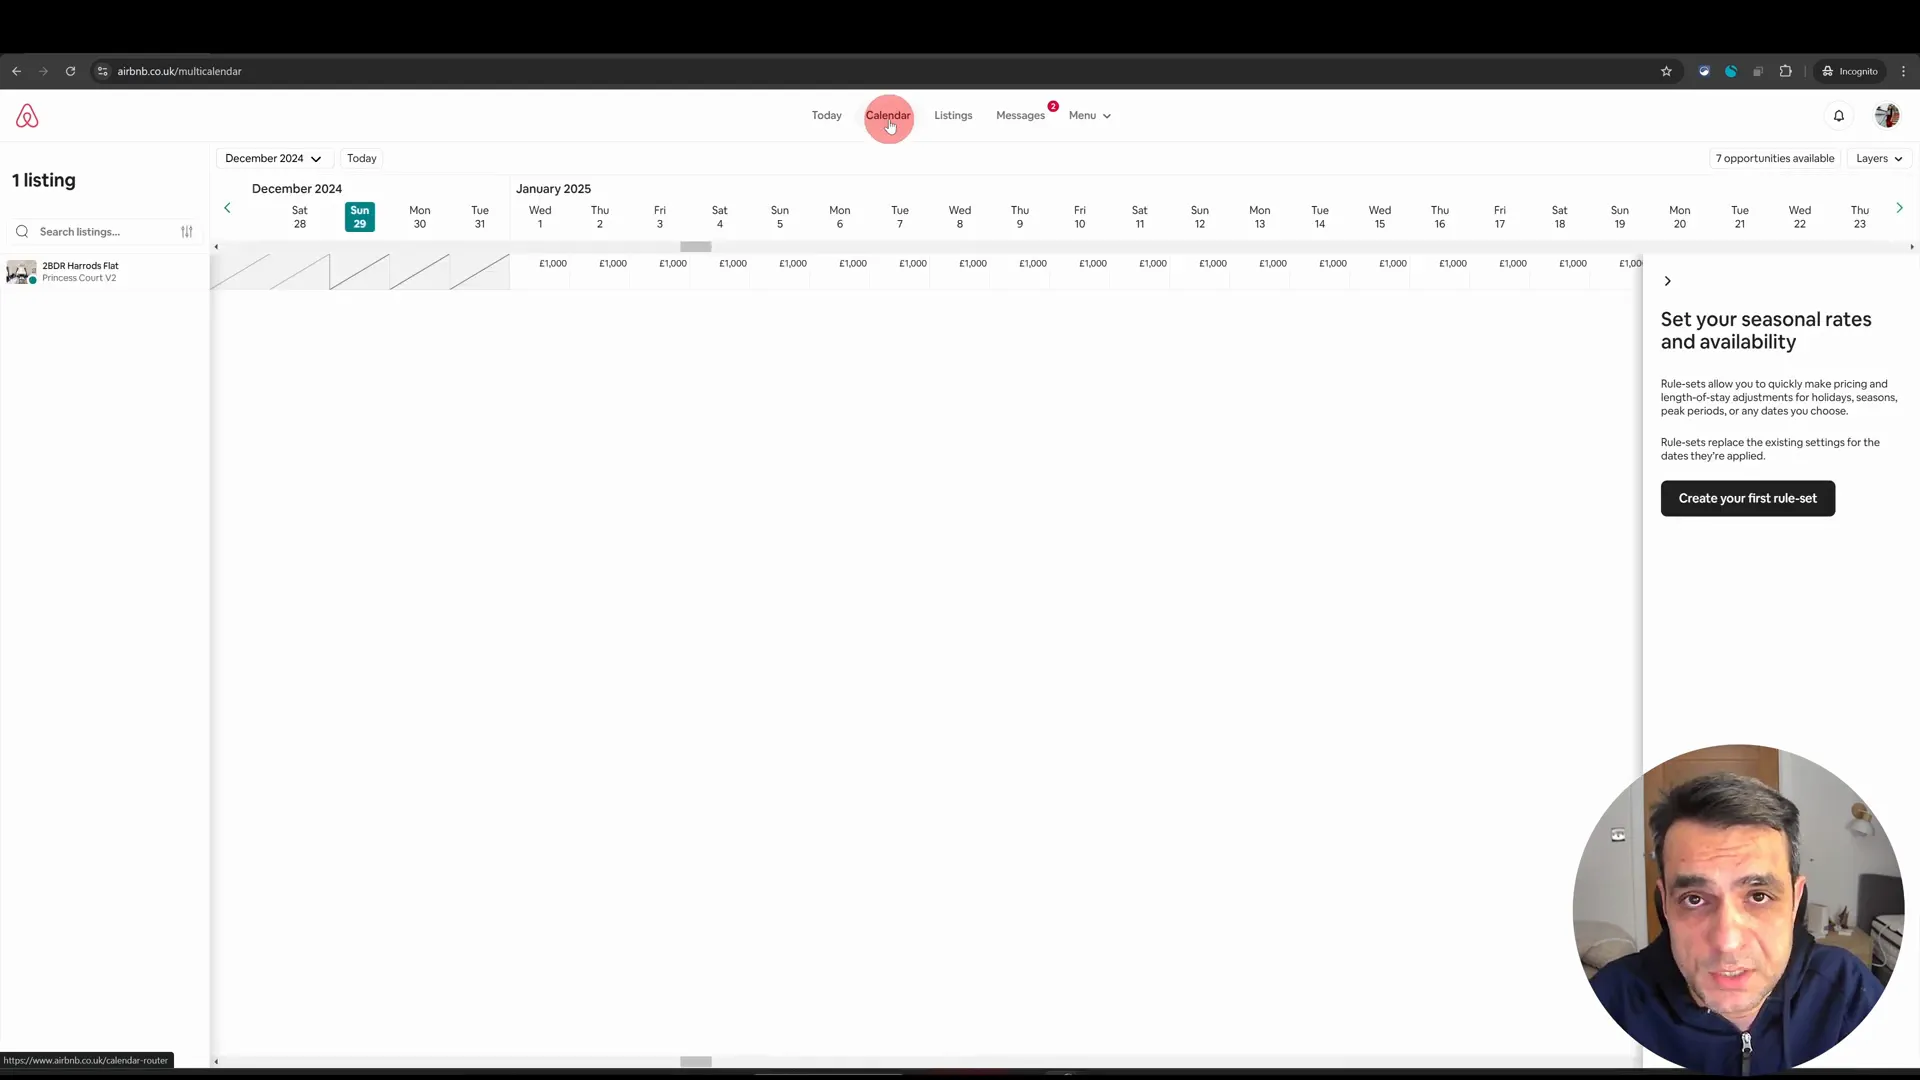
Once in the calendar section, you’ll be greeted with a condensed view of your calendar. To manage your listings more effectively, click on your listing name on the left-hand side. This will open a more detailed view of your calendar, making it easier to select and block dates.
How to Block Specific Dates
Now that you have the full calendar view open, it’s time to block specific dates. There are two main ways to select dates:
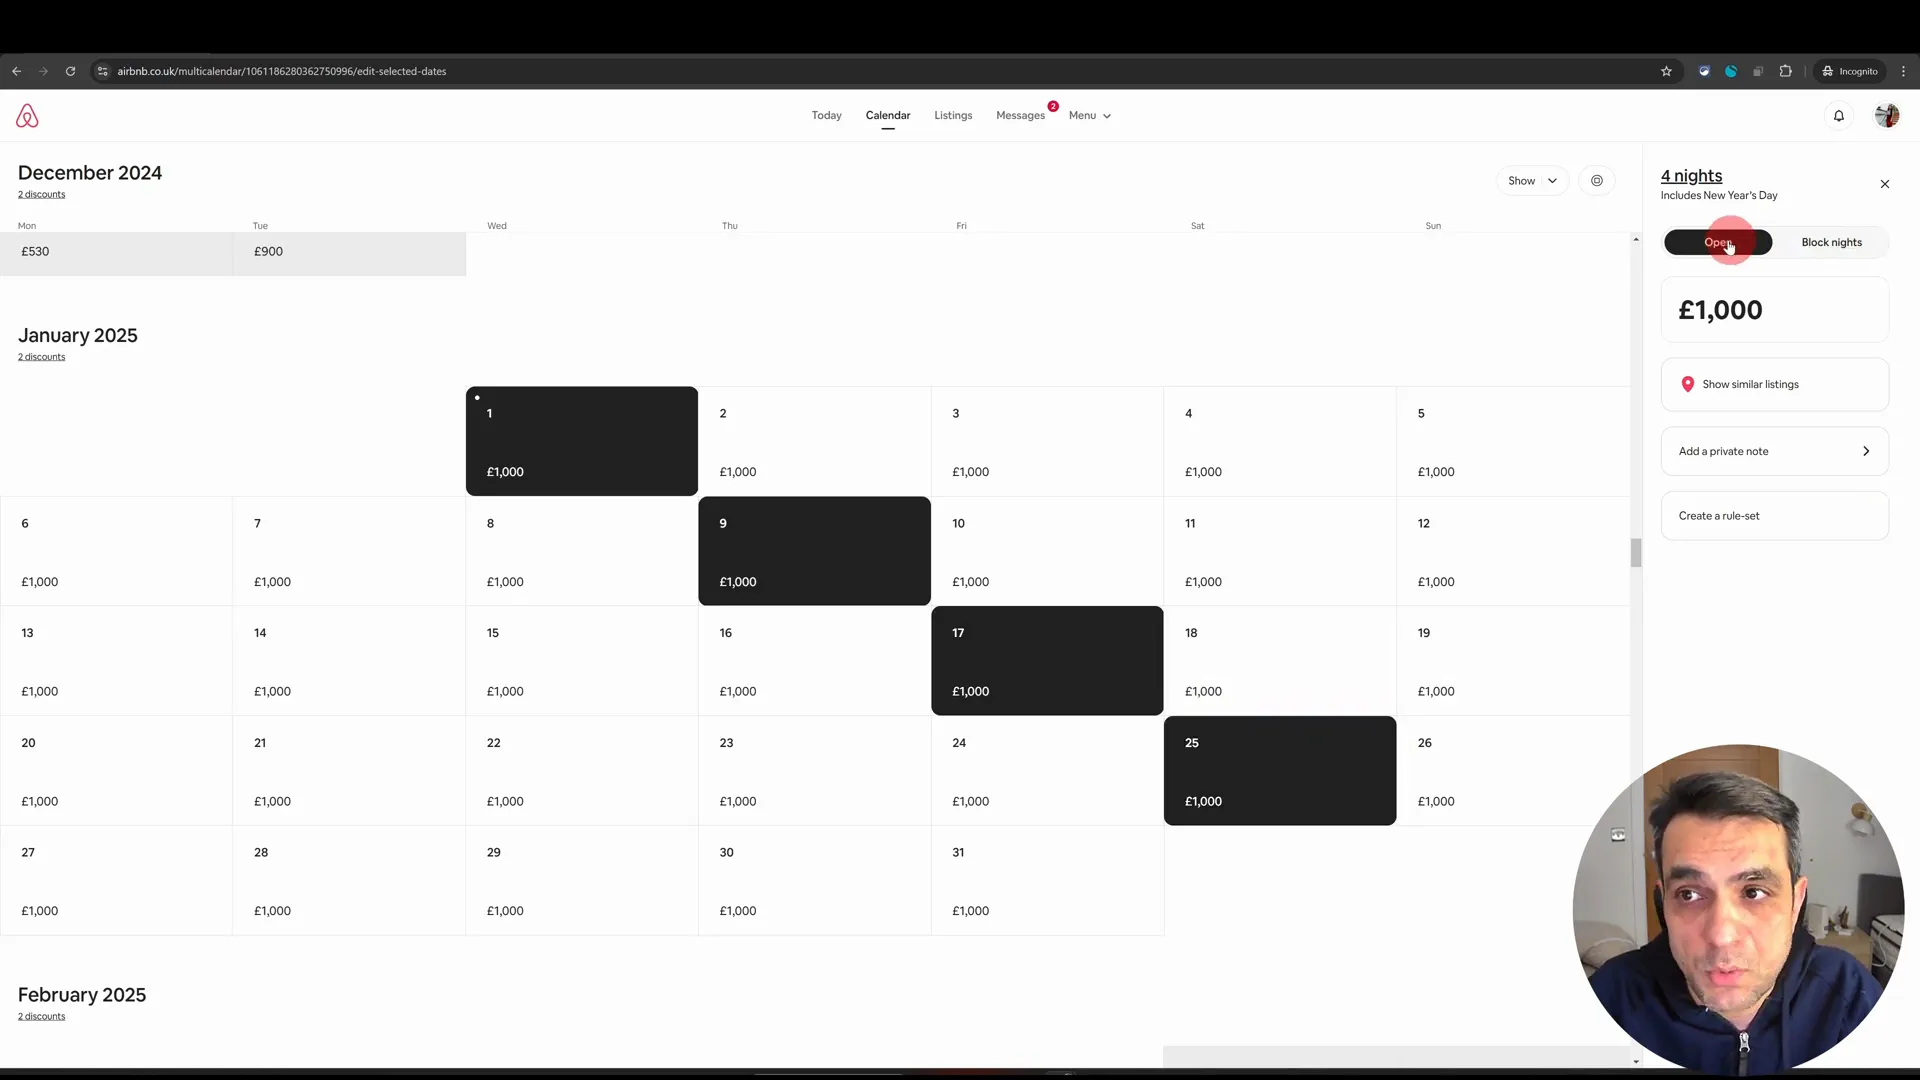
- Individual Dates: Click on the individual dates you wish to block. As you select dates, you will see options on the right side of the screen.
- Bulk Selection: To select multiple dates, simply click and drag your cursor over the desired dates while holding down the mouse button.
Once you have selected the dates, look for the “Block nights” option. Click on it to block the selected dates, and then save your changes.
Blocking Dates in Bulk (Drag-and-Select Method)
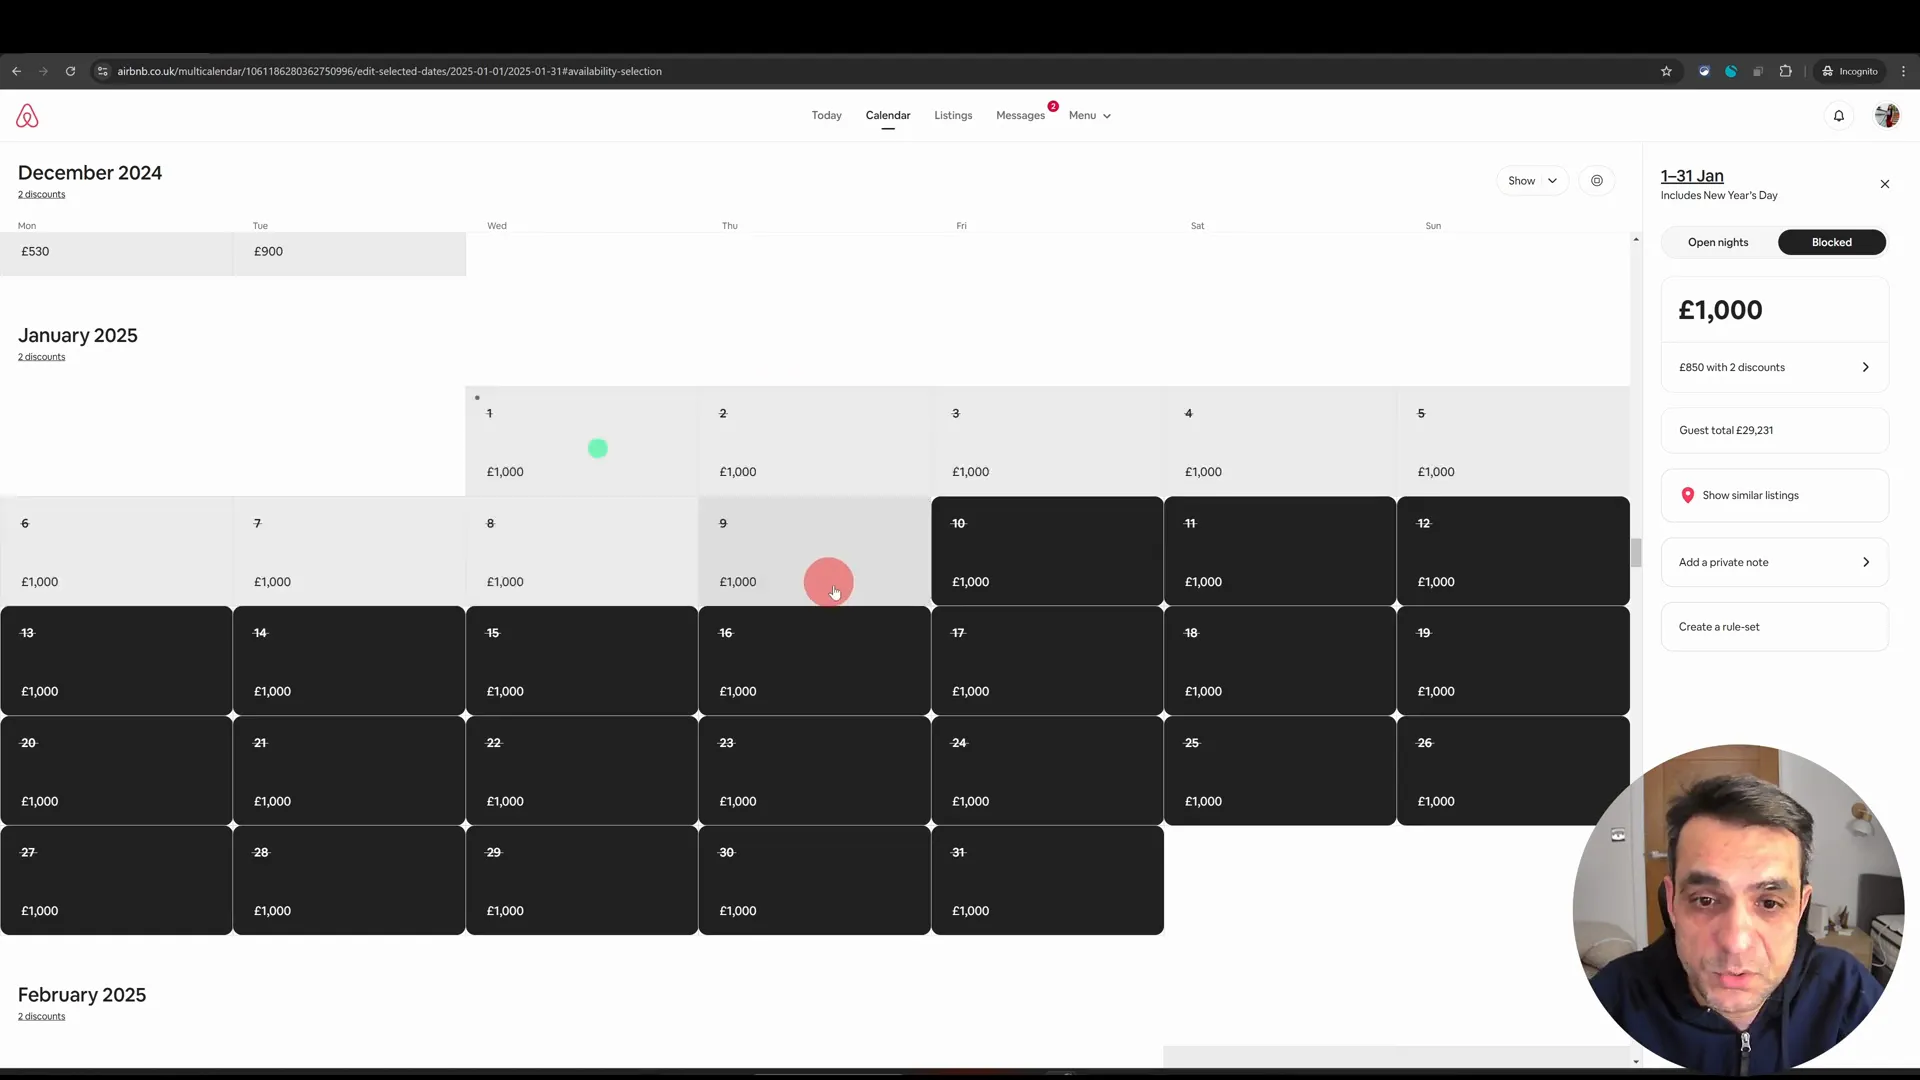
The drag-and-select method is particularly useful if you need to block a series of dates. By clicking and dragging your cursor, you can quickly highlight multiple dates. After selecting the dates, click on the “Edit availability” option, then choose “Block dates” and save your changes. This method is efficient and saves time compared to blocking each date individually.
Reopening Blocked Dates for Future Bookings
Life can be unpredictable, and you may need to reopen blocked dates later on. To do this, simply select the dates you wish to reopen. For example, if you want to open dates from the 18th to the 31st, click on those dates and then select the “Open nights” option. Wait for the update to process, and once you refresh your screen, those dates will be available for bookings again.
Final Tips for Effective Calendar Management
Here are a few final tips to keep your Airbnb calendar running smoothly:
- Always use the desktop version for seamless edits.
- Regularly review your calendar to ensure it reflects your availability accurately.
- Consider blocking dates during peak seasons to maximise your revenue.
- Utilise the “Open nights” feature strategically to adjust your availability based on personal plans.
By mastering your calendar settings, you can take control of your Airbnb hosting experience and ensure that both you and your guests have a positive experience.
For more in-depth training on Airbnb hosting, check out my free No-Nonsense Airbnb Webinar!
Thanks for reading, and happy hosting!


