Welcome to our detailed guide on Airbnb hosting tips! Whether you’re a seasoned host or just starting your journey, it’s vital to keep your Airbnb listing updated to attract the right guests. In this article, we’ll walk you through the steps to add or delete rooms in your existing Airbnb listing, ensuring that your property layout reflects your current offerings.
Table of Contents
- Step 1: Log into Your Airbnb Account
- Step 2: Access Your Hosting Dashboard
- Step 3: Open Your Listing Editor
- Step 4: Adding a New Room or Space
- Step 5: Deleting an Existing Room or Space
- Step 6: Why Accurate Listings Matter
- Step 7: Final Touches and Review
- Frequently Asked Questions (FAQs)
- Conclusion
Step 1: Log into Your Airbnb Account
To get started, you’ll want to access your Airbnb account from a computer. While the mobile app is convenient for many tasks, some functionalities like adding or deleting rooms are best executed on the desktop version. Once you’re logged in, navigate to the top right corner of your screen where you will find the option to Switch to Hosting.

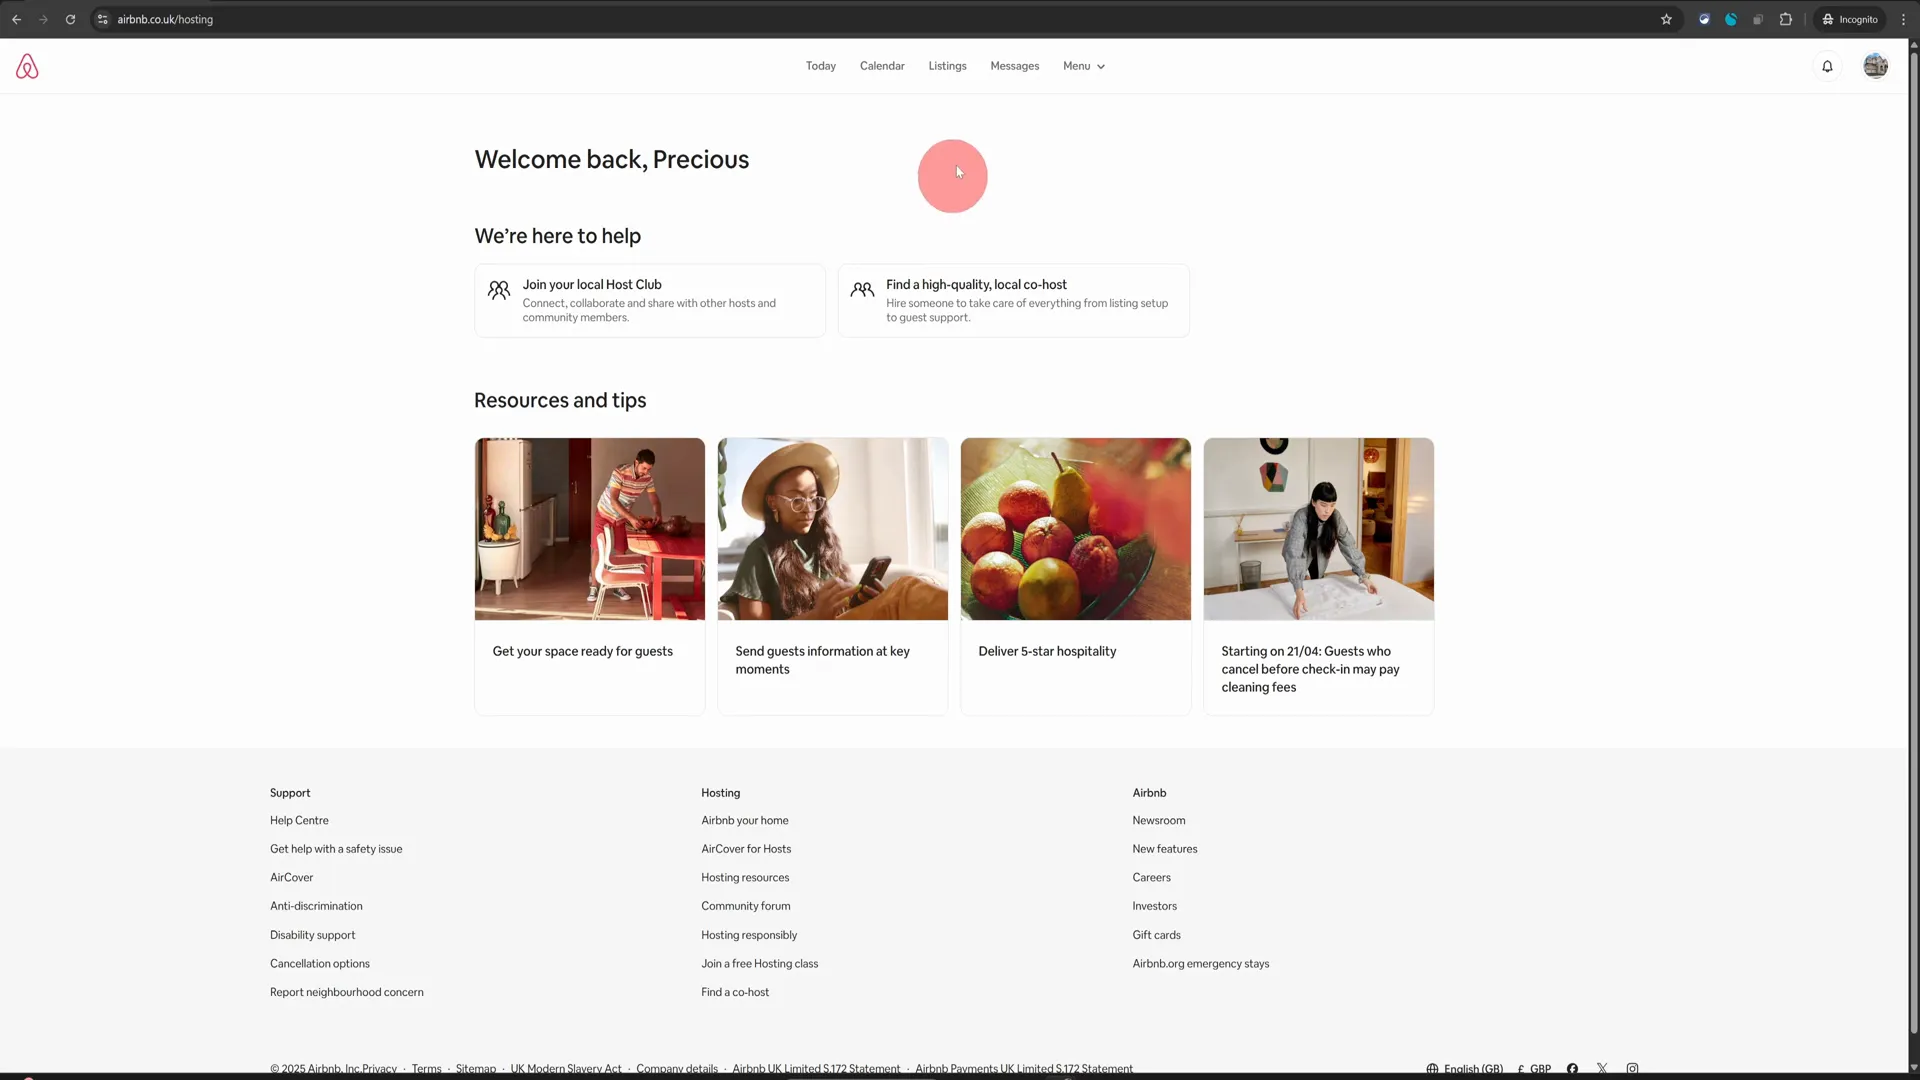
Step 2: Access Your Hosting Dashboard
After switching to hosting mode, you will be directed to your hosting dashboard. Here, you’ll find various options to manage your listings. Click on the Listings option located at the top of the dashboard to view all your properties.
Step 3: Open Your Listing Editor
Next, click on the image of the listing you want to edit. This will open up the listing editor, where you can manage all aspects of your property. By default, you should land on the Photo Tour section of your property. This is where you can make visual changes, but for now, we will focus on adding or deleting rooms.
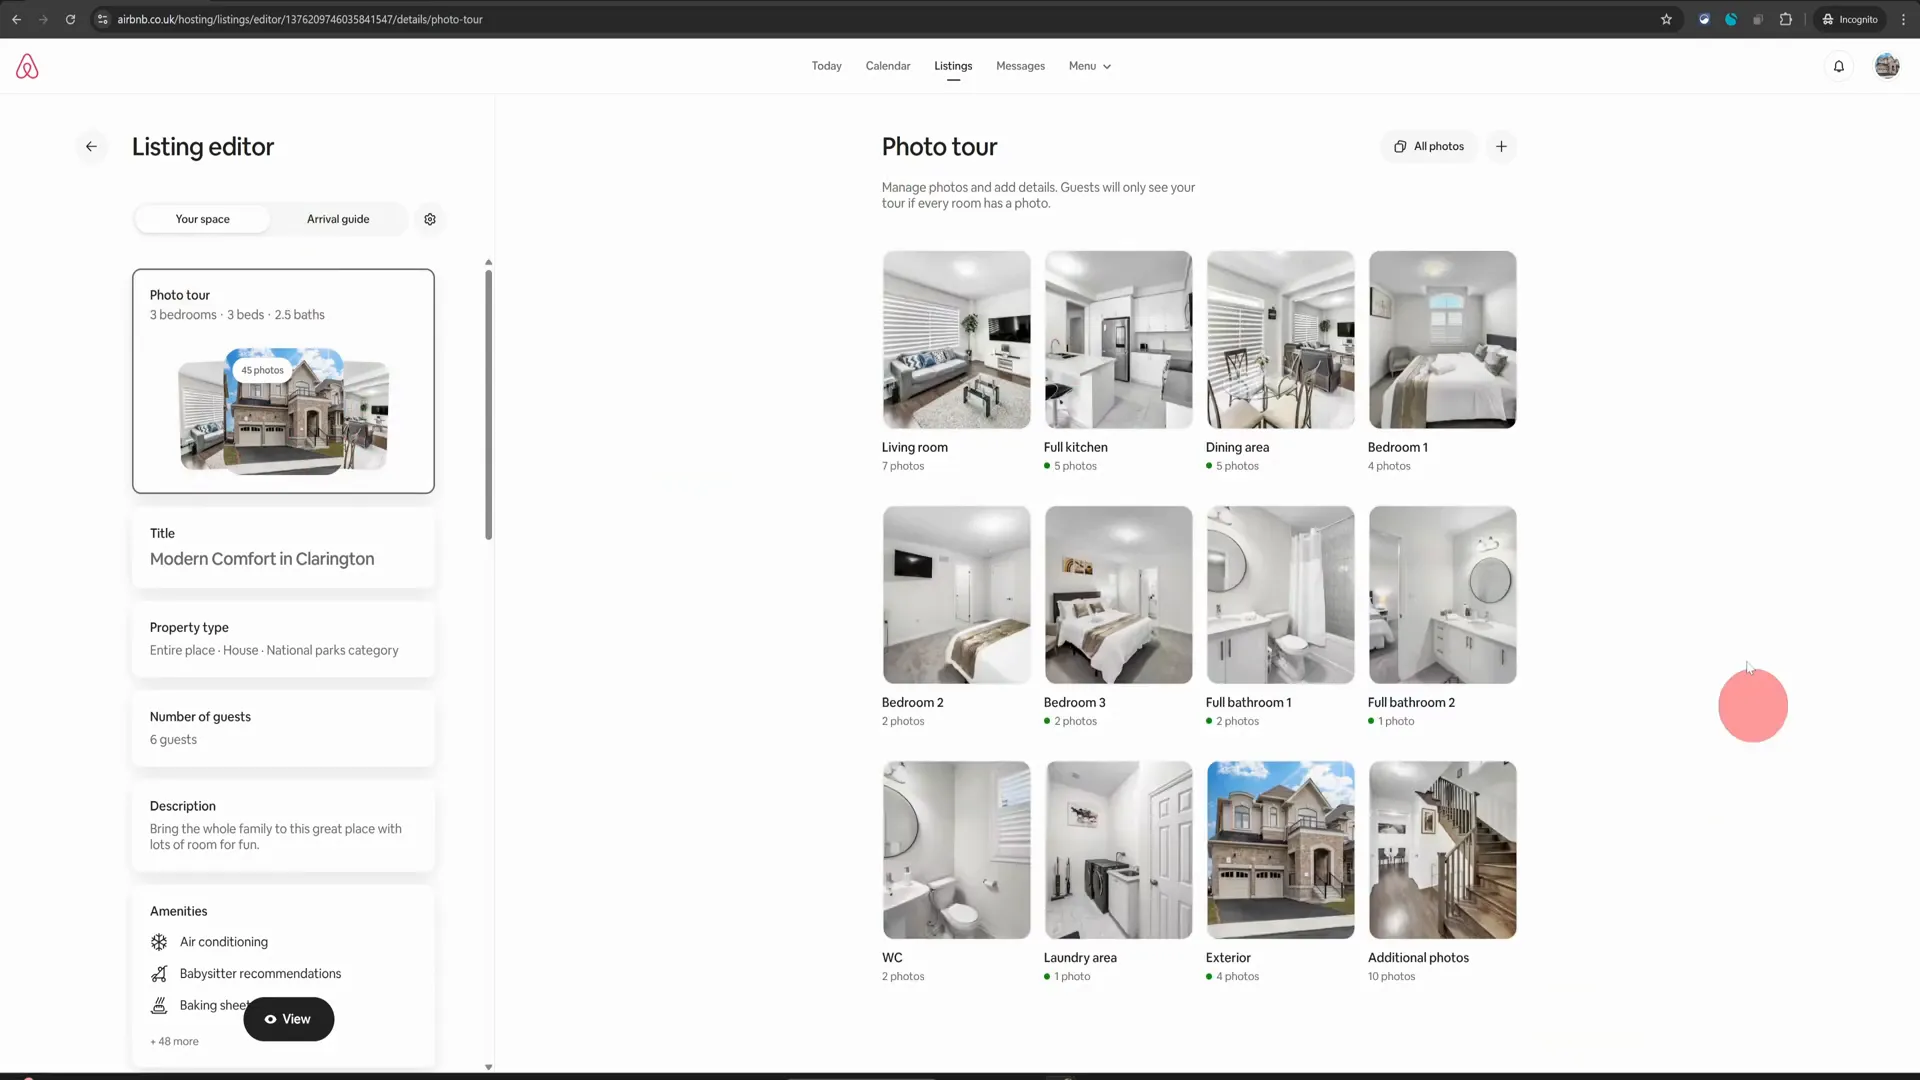
Step 4: Adding a New Room or Space
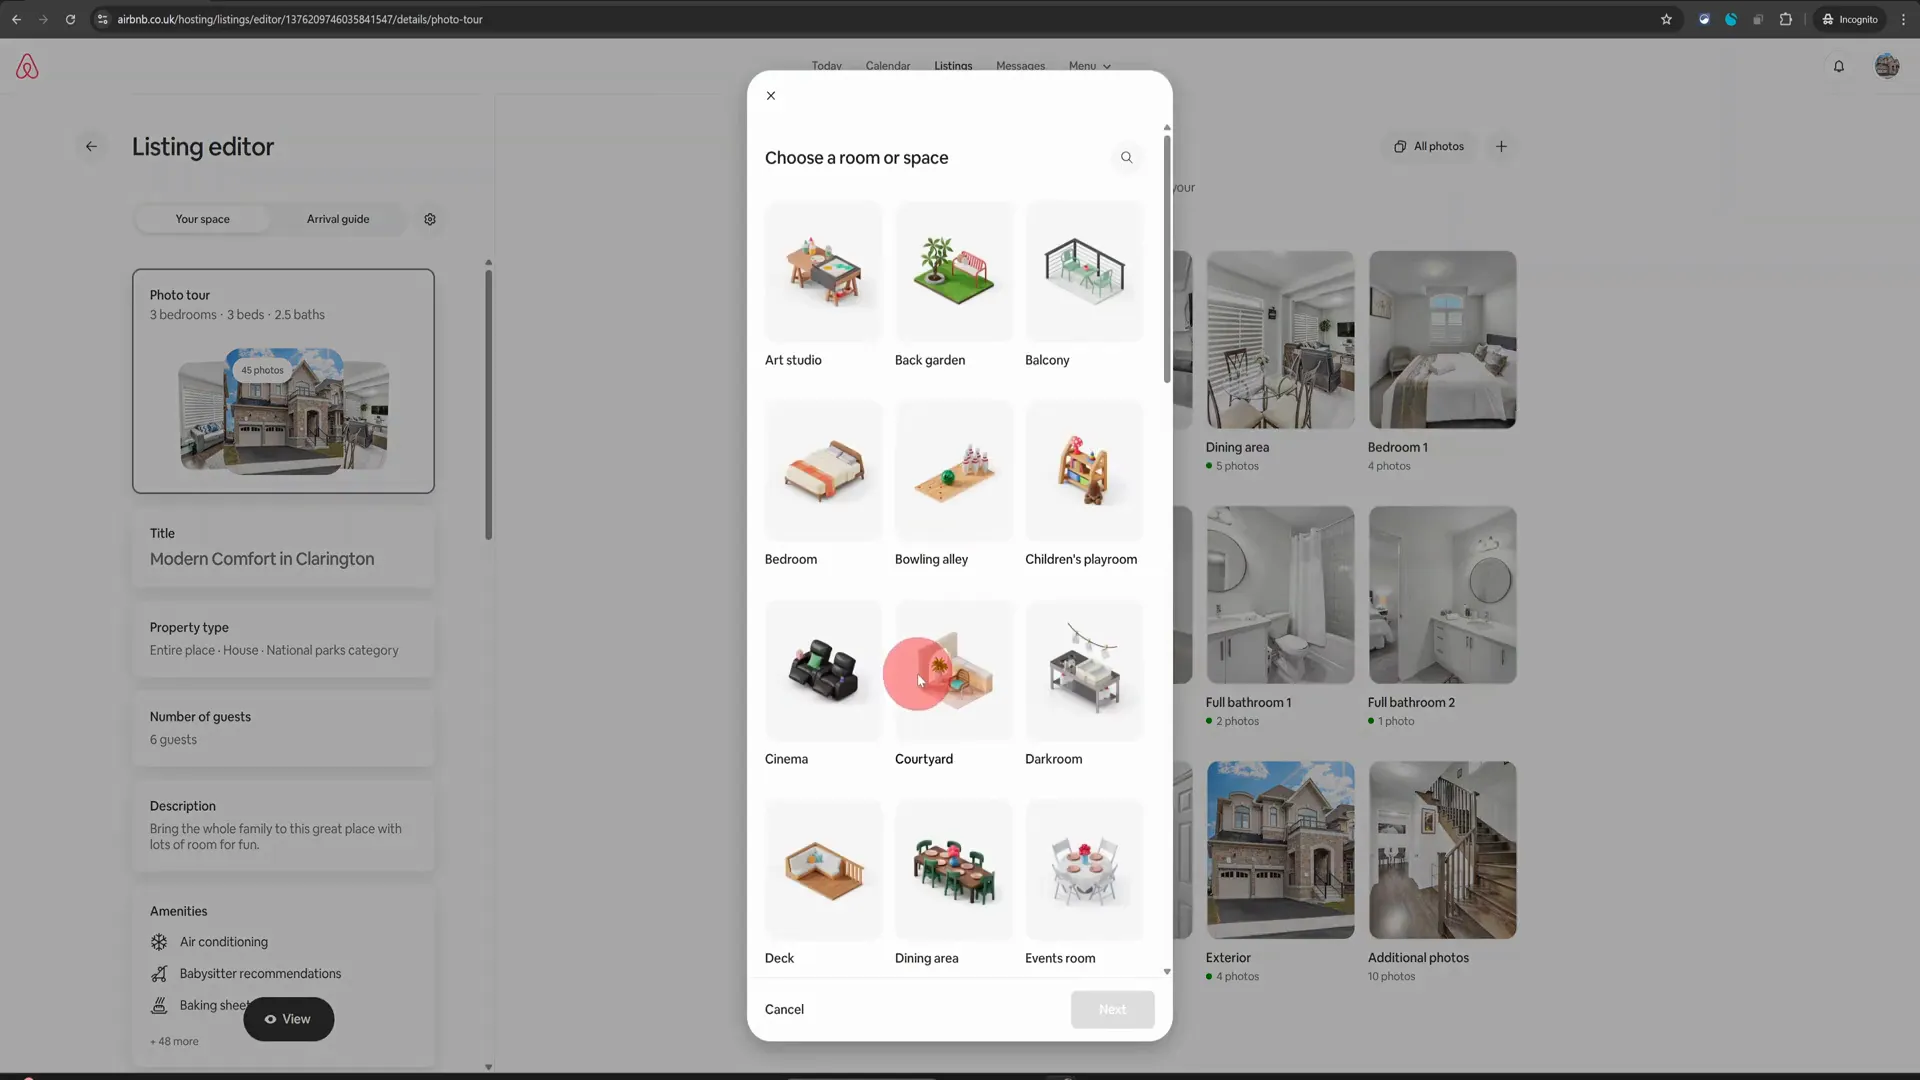
If you’re looking to add a new room or space—perhaps a recently renovated bathroom or a new sunroom—this process is straightforward. Look for the plus icon in the listing editor. Clicking this will allow you to add a room or space.
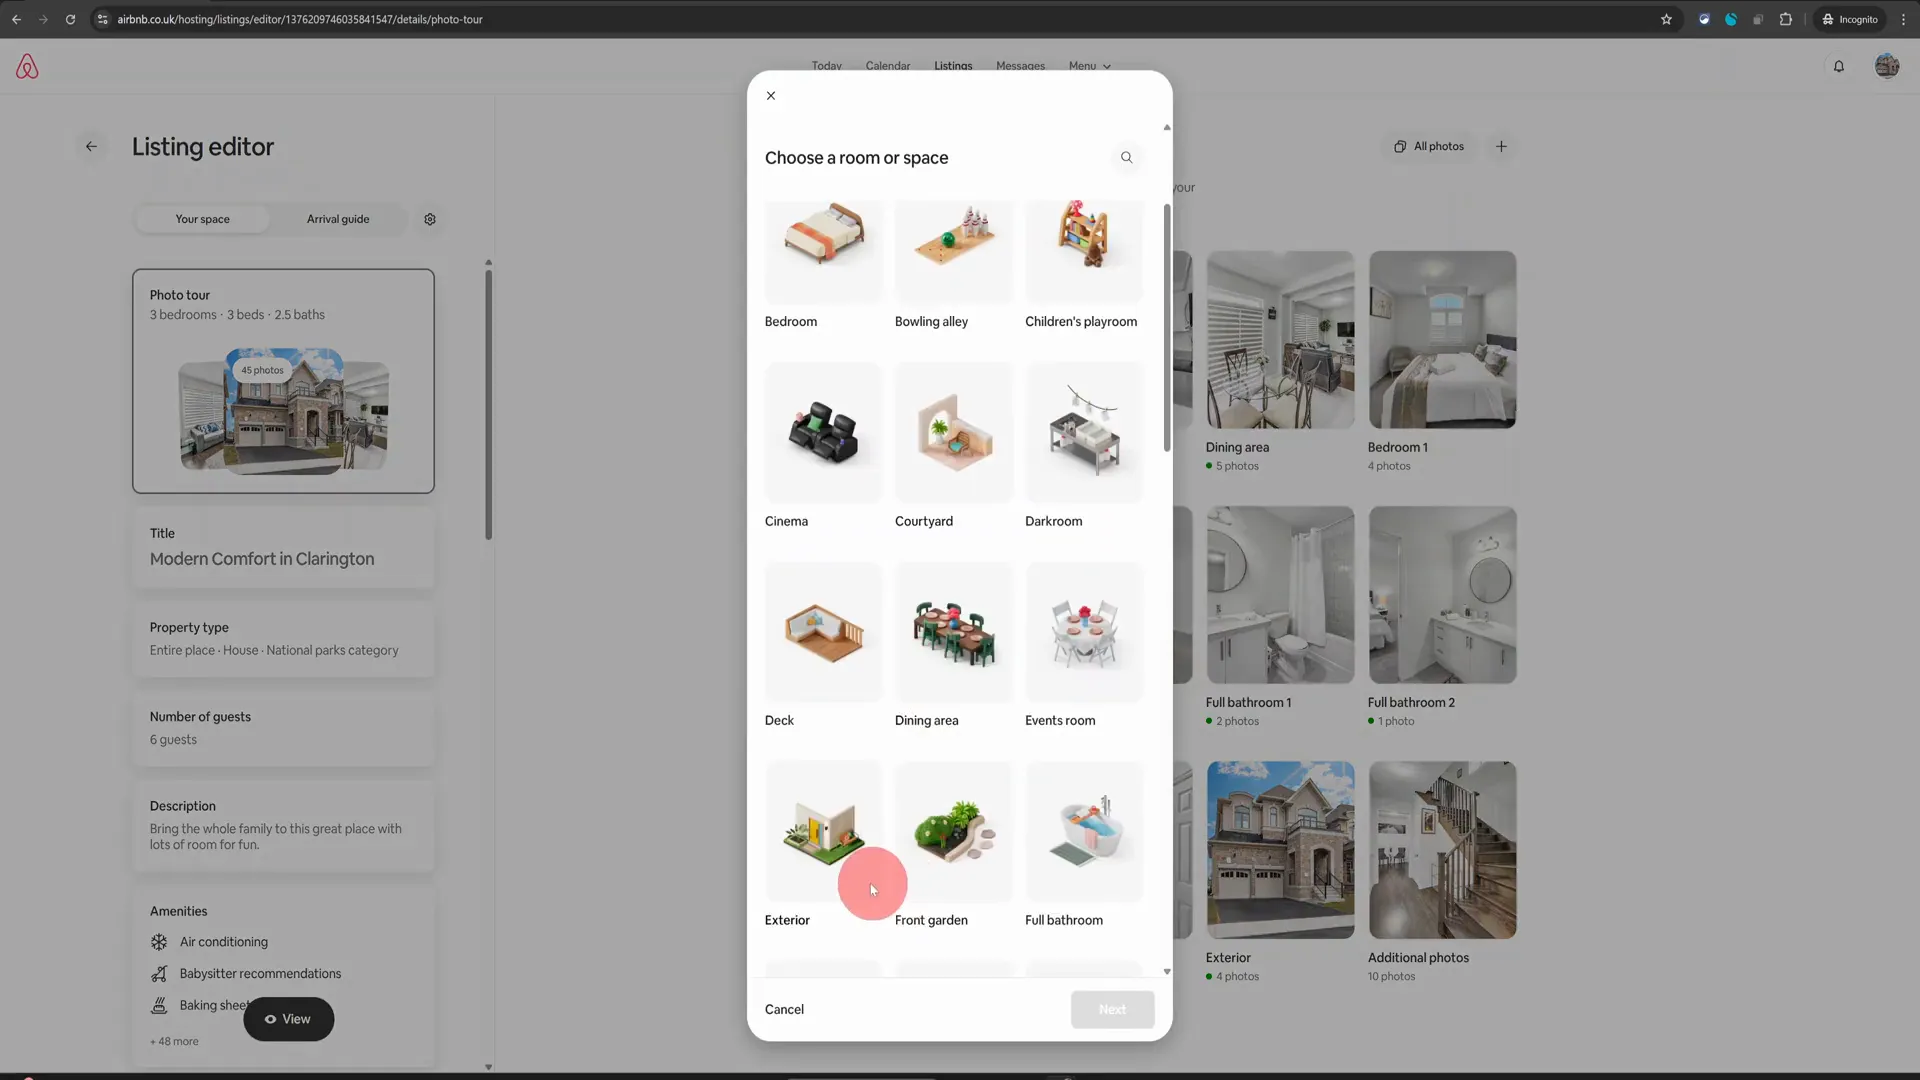
Once you click on the plus icon, select Add a Room or Space. You will then be prompted to choose the type of area you want to add, such as a bedroom, dining area, or media room. This flexibility allows you to accurately represent your property to potential guests.
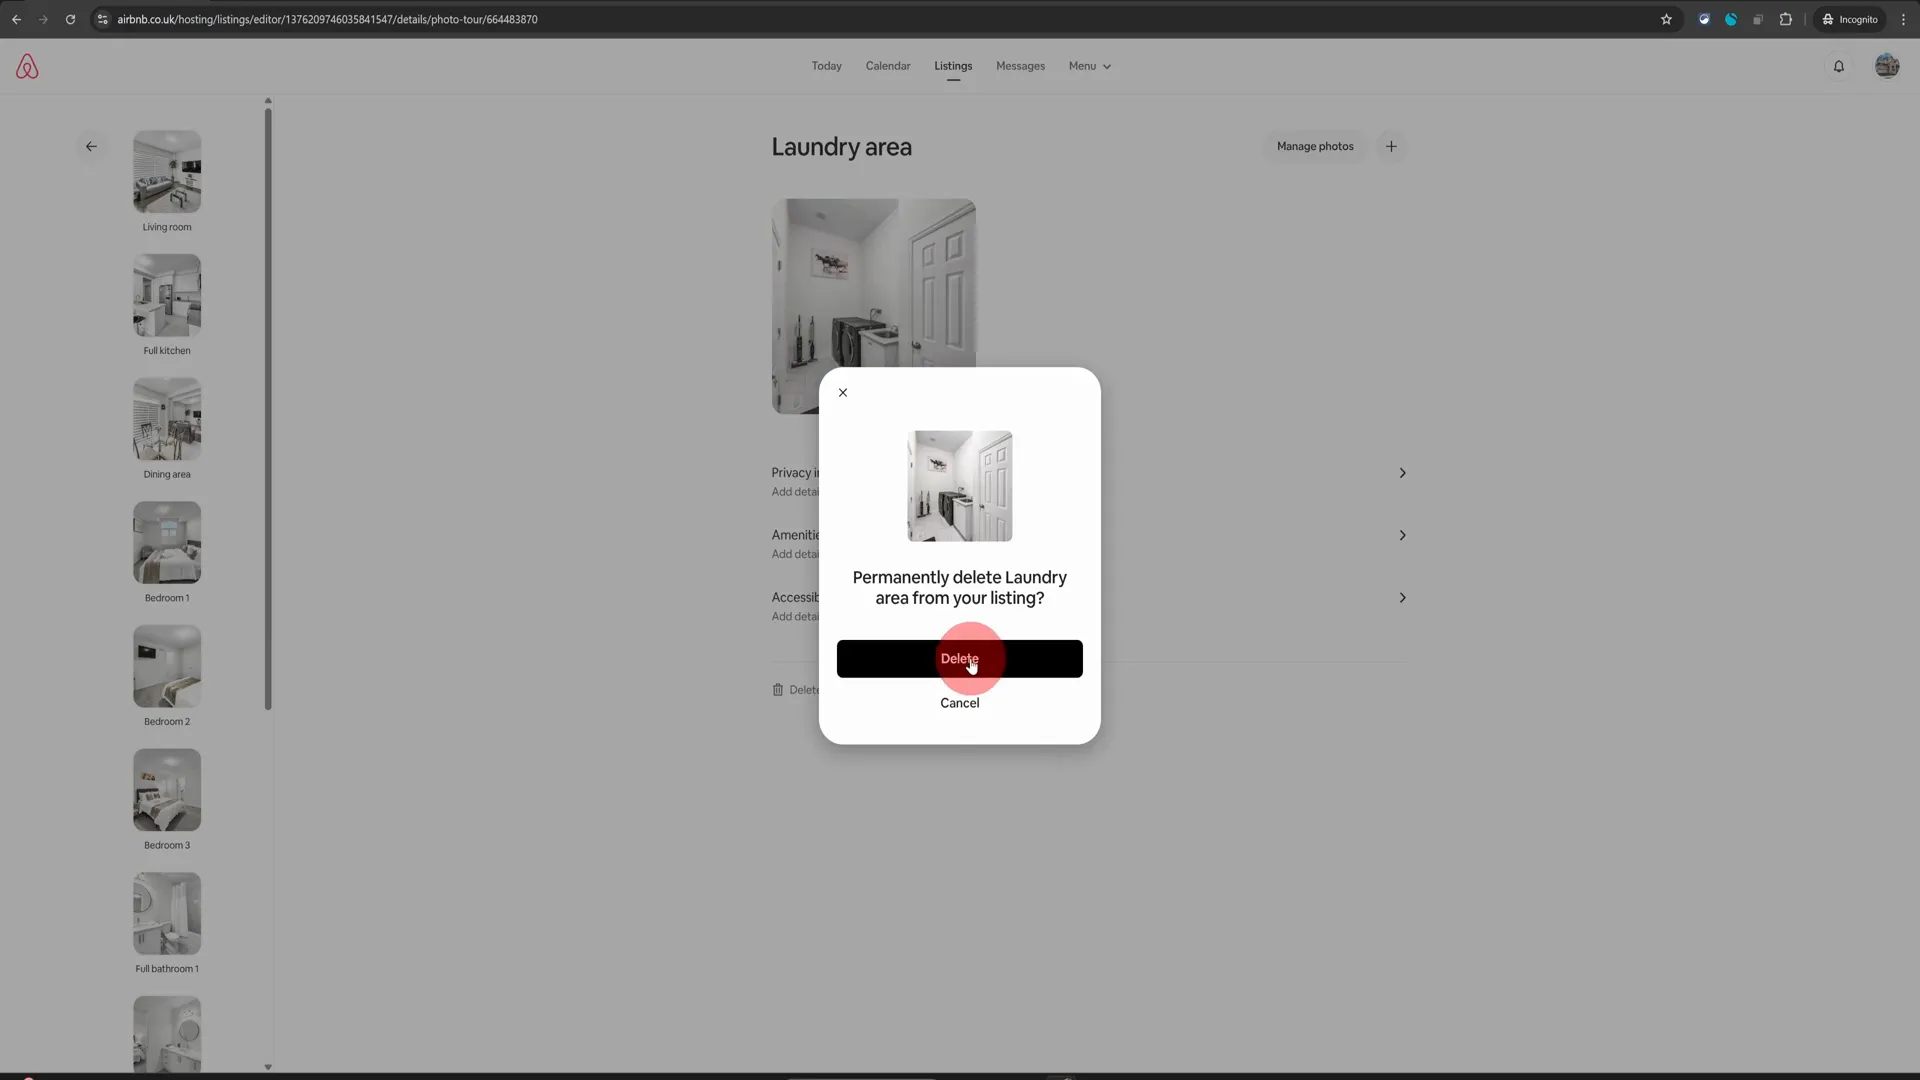
Step 5: Deleting an Existing Room or Space
On the other hand, if you have a room or space that is no longer available, you can delete it easily. First, navigate to the section of your listing that displays your current rooms and spaces. Once there, you will find the option labeled Delete a Room or Space at the bottom of the screen.
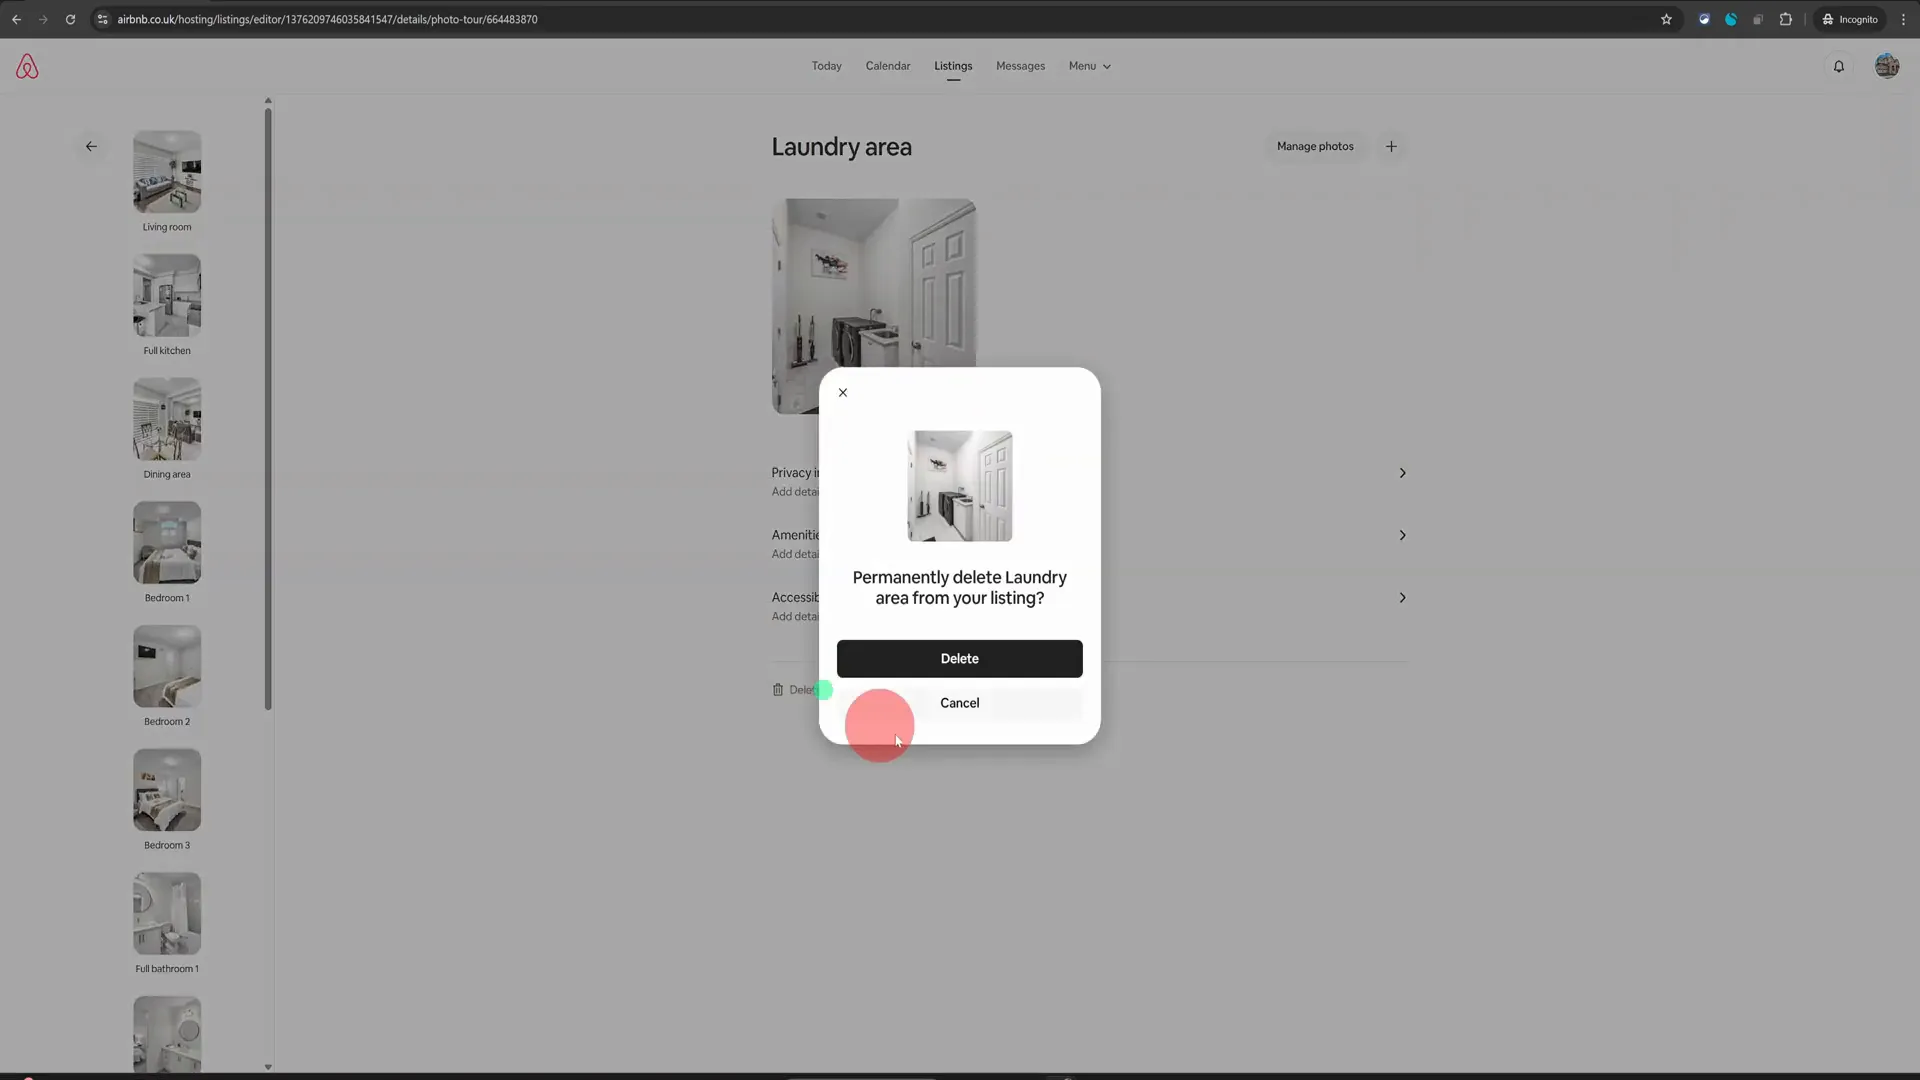
Click on this option, and you will need to confirm the deletion. This action will immediately remove the selected space from your property listing. It’s crucial to keep your listing accurate to maintain visibility and attract the right guests.
Step 6: Why Accurate Listings Matter
Updating your listing by adding or deleting rooms not only keeps your property information current but also impacts your visibility on Airbnb. Guests often filter listings based on specific features, such as the number of rooms or private spaces. Therefore, being precise about what you offer can significantly enhance your booking rate.
Inaccurate listings can lead to guest dissatisfaction and negative reviews, which can hurt your search rank on Airbnb. By ensuring that your listing reflects the actual state of your property, you’re more likely to attract guests who are looking for precisely what you have to offer.
Step 7: Final Touches and Review
After making your changes, take a moment to review your listing. Ensure that all details, including descriptions and amenities, are up to date. A well-maintained listing not only appeals to potential guests but also reflects your commitment as a host.
Once you’re satisfied with your updates, don’t forget to save your changes. Regularly revisiting your listing will help you stay competitive in the ever-evolving landscape of Airbnb hosting.
Frequently Asked Questions (FAQs)
1. Can I add multiple rooms at once?
Currently, Airbnb does not allow bulk additions; you will need to add each room or space individually.
2. What if I accidentally delete a room?
If you accidentally delete a room, you will need to re-add it as if it were a new space. Always double-check before confirming any deletions.
3. Will changing my listing affect my current bookings?
Updating your listing will not affect current bookings, but it is advisable to notify guests if significant changes occur that may impact their stay.
4. How often should I update my listing?
It’s good practice to review your listing at least once every few months or after any significant changes to your property.
5. Can I edit my listing from the mobile app?
While some changes can be made via the app, adding or deleting rooms is best done on a computer for a smoother experience.
Conclusion
In summary, managing your Airbnb listing by adding or deleting rooms is straightforward, especially when you follow these steps. Keeping your listing accurate not only helps in attracting the right guests but also enhances your overall hosting experience. Remember, a well-maintained property is more likely to receive positive reviews and repeat bookings.
We hope you found this guide helpful. For more Airbnb hosting tips and tutorials, be sure to subscribe to our channel and stay updated on the latest strategies to elevate your hosting game. Have a wonderful day wherever you are!