


Airbnb Hosting Tips: How to Add or Delete Photos on Your Airbnb Listing (2025 Update)
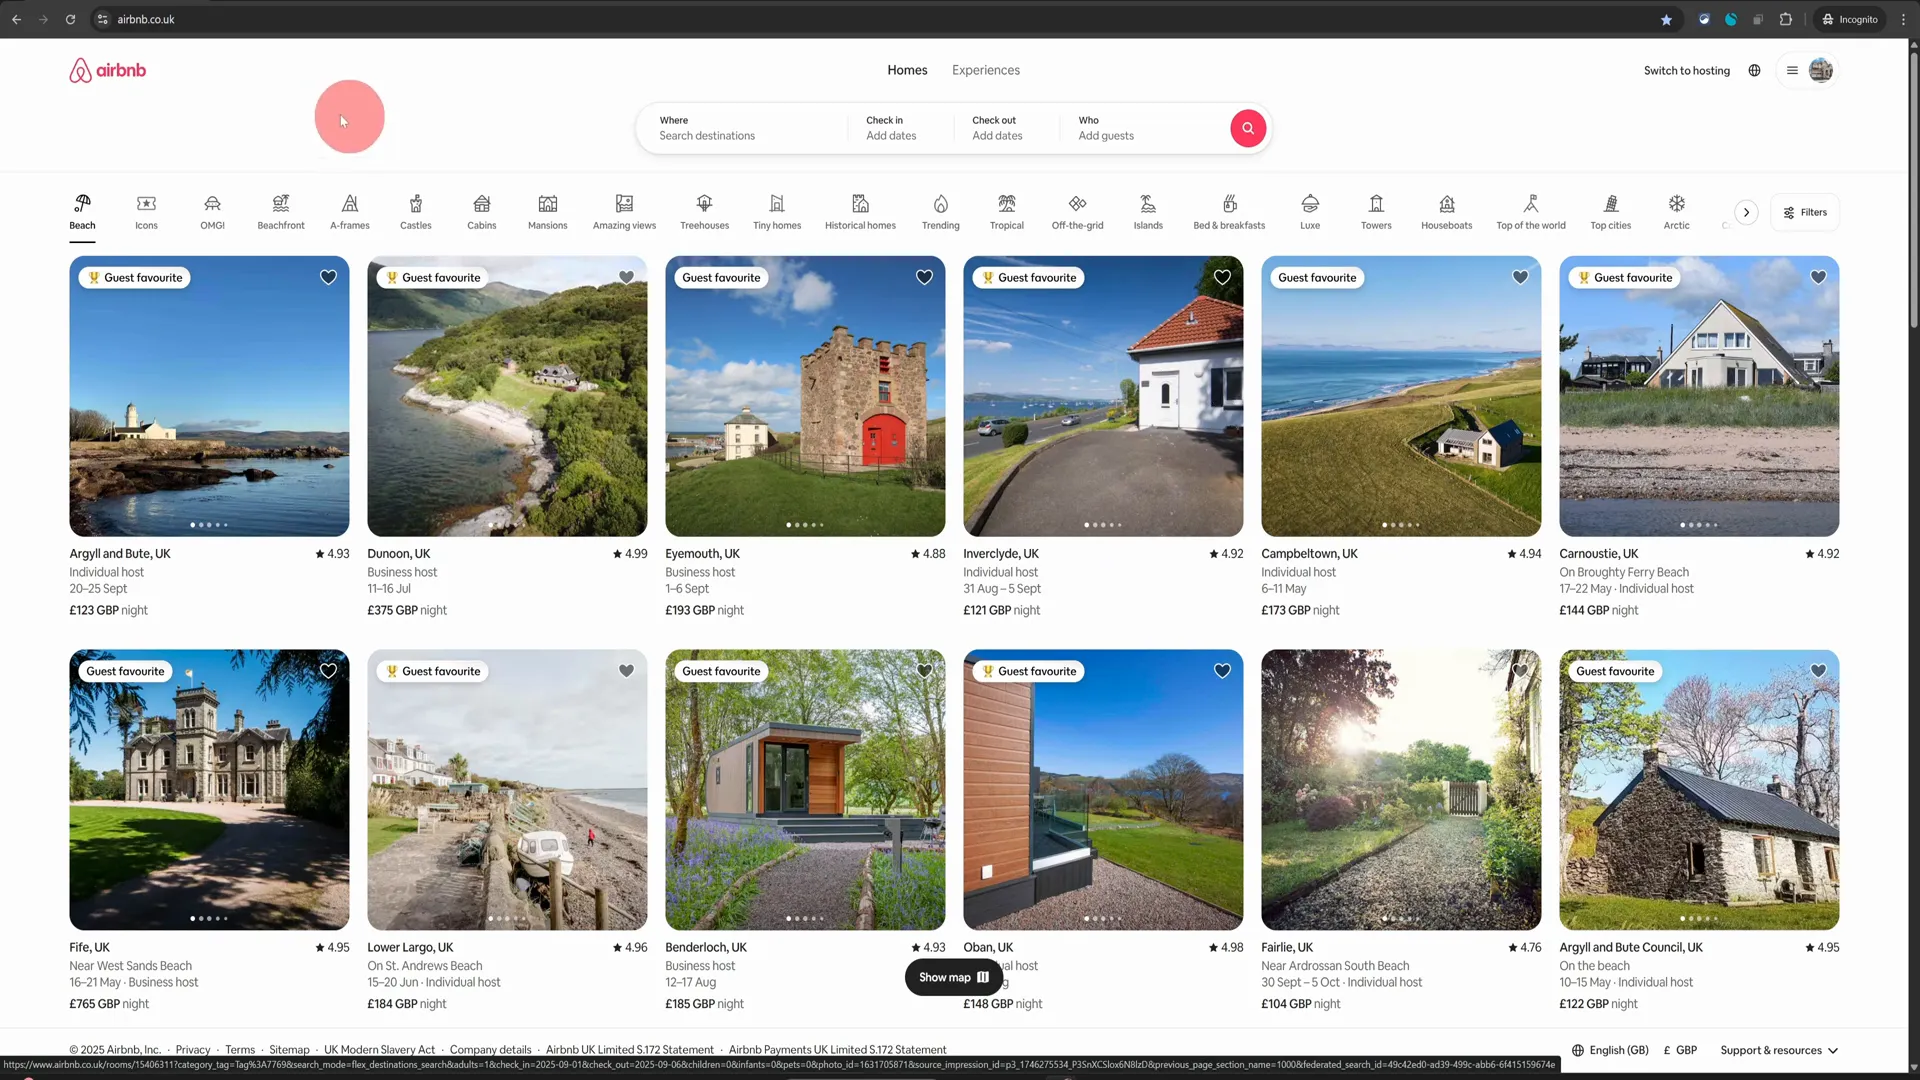
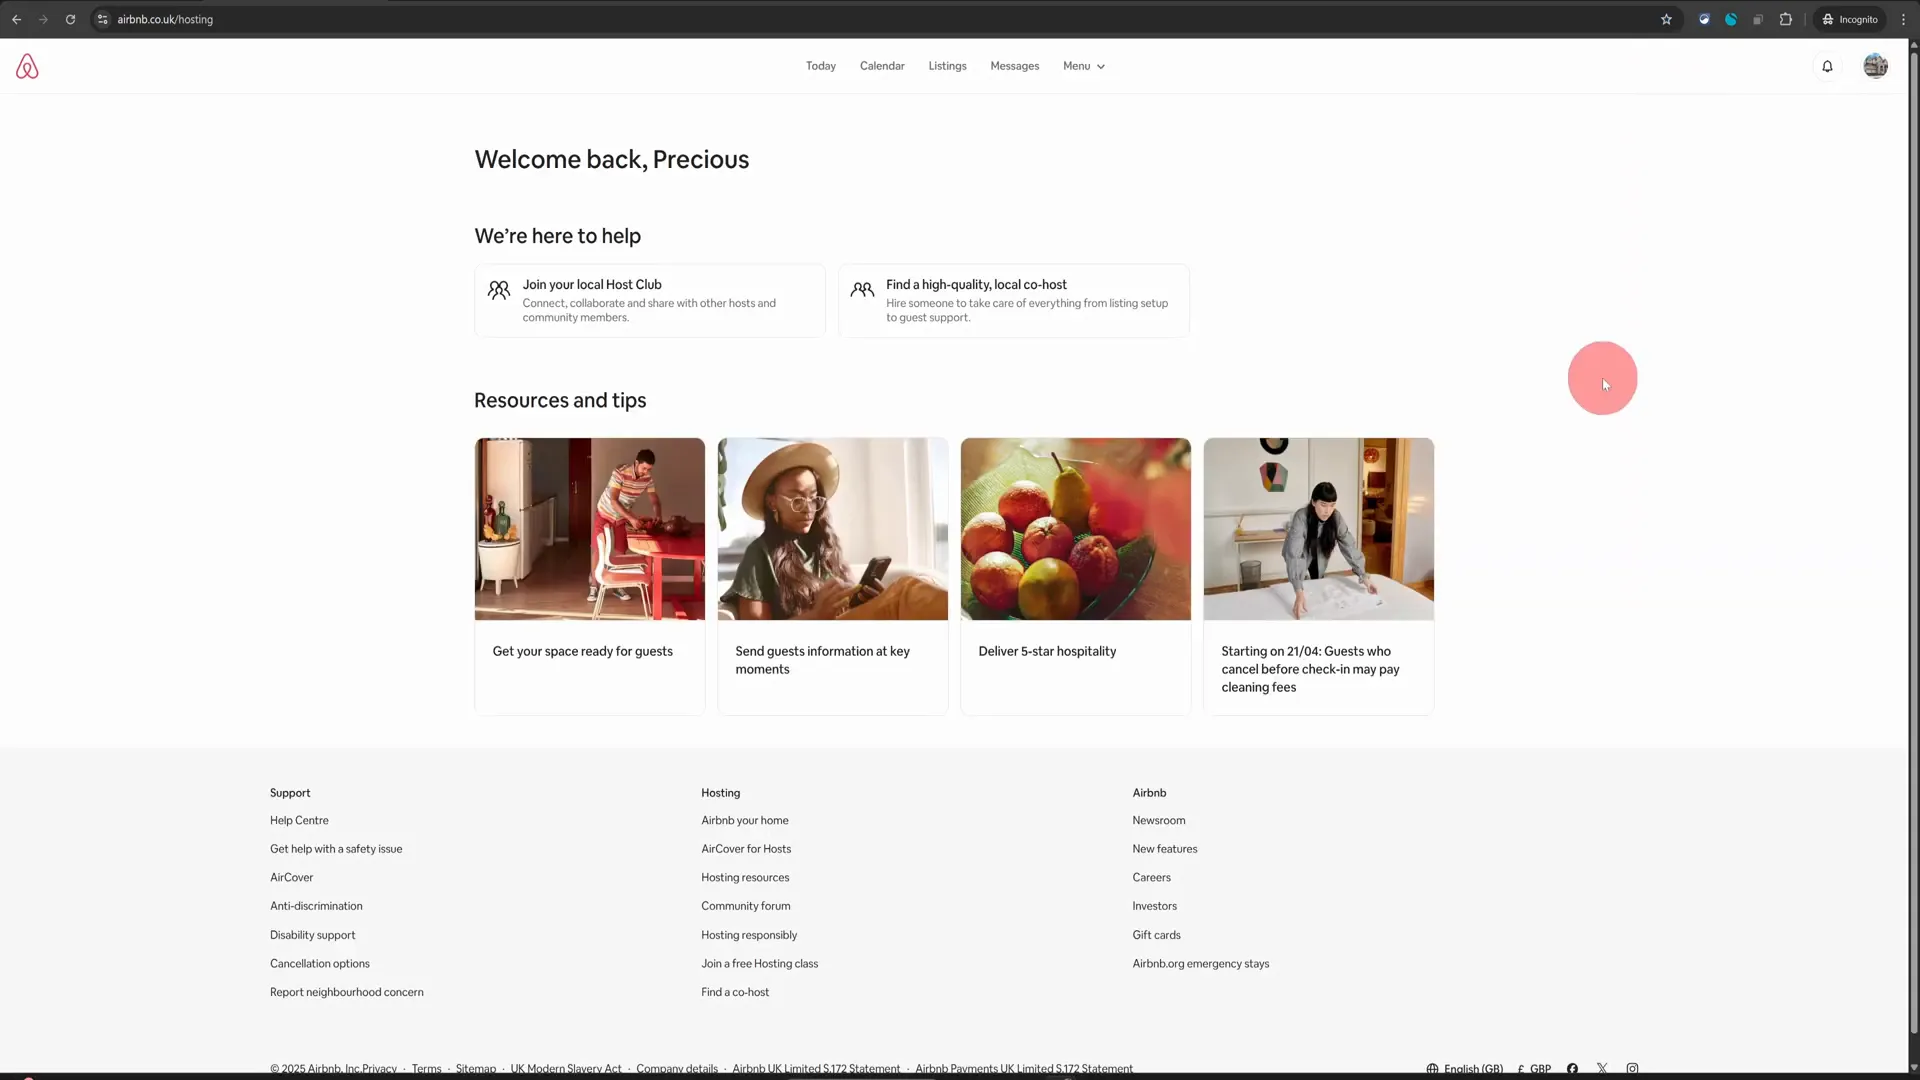
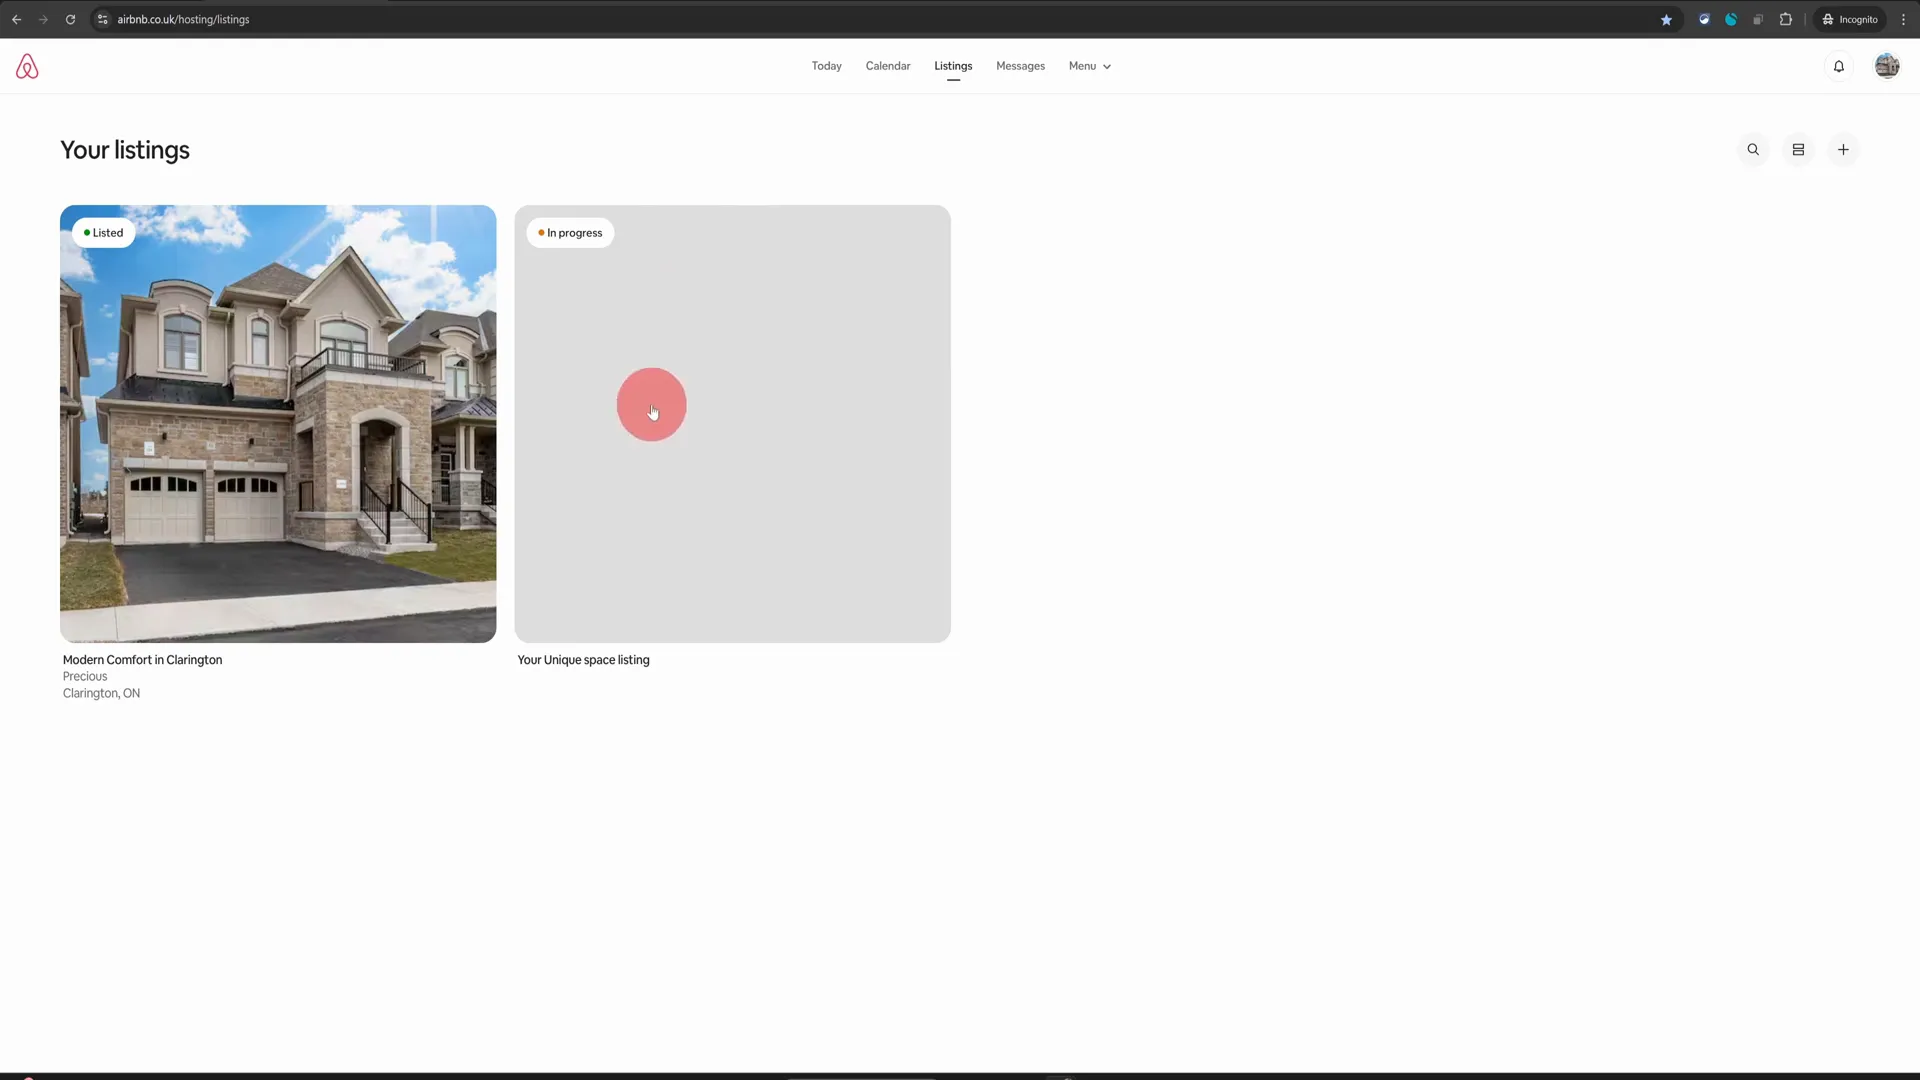
Managing your Airbnb listing effectively is crucial for attracting guests and ensuring a successful hosting experience. One of the key elements that can significantly impact your listing’s appeal is the quality and relevance of your photos. In this guide, we’ll explore how to add or delete photos from your Airbnb listing quickly and efficiently. Whether you’re looking to refresh your images or remove outdated ones, this tutorial will provide you with all the necessary steps. Let’s dive into the world of Airbnb hosting tips! Table of Contents Step 1: Access Your Hosting Dashboard Step 2: Navigate to Your Listings Step 3: Open the Photo Editor Step 4: Adding New Photos Step 5: Deleting Existing Photos Step 6: Finalizing Your Changes Pro Tips for Successful Airbnb Listings Frequently Asked Questions (FAQ) Conclusion Step 1: Access Your Hosting Dashboard To begin, you want to make sure that you are using a desktop computer. While the Airbnb mobile app is convenient for many tasks, it is not well-suited for managing your photo listings. Once you’re ready, log into your Airbnb account from your computer. On the top right corner, you’ll see an option to Switch to Hosting. Click on this option to navigate to your hosting dashboard. Step 2: Navigate to Your Listings Once you are in your hosting dashboard, locate the Listings option in the top menu. This is where you can manage all aspects of your properties. Click on it, and you will see all your listings displayed. Find the listing for which you want to add or delete photos. Step 3: Open the Photo Editor Now, click on your listing image to open the listing editor. By default, the editor will select the Photo Tour option on the left-hand side, allowing you to see all your images on the right. This is where the magic happens! Step 4: Adding New Photos If you want to enhance your listing, adding new photos is a great way to do it! To add more photos, look for the plus icon within the editor. Clicking on this icon will present you with an Add Photos option. Select this, and you will be prompted to choose the photos you wish to upload from your computer. When selecting photos, aim for high-quality images that showcase your property effectively. It’s recommended to include a mix of wide-angle shots and close-up details to attract potential guests. Make sure that your images are well-lit and capture the essence of your space! Step 5: Deleting Existing Photos Sometimes, you may find that certain photos no longer represent your property well. In such cases, it’s essential to remove them. To do this, click on the All Photos option. This will display all the images currently associated with your listing. Scroll through the images until you find the one you want to delete. Once located, click on the delete icon in the top right corner of that image. Be cautious! When you confirm the deletion, the photo will be permanently removed from your listing. Take a moment to ensure that you are deleting the correct photo, as this action cannot be undone. Step 6: Finalizing Your Changes After adding or removing photos, it’s always a good idea to review your listing. Make sure that the new photos are displayed correctly and that your listing still conveys the right message to potential guests. Once satisfied, you can save your changes and exit the editor. Pro Tips for Successful Airbnb Listings High-Quality Images: Always prioritize high-resolution photos. Blurry or poorly lit images can deter potential guests. Diverse Angles: Include a variety of shots, such as wide-angle views of rooms, close-ups of unique features, and even outdoor spaces. Regular Updates: Keep your listing fresh by regularly updating photos, especially after any renovations or decor changes. Engaging Captions: Consider adding captions or descriptions for each photo to highlight special features or amenities. Frequently Asked Questions (FAQ) Q1: Can I add photos from my mobile device? A1: While you can manage your Airbnb listing from a mobile device, it’s recommended to use a desktop computer for adding or deleting photos, as the mobile app does not support these features effectively. Q2: How many photos can I upload to my listing? A2: Airbnb allows you to upload multiple photos to your listing. However, it’s best to focus on quality over quantity. Aim for a well-rounded selection that showcases your property effectively. Q3: What types of photos should I include? A3: Include a mix of wide-angle shots, close-ups of details, and images of amenities. Highlight unique features of your property to capture guests’ attention. Q4: Can I edit the photos after uploading them? A4: No, once photos are uploaded, you cannot edit them directly within Airbnb. You would need to delete the existing photo and upload a new version if changes are necessary. Q5: Is there a recommended order for my listing photos? A5: Yes, it’s advisable to start with the most appealing and spacious images first, such as living areas or bedrooms, to draw guests in. Follow with images of bathrooms, kitchens, and unique features. Conclusion Updating your Airbnb listing with fresh and relevant photos is a vital part of attracting guests and enhancing their booking experience. By following these simple steps to add or delete photos, you’ll ensure that your listing remains appealing and up-to-date. Remember, high-quality images can make a significant difference in how potential guests perceive your property. So, whether you’re looking to refresh your image gallery or remove outdated photos, you now have the knowledge to do so effectively. Happy hosting, and may your Airbnb journey be filled with success!